Question
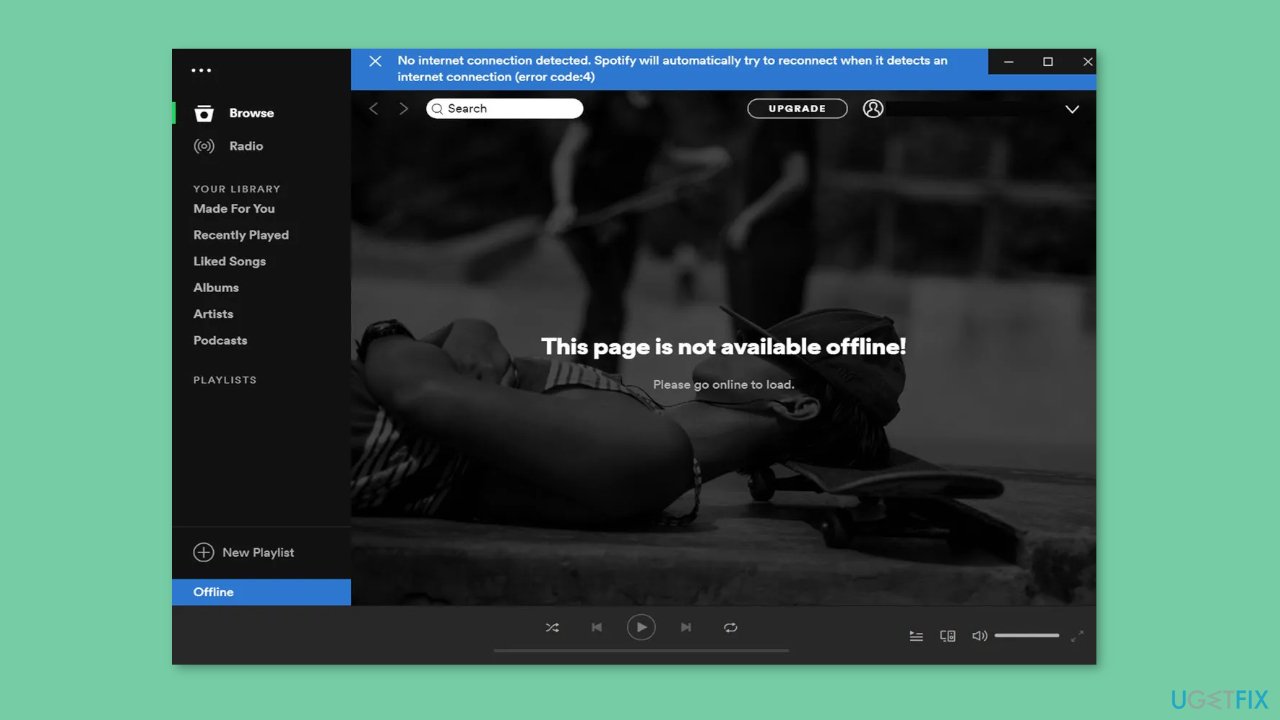
Issue: How to fix Spotify error code 4 in Windows?
Hello. I tried to listen to music on Spotify but I received the error code 4. How do I fix this?
Solved Answer
Spotify is a popular audio streaming platform with millions of songs, podcasts, and other audio content to choose from. Spotify can be accessed via its desktop application, mobile app, and web player. However, some Spotify users report error code 4 when using the desktop app.
The Spotify error code 4 problem prevents users from streaming or downloading music. When the Spotify desktop app is unable to connect to the internet, this error message appears. It could happen for a variety of reasons, such as network connectivity issues, a firewall or antivirus blocking the app, outdated drivers, or corrupted system files.
The consequences of this issue can be aggravating for Spotify users who rely on the service for music listening. They may be unable to listen to their favorite songs or download new ones, resulting in a negative user experience.
Users can try various troubleshooting steps to resolve this issue. They can check their network connection and disable any firewalls or antivirus software that are preventing the app from working. Updating network drivers or reinstalling the Spotify app may also aid in the resolution of this problem. In the app settings, users can also try clearing the cache or disabling hardware acceleration.
In this guide, you will find 7 steps that should help you fix Spotify error code 4 in Windows. However, you can also use a repair tool like FortectMac Washing Machine X9 that can fix most system errors, BSODs,[1] corrupted files, registry[2] issues, or clear cookies and cache[3] automatically. Otherwise, follow the step-by-step instructions below.
Solution 1. Flush DNS
- Press the Windows key + R to launch the Run command box.
- Type ipconfig /flushdns command in the text field.
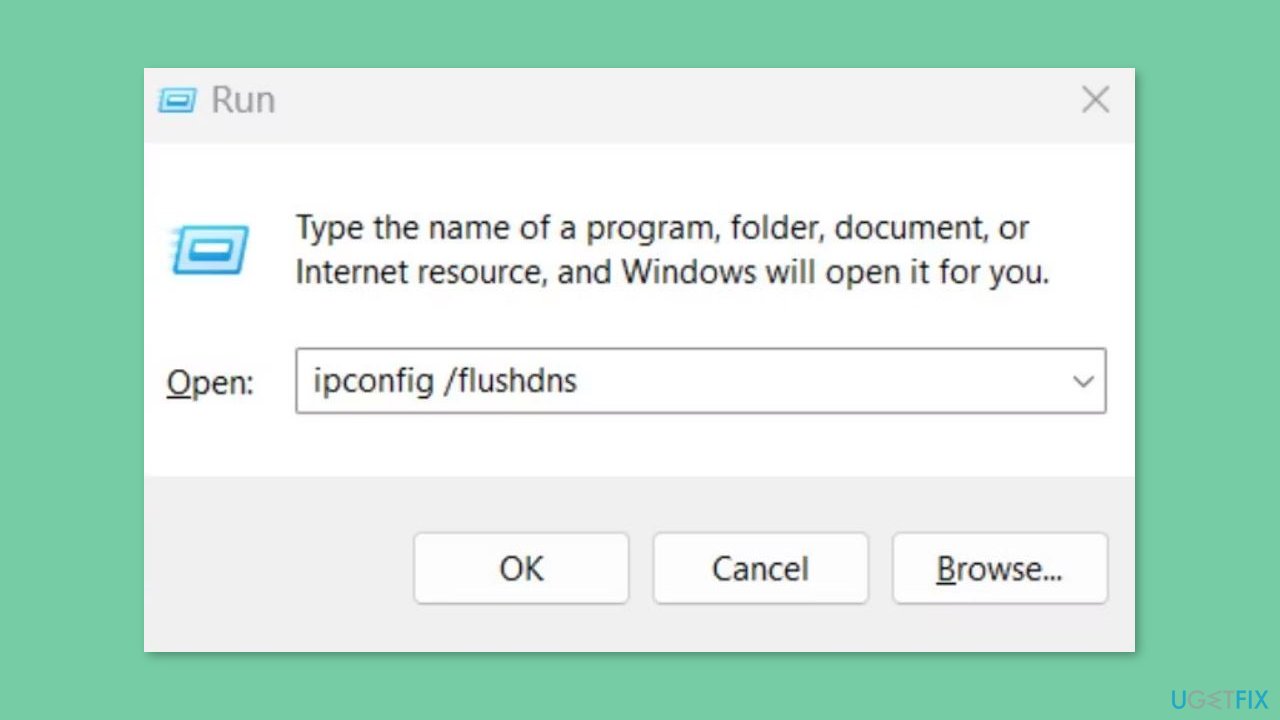
- Press Ctrl + Shift + Enter keys at once.
- The Command Prompt window will launch with administrator privileges.
- The ipconfig /flushdns command will be executed automatically in the Command Prompt window.
- Once the command is executed, the Command Prompt window will close automatically.
Solution 2. Select HTTP as Proxy Type
- Open the Spotify app on your device.
- Click the username button located at the top of the app to view its menu.
- From the menu, select the Settings option to view Spotify's settings.
- In the Settings menu, locate and click the Proxy option.
- Click the Proxy type drop-down menu and select HTTP from the available options.
- After selecting HTTP, click the Restart App button to apply the changes.
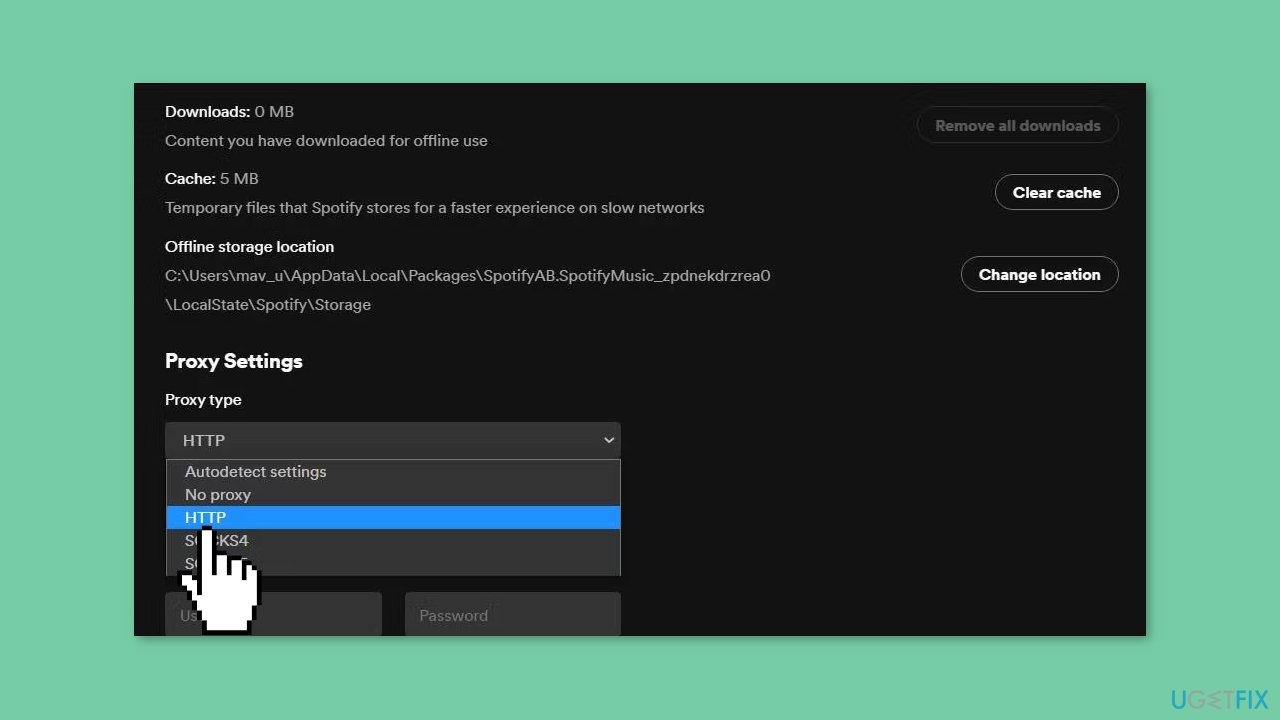
- Wait for Spotify to restart and apply the new proxy settings.
Solution 3. Edit DNS Server Settings
- Click the Start button and select the Settings app.
- Select Network and Internet.
- From the Network and Internet menu, click on the Wi-Fi or Ethernet option depending on your connection type.
- Select your Wi-Fi or Ethernet network adapter from the list of options available in the Advanced network settings.
- Click the View additional properties option to view the adapter's properties.
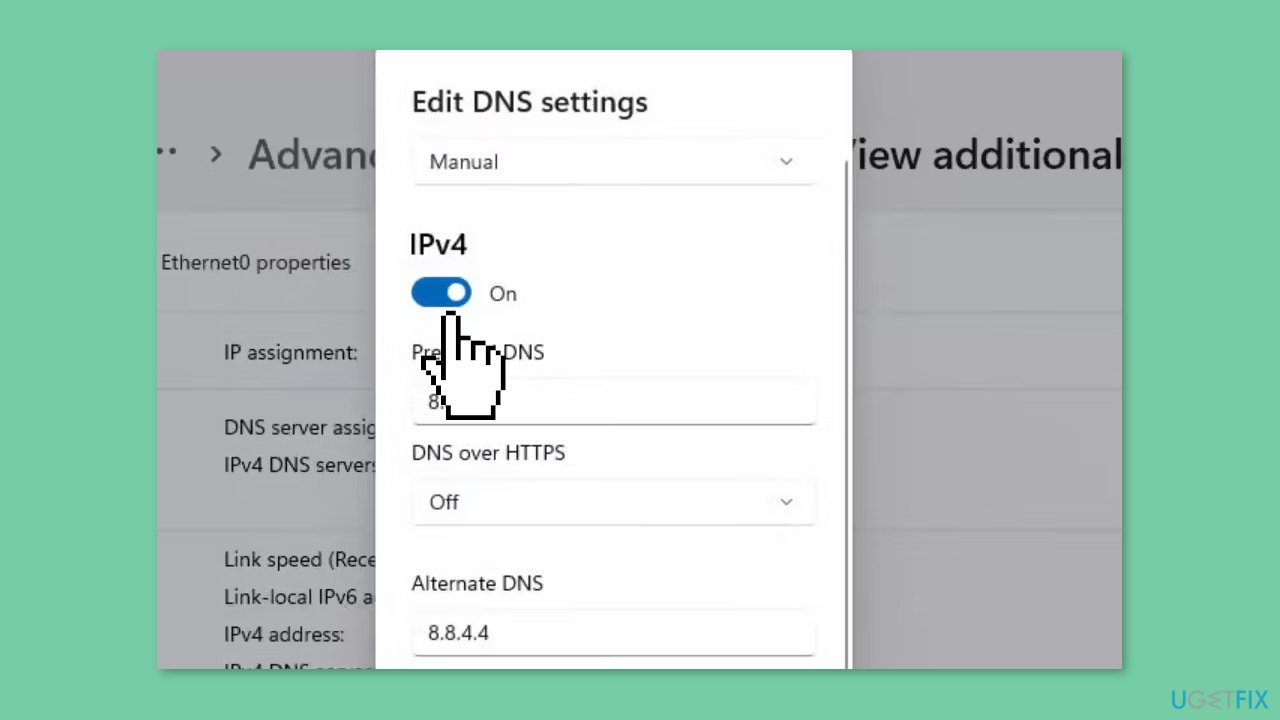
- Find the DNS server assignment section and click the Edit button.
- In the Edit DNS server pop-up window, select the Manual option.
- Turn on the IPv4 option if it's not already enabled.
- Enter the new DNS server addresses in the Preferred DNS – 8.8.8.8 and Alternate DNS – 8.8.4.4 boxes.
- Click the Save button to apply the changes.
Solution 4. Modify the Registry
- Press the Windows key + S to open the search box.
- Inside the search box, type regedit to locate the Registry Editor.
- Select Registry Editor from the search results.
- Click within the address bar located at the top of the Registry Editor to clear the current location.
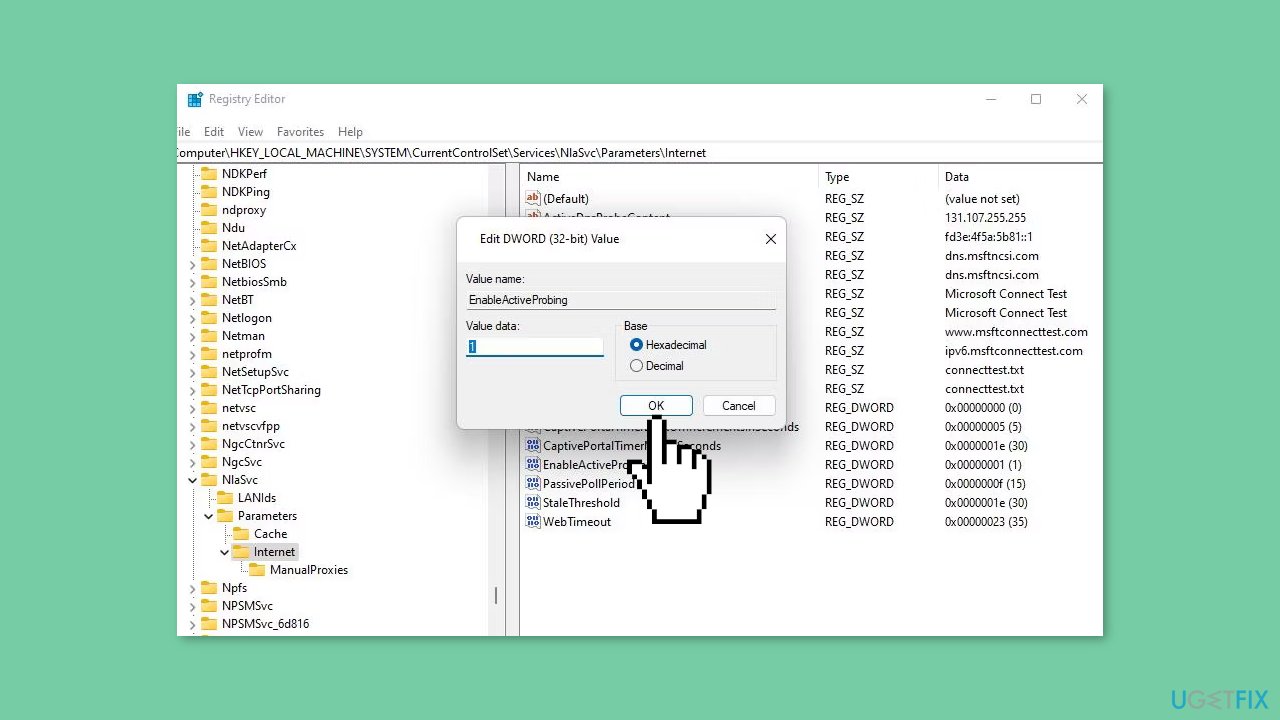
- Input the following path in the address bar: Computer\HKEY_LOCAL_MACHINE\SYSTEM\CurrentControlSet\Services\NlaSvc\Parameters\Internet
- Navigate to the EnableActiveProbing DWORD by locating it within the Internet key.
- Right-click on the EnableActiveProbing DWORD and select Modify.
- If the EnableActiveProbing value is set to 0, clear the Value data box.
- Input 1 inside the Value data box to set the new EnableActiveProbing value.
- Click the OK button to save the changes.
Solution 5. Exclude Spotify from Windows Security
- Double-click on the shield icon of the Windows Security app in the system tray. If you can't find it, click the Show hidden icons arrow button to locate it.
- Select Virus & threat protection on the Home tab of the Windows Security app.
- Click the Manage settings navigation option.
- Scroll down to the Exclusions subheading and click on the Add or remove exclusions option below it.
- Click the Add an exclusion button to view an options menu.
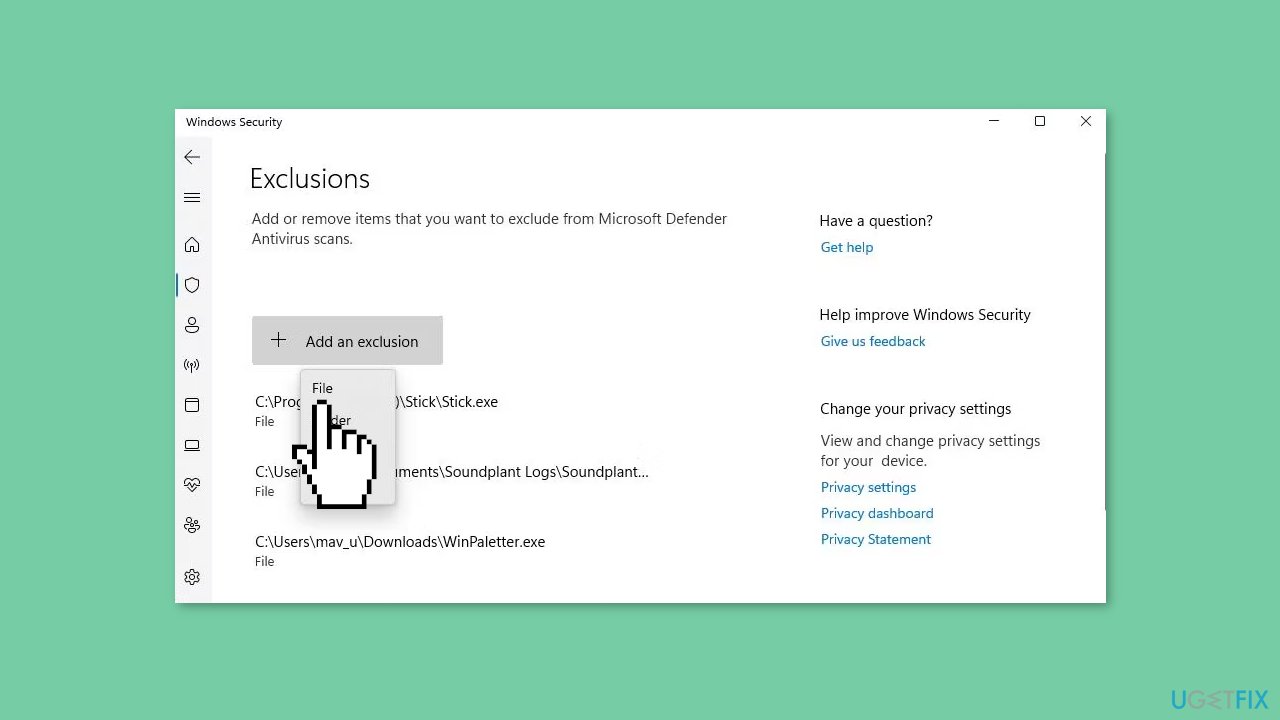
- Select the File option from the menu.
- Choose spotify.exe from the list.
- Click the Open button to add the selected program to Windows Security's exclusion list.
- After adding the program to the exclusion list, Windows Security will no longer scan it.
Solution 6. Turn Off Windows Defender Firewall
- Click on the Start button and search for Windows Security.
- Select the result from the top of the list.
- Once you're in Windows Security, click on the Firewall & network protection option.
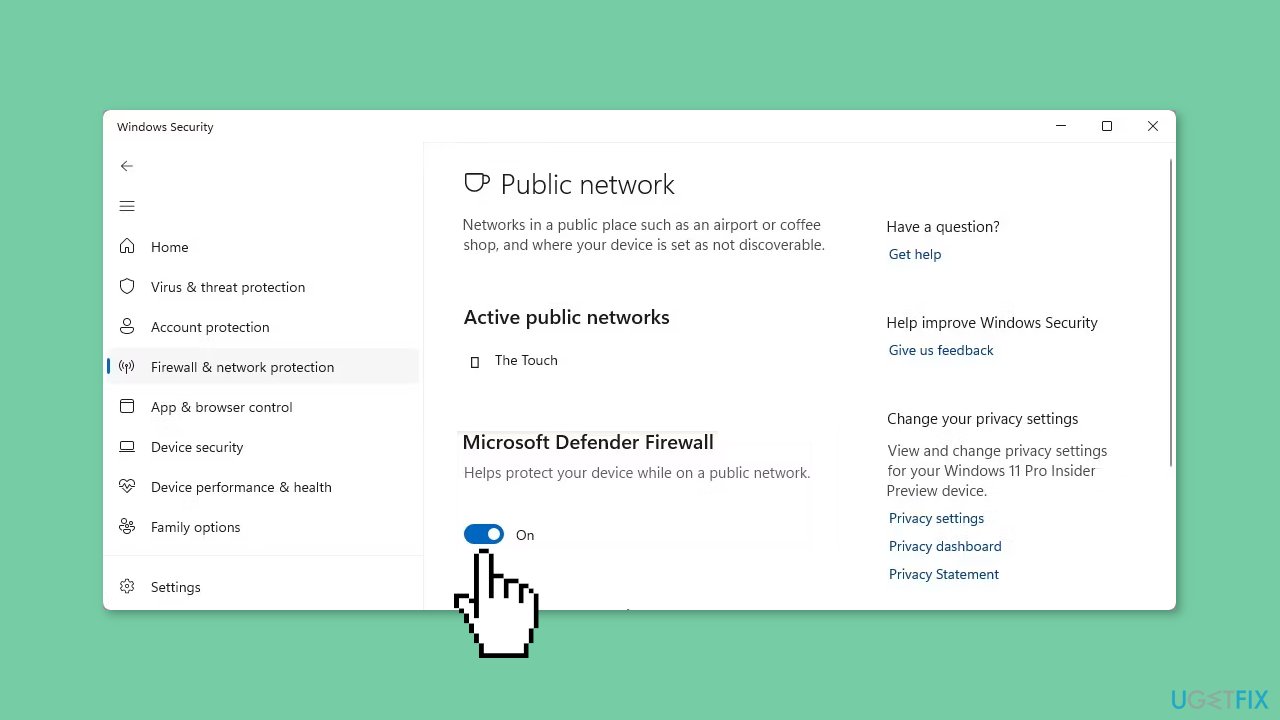
- Select either the Public network or Private network profile for which you want to turn off the firewall.
- Click on the toggle switch to turn off the firewall for the selected profile.
- If the User Account Control (UAC) prompt appears on the screen, click Yes to continue. Make sure your computer has admin account privileges to do this.
Solution 7. Reinstall Spotify
- Press the Start menu button and select All apps.
- Scroll down to find the Spotify app on the Start menu.
- Right-click on Spotify and select Uninstall. If you have installed the desktop Spotify app, it will open Programs and Features from where you can select the software and click Uninstall. If you have installed the UWP Spotify app, you can select Uninstall on a confirmation prompt.
- Open the Spotify Windows download page.
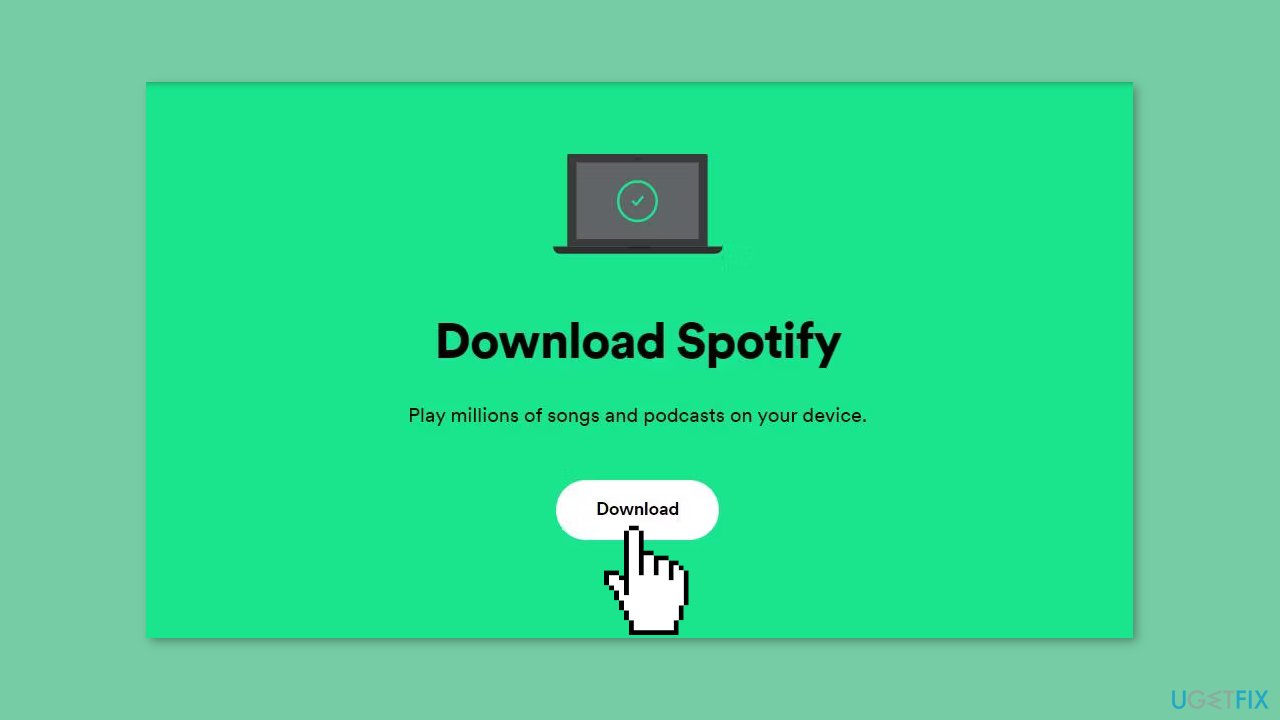
- Click on Download to get the installer for the desktop Spotify app.
- Open the Explorer file manager along with the folder in which Spotify downloaded.
- Double-click the SpotifySetup.exe file to bring up the setup wizard and install Spotify.
Repair your Errors automatically
ugetfix.com team is trying to do its best to help users find the best solutions for eliminating their errors. If you don't want to struggle with manual repair techniques, please use the automatic software. All recommended products have been tested and approved by our professionals. Tools that you can use to fix your error are listed bellow:
Prevent websites, ISP, and other parties from tracking you
To stay completely anonymous and prevent the ISP and the government from spying on you, you should employ Private Internet Access VPN. It will allow you to connect to the internet while being completely anonymous by encrypting all information, prevent trackers, ads, as well as malicious content. Most importantly, you will stop the illegal surveillance activities that NSA and other governmental institutions are performing behind your back.
Recover your lost files quickly
Unforeseen circumstances can happen at any time while using the computer: it can turn off due to a power cut, a Blue Screen of Death (BSoD) can occur, or random Windows updates can the machine when you went away for a few minutes. As a result, your schoolwork, important documents, and other data might be lost. To recover lost files, you can use Data Recovery Pro – it searches through copies of files that are still available on your hard drive and retrieves them quickly.
- ^ Chris Hoffman. Everything You Need To Know About the Blue Screen of Death. Howtogeek. Technology Magazine.
- ^ Tim Fisher. What Is the Windows Registry?. Lifewire. Software and Apps.
- ^ Difference between Cache and Cookies. Geeksforgeeks. IT Education.


