How to remove
Uninstall TeamViewer
from Windows
Easily uninstall TeamViewer from Windows 10 or 11 with our expert-tested guide. Remove unwanted programs in minutes for a smoother PC experience.
How does How to Uninstall TeamViewer end up on your PC?
- Outdated version of TeamViewer
- No longer needed for personal use
- Malicious actors exploiting the software
- Configuration files not deleted during uninstallation
Repairs Windows system files, removes malware, and restores a clean OS state — without reinstalling.
Hello. I installed TeamViewer a while ago, and I no longer use it. Actually, I needed it at one particular time only, when my friend asked me to help him out with computer problems. Besides, I heard that outdated versions of this software could allow attackers to compromise my PC… so please, explain to me how I should remove TeamViewer software?
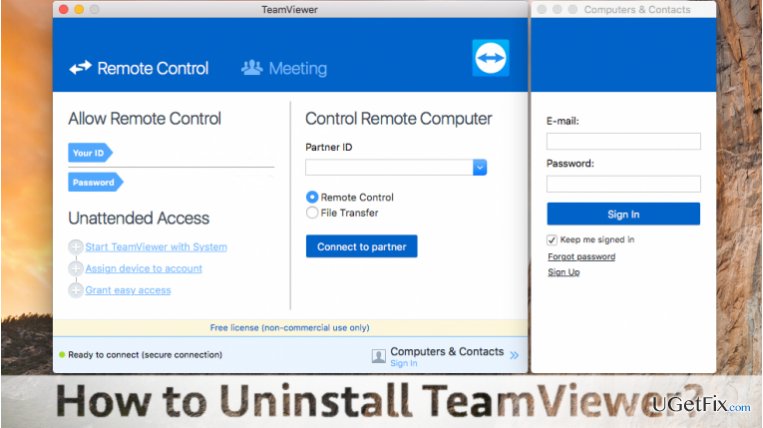
TeamViewer is an entirely legitimate computer program that provides versions both for Windows and Mac users. This software allows the user to connect to other devices remotely, and it is free for personal use. We must say that it is a useful tool, sadly, malicious actors tend to exploit this tool and use it for bad intentions. The latest version of this program is Teamviewer 12, and, just like any other software, it needs to be regularly updated. If you have an old version of TeamViewer and you have no interest in keeping it on your computer system and updating it from time to time, then yes, removing it is the best thing that you can do. Below, we provide TeamViewer removal guides for Windows OS and Mac OS users - follow the proper one carefully, and you will uninstall TeamViewer in no time.
How to Uninstall TeamViewer?
Uninstall TeamViewer on Mac OS X
TeamViewer 9 and newer versions created for Mac OS X can be uninstalled this way.
- Open TeamViewer. In the top-left corner of your Mac’s screen, click on TeamViewer title. From a drop-down menu that appears, select Preferences.
- You will see a list of sections with different settings. Choose Advanced tab.
- Here, scroll down until you reach the bottom of this panel. You will see an “Uninstall” section.
- Put a mark in the checkbox next to a line that says “Also delete configuration files” and click Uninstall. Click OK to confirm.
Remove TeamViewer on Windows 10/8/7/Vista
- Click on Start menu, then go to Control Panel. You can also open the Control Panel in a different way: press down Windows key+R at the same time. In the Run Prompt, type control panel, and hit Enter. This will open Control Panel for you.
- In the Control Panel, find Programs section. Here, click Uninstall a Program.
- Find the program you want to uninstall (TeamViewer) and select it. Then click Uninstall button.
- Confirm your choice to uninstall TeamViewer, and then follow commands provided by the uninstall wizard.
Uninstall TeamViewer on Windows XP
To delete TeamViewer from Windows XP, follow these steps:
- Click on Start Menu, then choose Control Panel.
Select Add or Remove Programs. - Click on the TeamViewer icon in the list of all programs, and then choose “Remove” (or “Change/Remove”) option.
- Uninstall the program according to directions provided by the uninstall wizard.
We hope that these instructions will come in handy when trying to remove TeamViewer from Windows/Mac. If you are not willing to waste time removing programs that you no longer use, you can rely on automatic software removal programs such as [rev id="Perfect Uninstaller"] (for Windows) or [rev id=”CleanMyMac”] (for Mac). To optimize your Windows PC after deleting certain programs, also to check whether any spyware/malware programs were installed on it, we suggest using [rev id=”Reimage”] software.
Bottom line
To uninstall TeamViewer, you can follow the specific guides for Mac OS and Windows. For Mac, access Preferences and use the Uninstall option, while for Windows, navigate to Control Panel to remove it. If these methods do not work, consider seeking additional technical support.
Frequently asked questions
To uninstall TeamViewer from Windows 10, go to Settings > Apps > Apps & features, find TeamViewer in the list, click on it, and select 'Uninstall.' Follow the prompts to complete the removal process.
Yes, on Windows 11, you can right-click the Start button, select 'Apps and Features,' locate TeamViewer, click the three dots next to it, and choose 'Uninstall' to remove it.
If TeamViewer won't uninstall, try using the Control Panel by going to Programs > Programs and Features, right-clicking TeamViewer, and selecting 'Uninstall.' If that fails, consider using a third-party uninstaller to remove any leftover files.


Report an issue
What's wrong with this guide? We review every report and update or remove content.
Report received — thank you. We'll review and fix it.
You need a free account to submit a report.
Be the first to comment