How to remove
Delete Windows.old Folder
from Windows
Easily remove the Windows.old folder on Windows 10 and 11 to free up space. Follow our expert-tested guide for quick results, fixed in minutes!
How does How to Delete Windows.old Folder on Windows end up on your PC?
- Folder created after upgrading Windows OS
- Stores information from previous OS
- Allows recovery of individual files
- Necessary for downgrading to previous OS
- Takes up significant hard disk space
- May be unnecessary if backups are stored externally
Repairs Windows system files, removes malware, and restores a clean OS state — without reinstalling.
I’ve just upgraded to Windows 10 from Windows 8.1. I am not thinking about switching back to the previous Windows version. So, I want to delete Windows.old folder entirely. It seems simple deletion is not working.
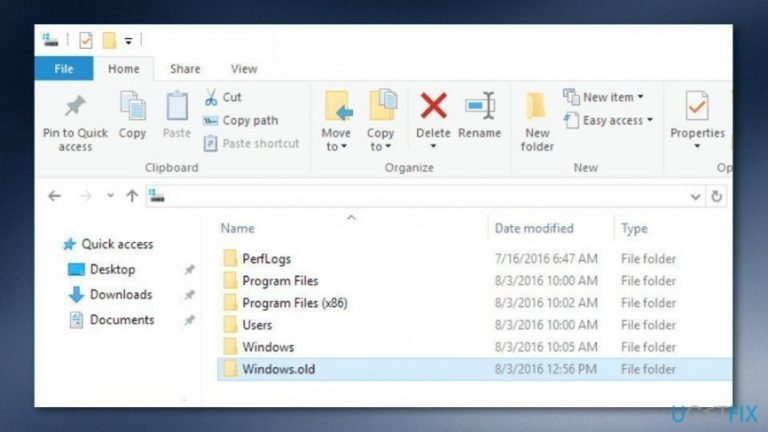
Windows.old is a legitimate folder which is created on the system after upgrading the Windows operating system.[ref en-3] It doesn’t matter whether you upgraded from Windows 7, Windows 8 or Windows 8.1, you will still find this folder storing all the information from the previous OS. This folder includes various data and applications that are stored in Windows, Program Files, Documents and Settings folders.
There are two main reasons why this folder has been created. First, this folder allows for recovering individual files. Thus, if you cannot find some of the important documents or files after upgrading to the latest Windows version,[ref en-1] you can look through this folder and copy individual files. In other words, it’s your backups. Second, if you did not enjoy the latest OS and find the need to downgrade, this folder is also necessary for such a procedure.
Specialists always suggest keeping this folder for a couple of days or two after upgrading the operating system in order to recover your files or downgrade. However, if you have backups stored in the external device and have no intentions of switching back to the old OS version, you may find this folder useless. One of the main reasons why people express the desire to delete Windows.old folder is that it takes a lot of hard disk space.
Indeed, depending on how much data you had, this folder might take from 10 GB to two or three times more space. Indeed, if your computer does not have a large disk drive,[ref en-2] you may lack the space for your new data. Thus, you may find this folder bothersome and taking too much of valuable space.

If you want to delete Windows.old, you have two options. You can wait for a month until Windows automatically removes this folder, or you can do it manually. If you want to get rid of it right now, you should know that it’s impossible to delete it as simply as regular folders. Despite this fact, it’s not a hard task.
How to Delete Windows.old folder on Windows?
If you decide to click the Del button on your keyboard, or remove Windows.old folder from the File Explorer, you will hear a Windows error sound and see a warning message. It’s not the correct way to remove this folder from the system. Removal requires employing a Windows Disk Cleanup tool. Do not worry. You don’t need to install any new software. This application is already installed on your machine. Thus, follow the steps below and make some space on your PC.

Method 1. Use Windows Disc Cleanup to delete Windows.old
1. Open Windows Disc Cleanup application. Click on the Start button and use Windows search to find this program.
2. Open the program and choose the main system drive. Click on Clean up system files button and wait for a couple of minutes while Windows completes the scan.
3. When you receive scan results, you will find a list of different files and how much disk space the use. For instance, you will see Recycle Bin, Temporary files, and more. However, you should look for Previous Windows installation(s) and check this option.
NOTE. Make sure that deleted only this file to avoid accidental loss of other data.
4. Click OK to confirm the deletion.
Method 2. Use Storage sense to eliminate the Windows.old component
- Go to Windows search.
- Launch the Settings option.
- Continue with clicking on Storage.
- You will find the "Storage sense" section.
- Click on the option that says "Change how we free up space automatically".

Method 2 - Furthermore, go to Free up space now and continue with the Delete previous version of Windows option.
- Afterward, opt for Clean now.
Method 3. Delete the Windows.old folder via Temporary files option
- Go to Windows search and type in "settings".
- Launch the Settings box and opt for the System option.
- Furthermore, continue with the Storage section.
- Afterward, you will find the Free up space now solution under the Storage sense part.

Method 3 - Opt for the Previous Windows installation(s) option.
- You can also eliminate any default options chosen.
- After that, opt for the Remove files key.
The above-mentioned methods should have helped you to delete Windows.old Folder on Windows as many users have found these steps successful. However, if some type of problem has occurred and you somehow did not manage to get rid of the unwanted component, you can try scanning your computer system with a reliable tool as some unwanted infection or cyber threat might be preventing you from accomplishing the task. Try downloading and using [d1].
Bottom line
To delete the Windows.old folder, you can either wait for Windows to automatically remove it after a month or manually delete it. If you choose to delete it manually, ensure you have backups of important files. If none of these options work, consider using disk cleanup tools.
Frequently asked questions
The Windows.old folder is created when you upgrade your Windows operating system, such as moving from Windows 10 to Windows 11, and it contains files from the previous installation.
You can delete the Windows.old folder by using the Disk Cleanup tool; simply type 'Disk Cleanup' in the Start menu, select the drive where Windows is installed, and check the 'Previous Windows installation(s)' option to remove it.
Yes, deleting the Windows.old folder will prevent you from reverting to the previous version of Windows, so ensure you are satisfied with your current installation before proceeding.


Report an issue
What's wrong with this guide? We review every report and update or remove content.
Report received — thank you. We'll review and fix it.
You need a free account to submit a report.
Be the first to comment