How to remove
Downgrade
from Windows
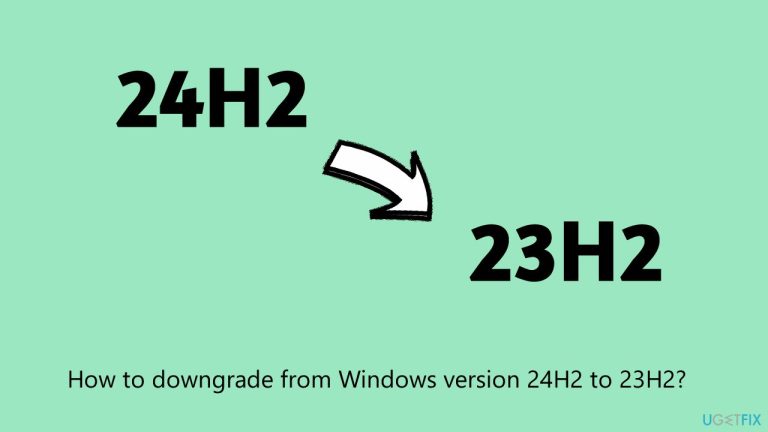
Easily downgrade from Windows 11 version 24H2 to 23H2 with our expert-tested guide, ensuring a smooth transition and zero traces left.
How does How to downgrade from Windows version 24H2 to 23H2 end up on your PC?
- Slower booting speed
- PC not waking up after sleep mode
- Unexplained startup delays
- Connectivity issues impacting servers
- Problems with specific applications failing to launch
Repairs Windows system files, removes malware, and restores a clean OS state — without reinstalling.
A few weeks ago, I upgraded my laptop to the latest version Windows 11 24H2 (or rather, it was updated automatically). However, I've noticed some problems with it, such as slower booting speed and PC not waking up after going to sleep - the only way to wake it is by restarting it, which is really annoying. I want to go back to 23H2 (because everything worked just fine) but I'm not sure that's possible.
Windows versions, unlike simple cumulative updates, are significant upgrades that bring new features, improvements, and sometimes changes to the system's core functionality. Unlike routine updates that focus on fixes and security patches, these major versions, often identified by a year and half-year label (e.g., 23H2 or 24H2), introduce redesigned interfaces, enhanced system tools, and new features, altering the way the operating system functions.
Windows 24H2, first released in a gradual rollout starting in late 2024, brought several notable changes. The most noteworthy of these changes included further integration of artificial intelligence in Windows Search, a revamped Settings interface designed for easier navigation, and performance improvements in gaming and multitasking. While many users did appreciate the benefits of these features, there were also some problems introduced by this update.
As with many major Windows 11 version updates, 24H2 caused unexpected issues for some. Complaints from affected users included problems with devices failing to wake up from sleep mode, unexplained startup delays, and connectivity issues impacting servers in enterprise environments.
For example, some reported slower response times when accessing network drives or persistent crashes in resource-intensive applications. There has also been a prevalent issue with users playing various Ubisoft games like Assassin's Creed Origins, where they completely failed to launch. These issues have led some to consider rolling back from 24H2 to 23H2 for better system stability.
If you're facing these challenges and prefer the previous version, downgrading to Windows 23H2 is indeed possible. However, the rollback must occur within 10 days of the 24H2 installation, using the built-in recovery option. Beyond this window, a downgrade requires reinstalling Windows 23H2 manually, which involves downloading the installation media and performing a clean installation. This process will erase your data, so backups are essential.
When dealing with Windows issues related to system file corruption or DLL errors, consider using [d1], a repair and maintenance tool designed to resolve such problems efficiently.

Method 1. Use the built-in rollback feature
This is the easiest way to go back to the previous Windows version. Keep in mind that this option is only available for the first 10 days after 24H2 was installed on your device.
- Right-click on Start and click Settings.
- Go to System and find Recovery options.
- Find the Go back option and click Go back.
- Click Next and then follow up with No, thanks.
- In the next two prompts, simply select Next and Next again.
- Finally, click Go back to earlier build.
- Restart your system to go back to version 23H2.

Method 2. Use Windows 23H2 ISO
Note that this method will completely erase all personal files on your computer, so make sure you back them all up.
The 23H2 ISO file here is from Archive.org, provided by a user PhantomOcean3, so keep that in mind that this is not an official Microsoft source (Microsoft only provides an ISO for the latest live version, which is 24H2 currently). Also, the download speeds could be quite slow.
- Open your browser and go to https://archive.org/details/win-11-23h2.
- Scroll down to the Download Options section.
- Click on ISO IMAGE to start the download.
- Wait for the download to complete.

Create a bootable 23H2 USB drive:
- Download a tool to create a bootable USB drive, such as Rufus [download].
- Insert a USB drive into your computer.
- In Rufus, under Device, select the drive you want to make bootable.
- Under Boot selection, locate and select the downloaded 23H2 ISO file.
- Under Image option, choose Standard Windows installation.
- Under Partition scheme, pick GPT.
- Under Target system select UEFI (non CSM).,
- Under File system, pick NTFS.
- Under Cluster size, leave it at Default value.
- Finally, click START to create the ISO file on your USB.

Install Windows version 23H2:
- Disconnect your PC from the internet (this is to avoid automatic upgrade to 24H2).
- With the bootable USB plugged in, restart your computer.
- Press the key that opens the boot-device selection menu, like Esc, F10, F8 or F12. Choose the option to boot the device from the flash drive.
- Select the correct options for your Language, Time and currency, and Keyboard input method, then click Next.
- Click Install now.
- In the next window, you should type in your product key. If you currently don't have access to it, you can do it later by pressing I don't have a product key. Click Next.
- Select the Windows edition you are already using (this is important because a Windows 11 Pro Edition will not work if your product key is for Windows 11 Home) and click Next.
- Agree to Terms and click Next.
- Select Custom: Install Windows only (advanced) option.
- Pick the drive you want to install Windows on and click Next.
- Wait till the process is finished and reboot your system.
- Once done, you will be shown the usual Windows interface where you will be able to pick your country, set up a PIN etc.

Bottom line
If you're experiencing issues after upgrading to Windows 24H2, you can downgrade to 23H2 within 10 days using the built-in recovery option. If the 10-day window has passed, you will need to manually reinstall Windows 23H2. If none of these solutions work, consider seeking further technical support.
Frequently asked questions
To downgrade, go to Settings > System > Recovery, and select 'Go back' to the previous version. Ensure your system is backed up before initiating the downgrade process.
Yes, the downgrade process should retain your personal files, but it's always recommended to back up important data beforehand. Check for any incompatible applications that may need reinstallation post-downgrade.
The downgrade process typically takes around 30 minutes to an hour, depending on your system's performance and the amount of data. Make sure your device is plugged in to avoid interruptions.


Report an issue
What's wrong with this guide? We review every report and update or remove content.
Report received — thank you. We'll review and fix it.
You need a free account to submit a report.
Be the first to comment