How to remove
HomeGroup
from Windows
Easily remove HomeGroup from Windows 10 with our expert-tested guide. Clear it out in minutes and enjoy a clutter-free experience! Updated 2025.

How does How to Remove HomeGroup From Windows 10 end up on your PC?
- HomeGroup feature is not needed by the user
- User does not share files or documents
- HomeGroup icon is still visible after leaving
- User prefers a cleaner File Explorer
- HomeGroup is considered a useless function by some
Repairs Windows system files, removes malware, and restores a clean OS state — without reinstalling.
HomeGroup feature is useless for me. I am the only one who uses this computer, and I am not going to share any files or documents with others. Thus, I would like to remove this feature from Windows 10. Could you tell me how?
HomeGroup is a useful Windows feature that allows sharing files and devices easily between computers that are connected to the same network. This feature has appeared in Windows 7 for the first time. Thus, all the further versions of the OS includes this feature too. It’s a secure way to share documents and other important content because HomeGroups are protected with passwords.
However, some computer users do not find this feature necessary. Thus, there’s no need to keep HomeGroup icon available in File Explorer. Just like many other useless functions and features, this one might also be disabled quite easily. Below you will find two ways how to remove HomeGroup from Windows.
If you are concerned that you may need this feature in the future, you should not worry about it. HomeGroup can be easily re-enabled.
Disabling HomeGroup on Windows 10
If you do not use this feature and want to get rid of HomeGroup icon from the File Explorer menu, you should try these two methods.
Option 1. Leave the HomeGroup
The quickest and simplest way to remove HomeGroup is to leave it.
1. In the search box enter “homegroup” and click enter.
2. In the appeared list of search results find HomeGroup and chose it.
3. In the appeared window go to Other homegroup actions section. Here click a Leave the homegroup… link.
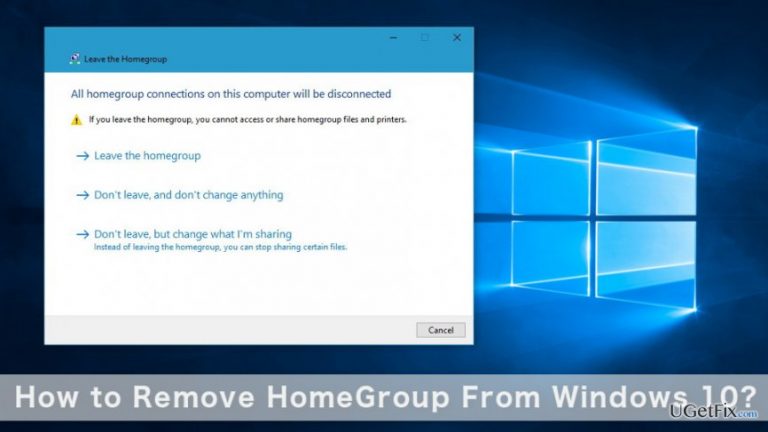
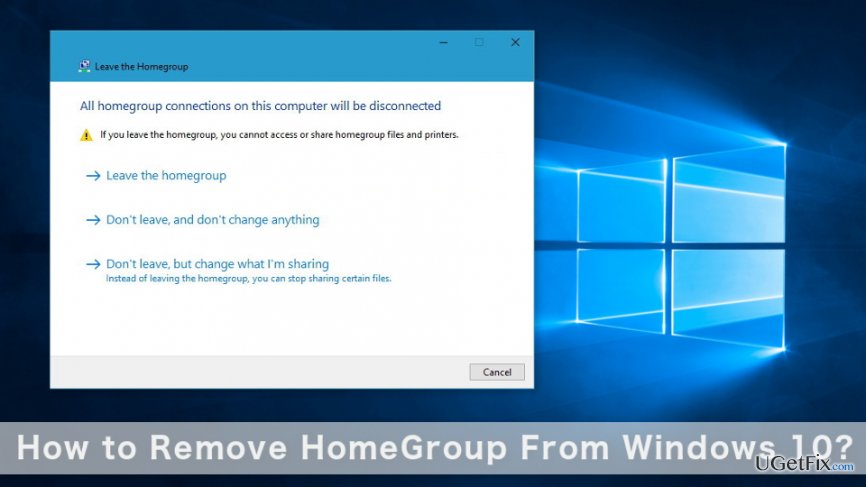
4. In the appeared Leave the Homegroup window, you will see three options. You will have to choose the one saying “Leave the homegroup."
5. Wait until the changes are made.
Nevertheless, you have left HomeGroup; you still see its icon in the File Explorer. Follow these steps to remove it too:
1. Press Windows Key + R. Enter services.msc and press Enter. Then click OK.
2. In the appeared Services window, find HomeGroup Listener and double click it.
3. When the Homegroup Listener Properties window appears, set the Startup type to Disabled. Then click the Stop button below.
4. Click Apply and then OK to save the changes.
Option 2. Edit the Registry
We recommend trying this method only if the first option hasn't helped. Bear in mind that this method requires making changes in Windows Registry. Thus, we suggest backing up the registry in order to avoid damage in case of the failure.
1. In the search type regedit and click OK. In the appeared list of search results choose the Registry Editor.
2. When in Registry Editor, find this key in the left pane:
HKEY_LOCAL_MACHINE\Software\Classes\CLSID\{B4FB3F98-C1EA-428d-A78A-D1F5659CBA93}
Note. Be careful and do not confuse CLSID and .CLSID entries. They are different, and you need CLSID.
3. Once you find a necessary registry entry, right click on it. Go to New -> DWORD (32-bit) Value. The new value has to be called System.IsPinnedToNameSpaceTree.
Once it’s done, Windows should automatically set a new value for DWORD to zero. Thus, HomeGroup will disappear from the File Explorer menu.
If DWORD value was not set automatically, follow these steps:
1. Right-click on the registry.
2. Go to Permissions -> Advanced -> Change.
3. Now you have to enter your Windows username in the box near Check Objects option.
4. Click OK.
5. Return to the first permission screen. Here you have to highlight the Users line and then tick the checkbox that allows a Full Control.
Bottom line
To remove HomeGroup from Windows 10, you can leave the HomeGroup and then disable the HomeGroup services. If you still see the icon in File Explorer, follow the steps to disable the HomeGroup Listener service. If these methods do not work, consider seeking further assistance or checking for updates.
Frequently asked questions
To remove HomeGroup, open Control Panel, go to 'Network and Internet,' select 'HomeGroup,' and then click on 'Leave the homegroup.'
HomeGroup cannot be uninstalled as it is a built-in feature, but you can disable it by leaving the homegroup and removing it from your network settings.
Removing HomeGroup will not affect other network functionalities, but you may need to adjust file sharing settings if you used HomeGroup for sharing files.




Report an issue
What's wrong with this guide? We review every report and update or remove content.
Report received — thank you. We'll review and fix it.
You need a free account to submit a report.
Be the first to comment