How to remove
$SysReset Folder
from Windows
Easily remove the $SysReset folder from Windows 10 with our expert-tested guide. Clear space and keep your system tidy, fixed in minutes!
How does How to Remove $SysReset Folder on Windows 10 end up on your PC?
- System Reset process fails
- Logs storage for investigation
- Creation by Microsoft Windows OS
- Not associated with malware
- Hidden by default in File Explorer
Repairs Windows system files, removes malware, and restores a clean OS state — without reinstalling.
I recently entered C: partition and noticed $SysReset folder, which I have never noticed before. For the past week, my PC got sluggish, so I wonder if that folder is not related to a virus? Full scan did not find virus on the system. Could you please tell me what the $SysReset folder is and should I keep it?
The $SysReset folder in the root drive (usually C:) is a storage of logs, which contain .etl files. This folder is not associated with malware. It’s created by Microsoft Windows OS when the system fails to perform System Reset. Normally, Windows creates SysReset folder where all information that may be useful for investigators regarding log files and migration of XML documents is kept. If, for some reason, the Reset/Refresh process fails, the system automatically creates the $SysReset folder. It contains .etl files of a different name (sysreset_exe_BootUX.etl) inside C:\\recovery\\Logs. The purpose of this folder is to help users isolate the culprit of the System Reset failure.

Since the $SysReset folder is not a default folder that could be seen on the root drive, people often get tricked into thinking that it may be related to virus, which is not the case. To save free space on the system, you may want to remove the $SysReset folder completely. Unfortunately, PC optimization tools will not remove it automatically, so the only option you have is to perform the removal manually.
A Guide on How to Uninstall $SysReset Folder from Windows Root Drive
By default, $SysReset is hidden, meaning that you won’t see it in the File Explorer. Therefore, to get the ability to remove it, you’ll have to configure the File Explorer to display protected operating system files and hidden files and folders. For this purpose you should:
1. Open the C: drive (Windows 10) known as root of the Windows 10 installation drive.
2. Click File and select Change folder and search options.
3. When Folder Options window opens, expand View tab.
4. Select Show hidden files, folders, and drives.
5. Uncheck the Hide protected operating system files option and click Apply to save the changes.

NOTE: removal of $SysReset folder is completely safe. You won’t lose any personal files or damage system’s integrity as the folder contains the log files of the failed System Reset operation. To delete the folder, you have to:
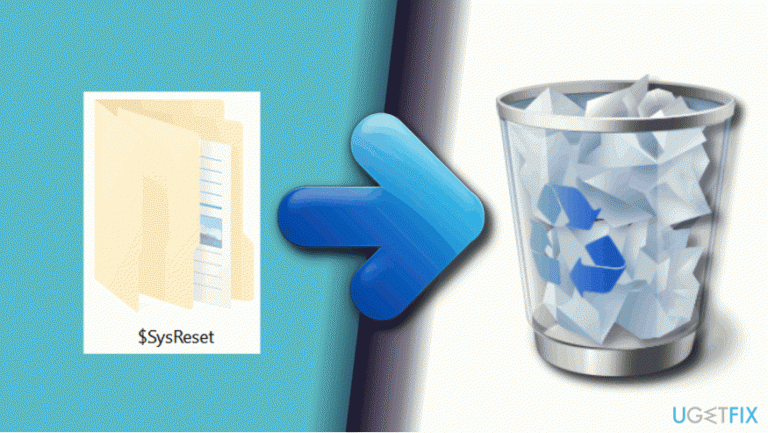
1. Right-click on the $SysReset folder and click Delete. After that, you’ have to empty the Recycle Bin.

2. To remove the folder completely, click on it, press and hold Shift key and then click Delete key.

You may be asked for administrator password to delete $SysReset folder. Thus, if you encountered a warning saying “You’ll need to provide administrator permission to delete this folder,” click Continue. Then enter you admin account password and the folder will be removed.
Bottom line
To remove the $SysReset folder, you need to configure File Explorer to show hidden files and protected operating system files. Follow the steps provided to access the folder and delete it manually. If these steps do not resolve the issue, consider seeking further assistance from a tech professional.


Report an issue
What's wrong with this guide? We review every report and update or remove content.
Report received — thank you. We'll review and fix it.
You need a free account to submit a report.
Be the first to comment