How to fix
Spotify error code 4
on Windows
Resolve Spotify error code 4 on Windows 10 and 11 easily. Follow expert-tested solutions to get your music playing again in minutes!

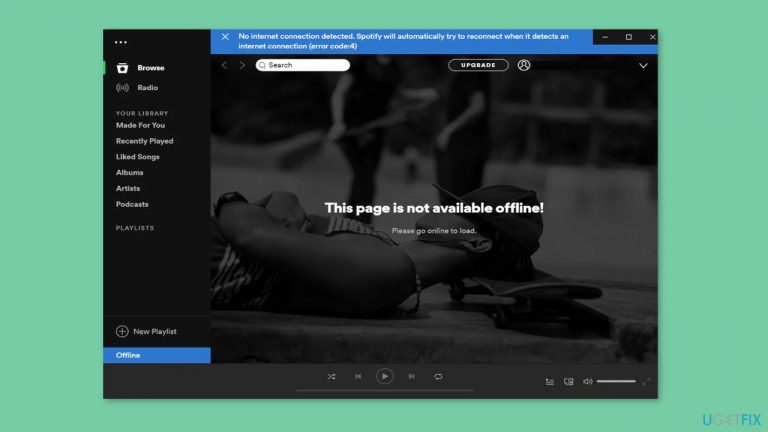
What causes How to fix Spotify error code 4 in Windows?
- Network connectivity issues
- Firewall blocking the app
- Antivirus blocking the app
- Outdated drivers
- Corrupted system files
Repairs Windows system files, removes malware, and restores a clean OS state — without reinstalling.
Hello. I tried to listen to music on Spotify but I received the error code 4. How do I fix this?
Spotify is a popular audio streaming platform with millions of songs, podcasts, and other audio content to choose from. Spotify can be accessed via its desktop application, mobile app, and web player. However, some Spotify users report error code 4 when using the desktop app.
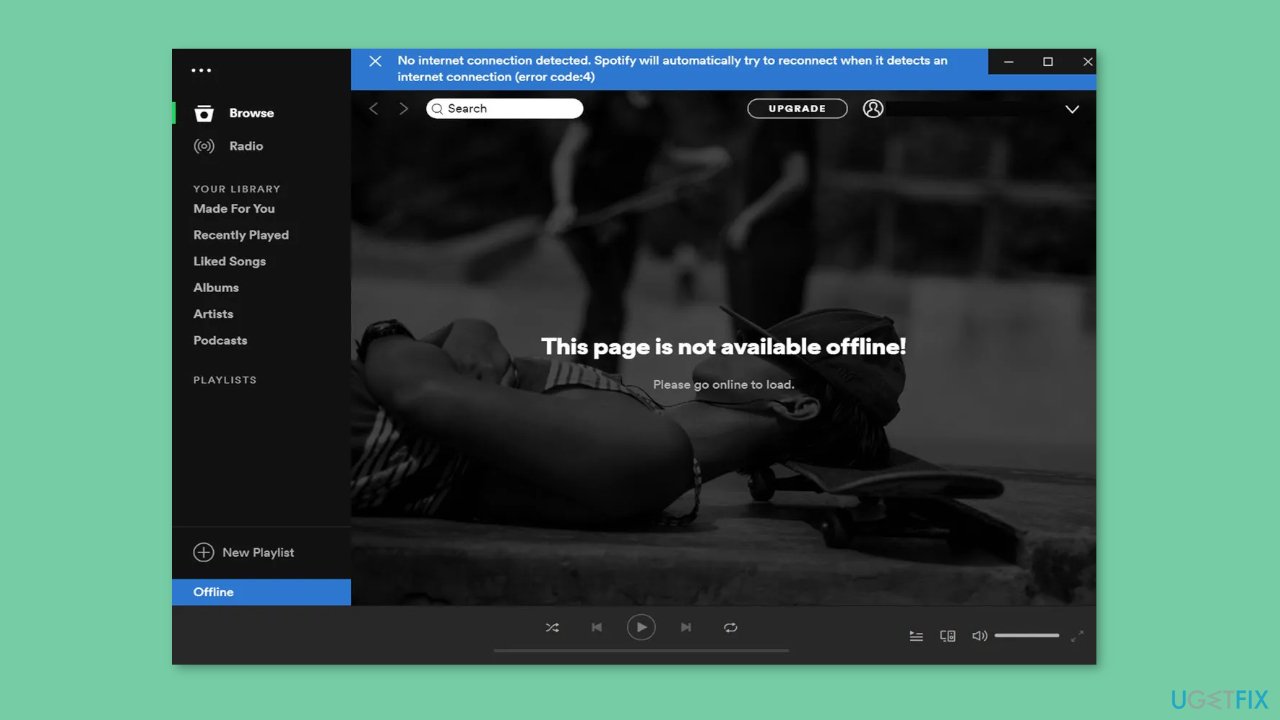
The Spotify error code 4 problem prevents users from streaming or downloading music. When the Spotify desktop app is unable to connect to the internet, this error message appears. It could happen for a variety of reasons, such as network connectivity issues, a firewall or antivirus blocking the app, outdated drivers, or corrupted system files.
The consequences of this issue can be aggravating for Spotify users who rely on the service for music listening. They may be unable to listen to their favorite songs or download new ones, resulting in a negative user experience.
Users can try various troubleshooting steps to resolve this issue. They can check their network connection and disable any firewalls or antivirus software that are preventing the app from working. Updating network drivers or reinstalling the Spotify app may also aid in the resolution of this problem. In the app settings, users can also try clearing the cache or disabling hardware acceleration.
In this guide, you will find 7 steps that should help you fix Spotify error code 4 in Windows. However, you can also use a repair tool like [d1] that can fix most system errors, BSODs,[ref en-1] corrupted files, registry[ref en-2] issues, or clear cookies and cache[ref en-3] automatically. Otherwise, follow the step-by-step instructions below.
Solution 1. Flush DNS
- Press the Windows key + R to launch the Run command box.
- Type ipconfig /flushdns command in the text field.
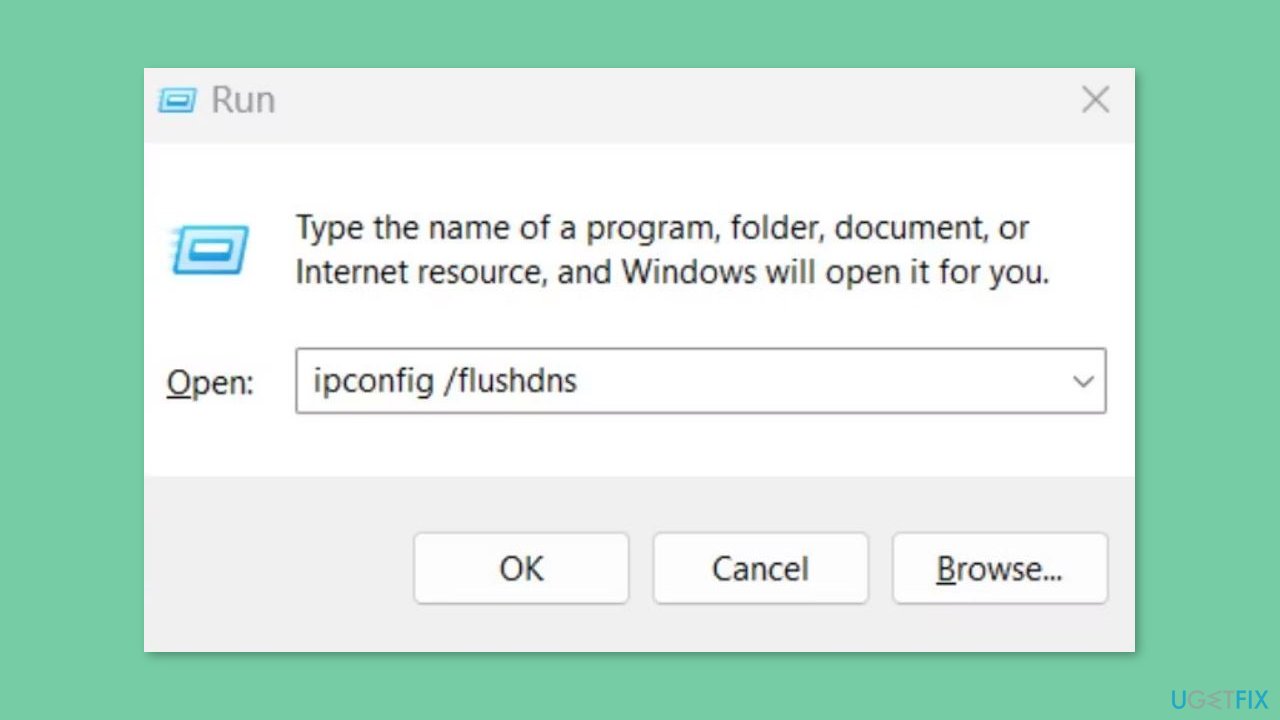
- Press Ctrl + Shift + Enter keys at once.
- The Command Prompt window will launch with administrator privileges.
- The ipconfig /flushdns command will be executed automatically in the Command Prompt window.
- Once the command is executed, the Command Prompt window will close automatically.
Solution 2. Select HTTP as Proxy Type
- Open the Spotify app on your device.
- Click the username button located at the top of the app to view its menu.
- From the menu, select the Settings option to view Spotify's settings.
- In the Settings menu, locate and click the Proxy option.
- Click the Proxy type drop-down menu and select HTTP from the available options.
- After selecting HTTP, click the Restart App button to apply the changes.
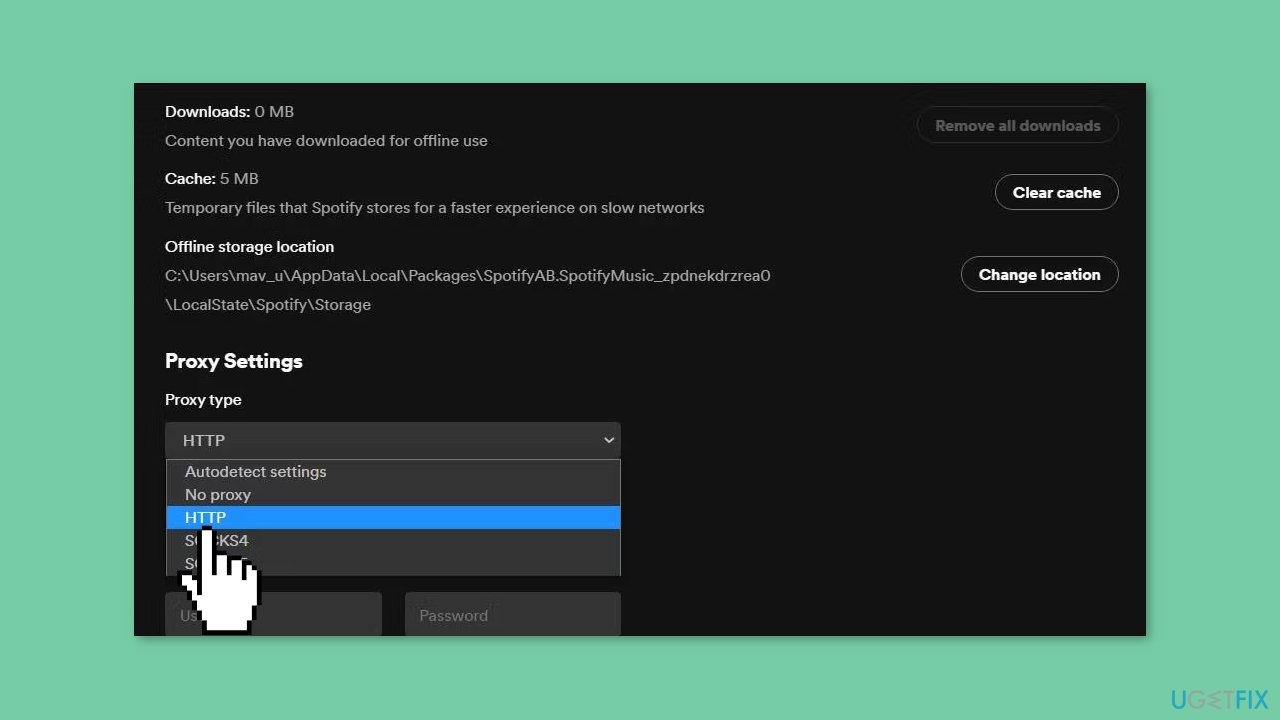
- Wait for Spotify to restart and apply the new proxy settings.
Solution 3. Edit DNS Server Settings
- Click the Start button and select the Settings app.
- Select Network and Internet.
- From the Network and Internet menu, click on the Wi-Fi or Ethernet option depending on your connection type.
- Select your Wi-Fi or Ethernet network adapter from the list of options available in the Advanced network settings.
- Click the View additional properties option to view the adapter's properties.
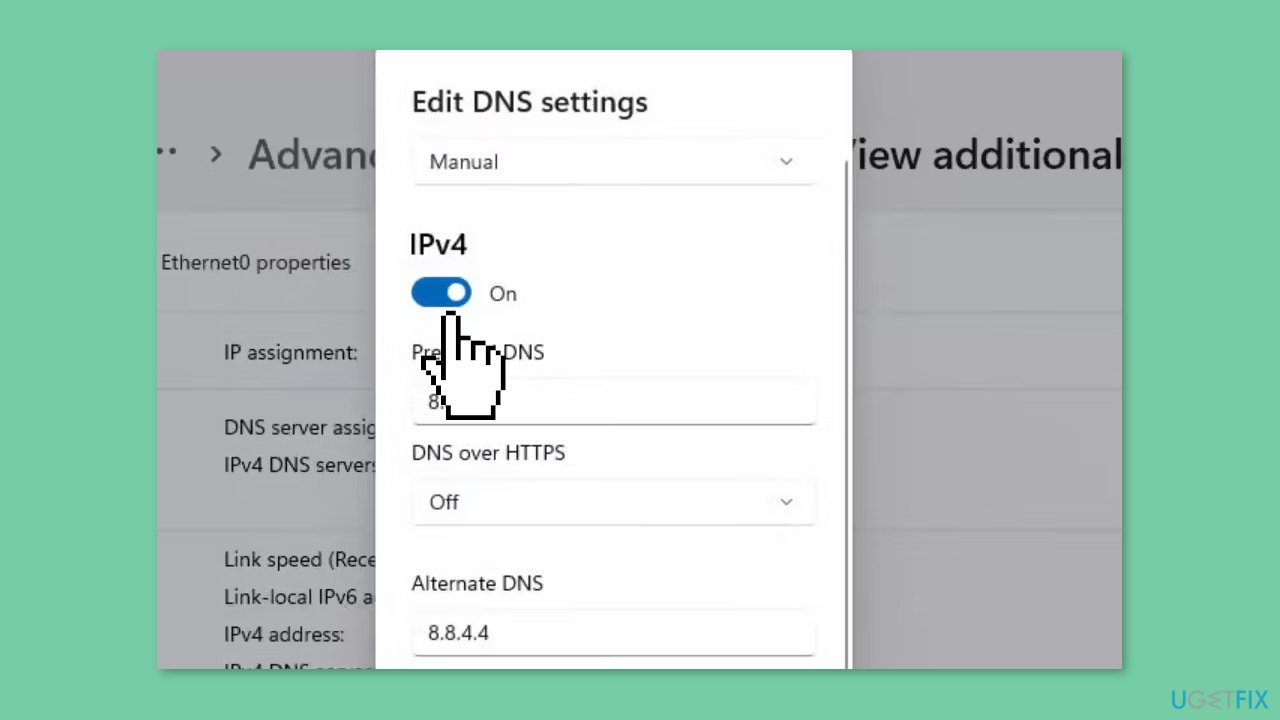
- Find the DNS server assignment section and click the Edit button.
- In the Edit DNS server pop-up window, select the Manual option.
- Turn on the IPv4 option if it's not already enabled.
- Enter the new DNS server addresses in the Preferred DNS - 8.8.8.8 and Alternate DNS - 8.8.4.4 boxes.
- Click the Save button to apply the changes.
Solution 4. Modify the Registry
- Press the Windows key + S to open the search box.
- Inside the search box, type regedit to locate the Registry Editor.
- Select Registry Editor from the search results.
- Click within the address bar located at the top of the Registry Editor to clear the current location.
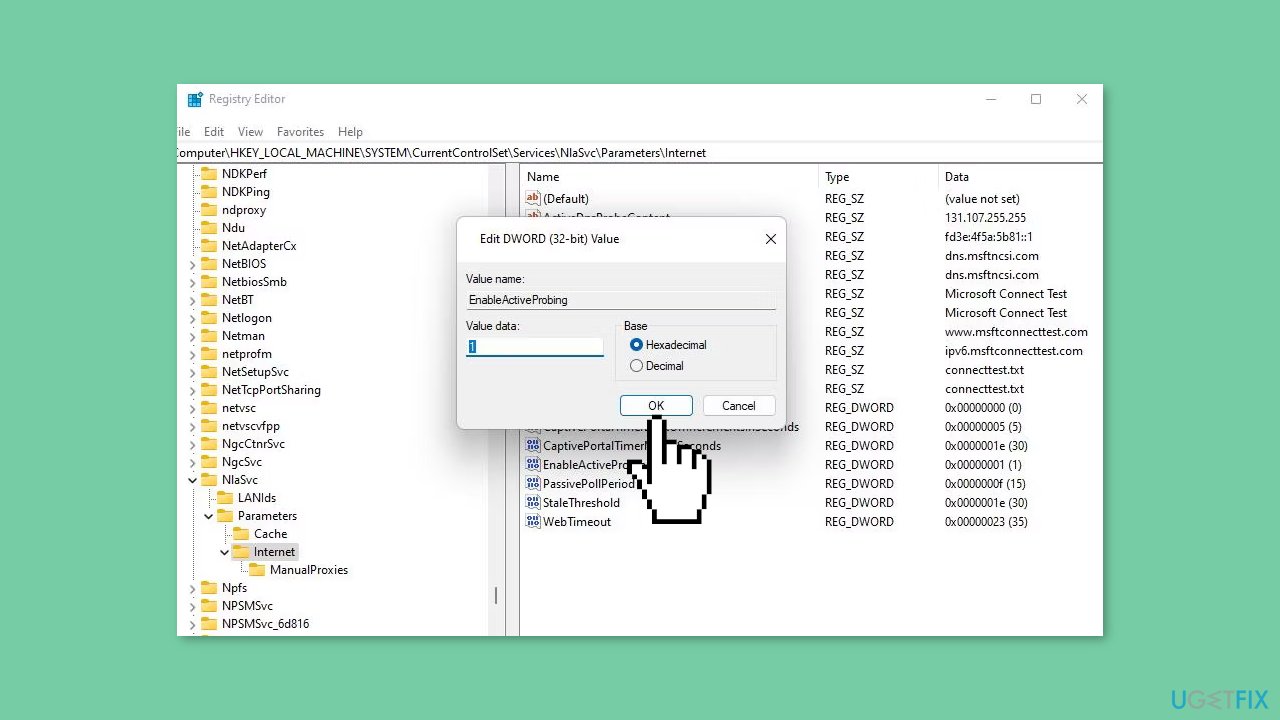
- Input the following path in the address bar: Computer\HKEY_LOCAL_MACHINE\SYSTEM\CurrentControlSet\Services\NlaSvc\Parameters\Internet
- Navigate to the EnableActiveProbing DWORD by locating it within the Internet key.
- Right-click on the EnableActiveProbing DWORD and select Modify.
- If the EnableActiveProbing value is set to 0, clear the Value data box.
- Input 1 inside the Value data box to set the new EnableActiveProbing value.
- Click the OK button to save the changes.
Solution 5. Exclude Spotify from Windows Security
- Double-click on the shield icon of the Windows Security app in the system tray. If you can't find it, click the Show hidden icons arrow button to locate it.
- Select Virus & threat protection on the Home tab of the Windows Security app.
- Click the Manage settings navigation option.
- Scroll down to the Exclusions subheading and click on the Add or remove exclusions option below it.
- Click the Add an exclusion button to view an options menu.
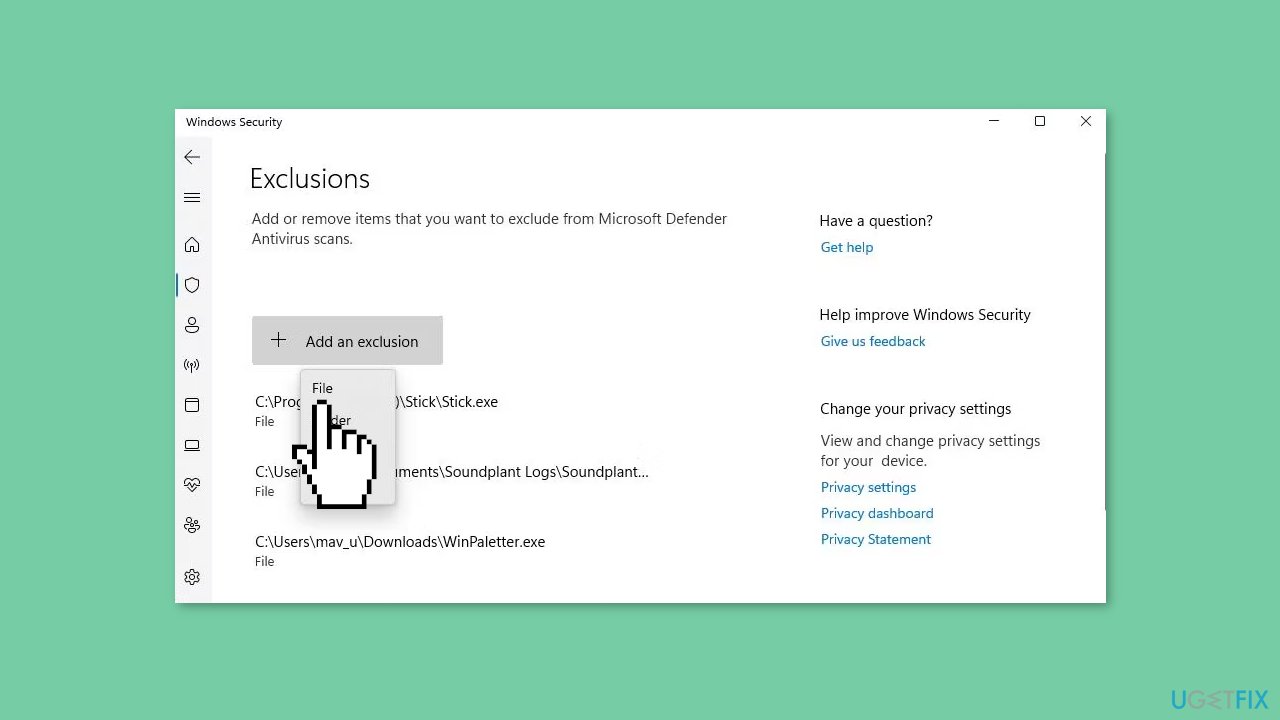
- Select the File option from the menu.
- Choose spotify.exe from the list.
- Click the Open button to add the selected program to Windows Security's exclusion list.
- After adding the program to the exclusion list, Windows Security will no longer scan it.
Solution 6. Turn Off Windows Defender Firewall
- Click on the Start button and search for Windows Security.
- Select the result from the top of the list.
- Once you're in Windows Security, click on the Firewall & network protection option.
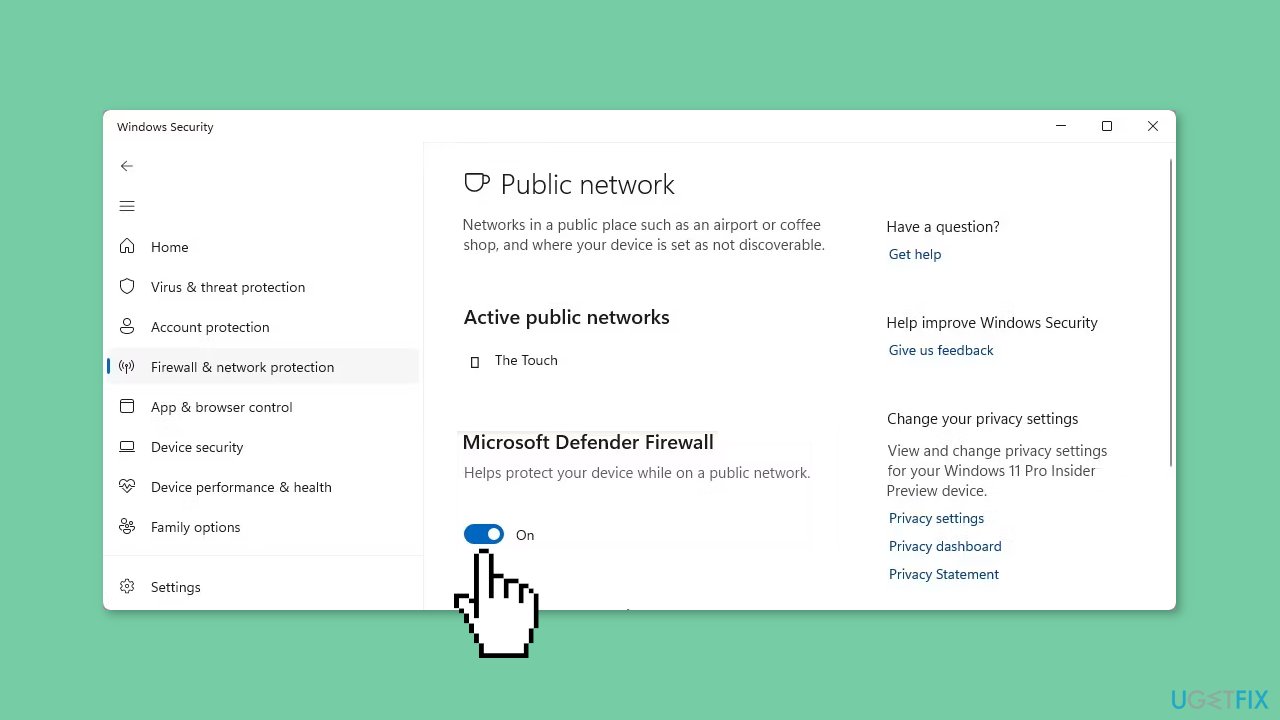
- Select either the Public network or Private network profile for which you want to turn off the firewall.
- Click on the toggle switch to turn off the firewall for the selected profile.
- If the User Account Control (UAC) prompt appears on the screen, click Yes to continue. Make sure your computer has admin account privileges to do this.
Solution 7. Reinstall Spotify
- Press the Start menu button and select All apps.
- Scroll down to find the Spotify app on the Start menu.
- Right-click on Spotify and select Uninstall. If you have installed the desktop Spotify app, it will open Programs and Features from where you can select the software and click Uninstall. If you have installed the UWP Spotify app, you can select Uninstall on a confirmation prompt.
- Open the Spotify Windows download page.
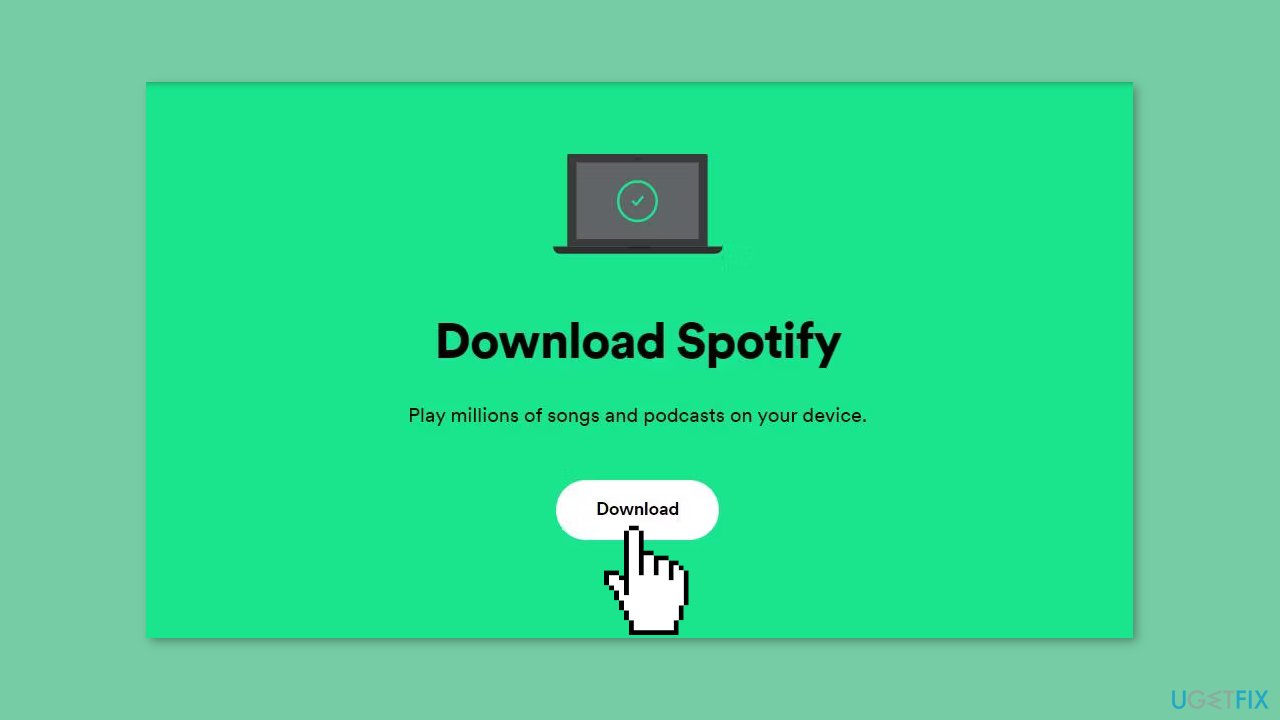
- Click on Download to get the installer for the desktop Spotify app.
- Open the Explorer file manager along with the folder in which Spotify downloaded.
- Double-click the SpotifySetup.exe file to bring up the setup wizard and install Spotify.
Bottom line
To fix Spotify error code 4 in Windows, users can check their network connection, disable firewalls or antivirus software, update network drivers, or reinstall the Spotify app. Additionally, clearing the cache or disabling hardware acceleration in the app settings may help. If none of these solutions work, consider using a repair tool to fix system errors.
Frequently asked questions
Spotify error code 4 typically indicates a problem with the app's installation or a network connectivity issue on your Windows 10 or Windows 11 device.
To fix Spotify error code 4 on Windows 11, try reinstalling the app, clearing the app cache, or checking your internet connection settings.
To prevent Spotify error code 4 on Windows 10, ensure that your app is always updated to the latest version and regularly check your network settings for any issues.




Report an issue
What's wrong with this guide? We review every report and update or remove content.
Report received — thank you. We'll review and fix it.
You need a free account to submit a report.
Be the first to comment