How to fix
HyperX Cloud Stinger mic is not detected or not recognized
on Windows
Resolve your HyperX Cloud Stinger mic issues on Windows 10 or 11 quickly and easily. Expert-tested solutions ensure your mic is back in action—fixed in …


What causes How to fix HyperX Cloud Stinger mic is not detected or not recognized?
- Faulty hardware
- Outdated drivers
- Incorrect audio settings
- Compatibility issues
- Firmware updates
Repairs Windows system files, removes malware, and restores a clean OS state — without reinstalling.
Hello. I just bought the HyperX Cloud Stinger gaming headset but when I try to use the built-in microphone, it is not detected. What should I do?
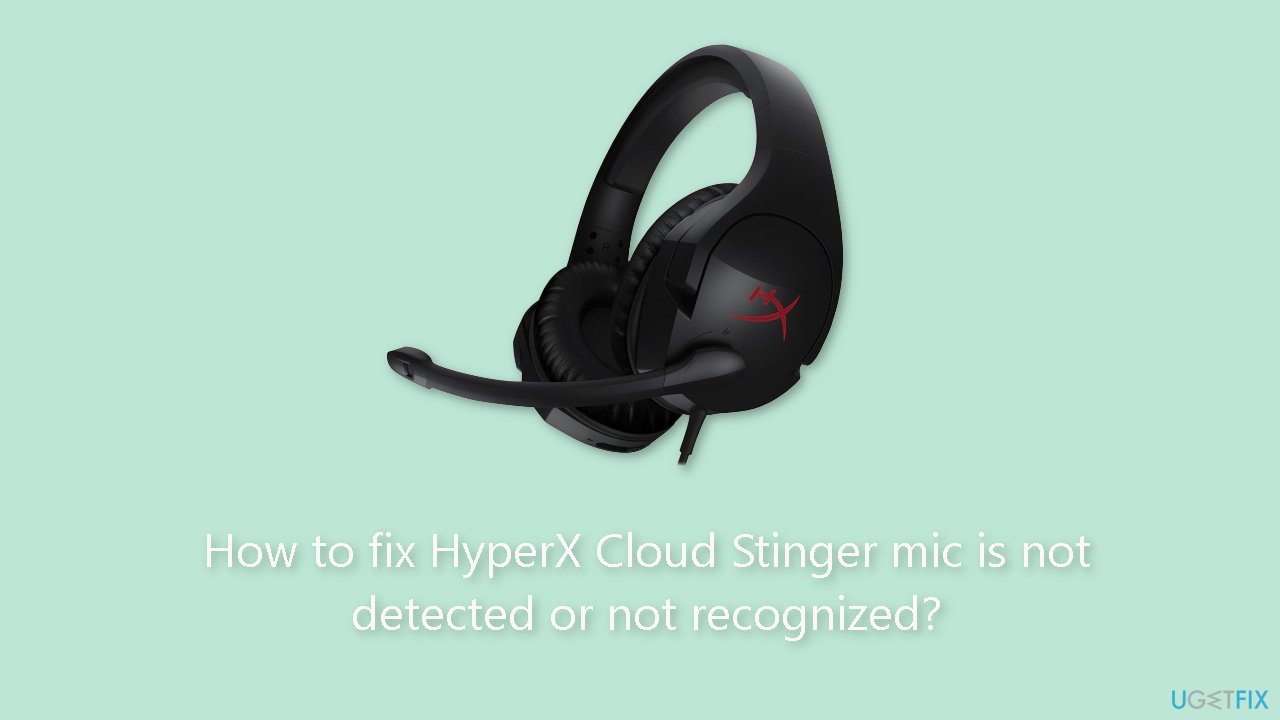
The HyperX Cloud Stinger headset is popular among gamers and other users who require high-quality audio for their activities. It has an in-built microphone that allows users to communicate with others while playing multiplayer games, video conferencing, or using voice chat. However, some users may encounter problems with their HyperX Cloud Stinger microphone not being detected or recognized by their device, which can be inconvenient and negatively impact their overall user experience.
This problem can occur for a number of reasons, including faulty hardware, outdated drivers,[ref en-1] or incorrect audio settings. When the microphone is not detected or recognized, users may be unable to effectively communicate, causing disruptions during gameplay, meetings, or other activities. This can be especially troublesome for gamers who rely on clear communication to coordinate with their team, as well as remote workers who need to communicate with their colleagues during virtual meetings.
There are several potential solutions to this problem, including checking the device's audio settings, updating the drivers, or testing the headset on another device to see if the problem is with the hardware. Checking for firmware updates for the headset or checking for compatibility issues between the device and the headset are two other possible solutions.
In this guide, you will find 4 steps that should help you fix HyperX Cloud Stinger mic not detected or not recognized. If you experience this issue with Windows, you can try using a maintenance tool like [d1] that can fix most system errors, BSODs,[ref en-2] corrupted files, and registry[ref en-3] issues. Otherwise, follow the step-by-step instructions below carefully.
Method 1. Check the Connectivity
- Check your audio settings manually, specifically for audio mute settings.
- Verify that your headphone is connected properly to your device, especially if it's not working or accidentally muted.
- Use the proper extension cable (splitter) with separate headphone and microphone jacks to connect your HyperX Cloud Stinger to your PC headphone output and input ports (or on other gaming devices).
- Check whether all your connections are properly plugged in, including the extension cable connections.
- For the microphone, make sure it's plugged in all the way and not hanging loosely.
- Check the volume knob on the right ear to ensure the microphone isn't muted or the volume isn't too low.
Method 2. Check for Damage
Physical damage can sometimes lead to multiple audio-related problems. If you're unsure whether your headset is physically intact, it's important to check for any damage.
Method 3. Update Audio Drivers
- Press the Windows key + X to open the Quick Link Menu.
- Click on Device Manager to open it.
- Double-click on Sound, video, and game controllers.
- Right-click on the active or problematic audio device.
- Select Update driver.
- Click on Search automatically for drivers.
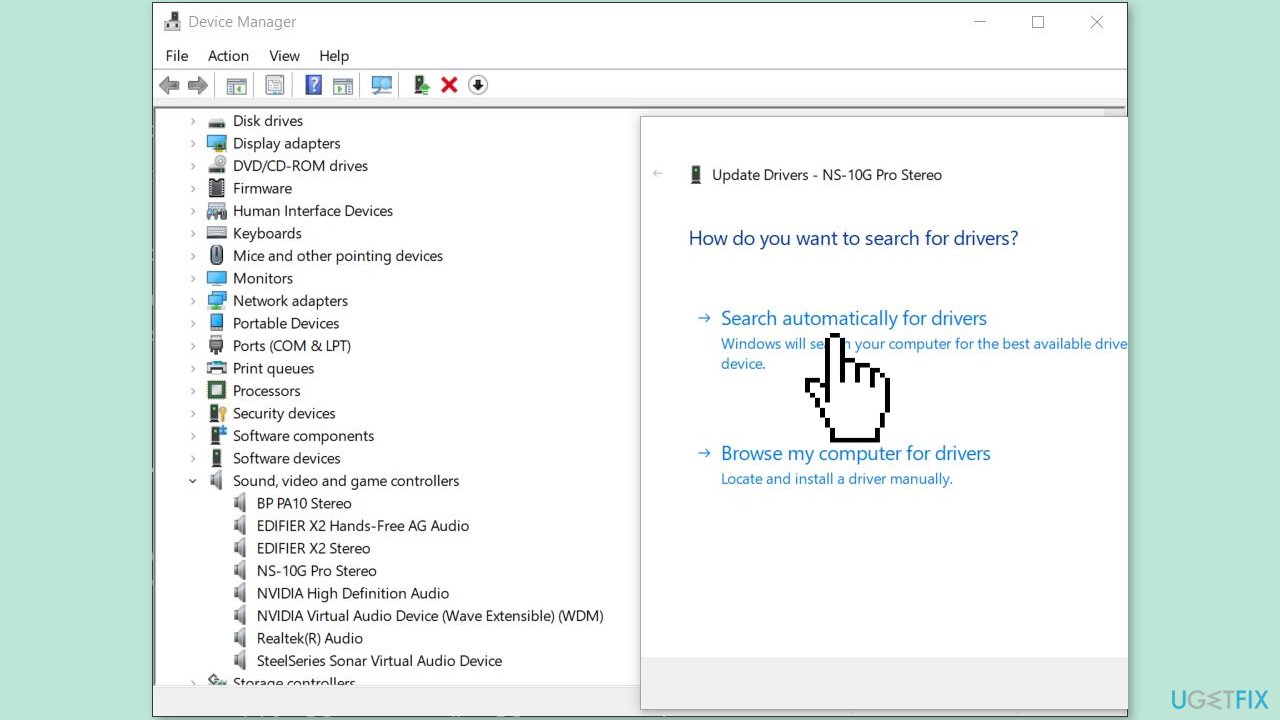
- If there is an update available, the system will automatically check for it and install the update.
- Once the update is complete, make sure to reboot the system to apply changes.
You can also use a dedicated utility like [rev id="DriverFix"] that can find the best drivers for your machine and install them automatically.
Method 4. Install System Updates
Windows:
- Press the Windows key + I to open up the Windows Settings menu.
- Click on Update & Security.
- Select Check for updates under the Windows Update section.
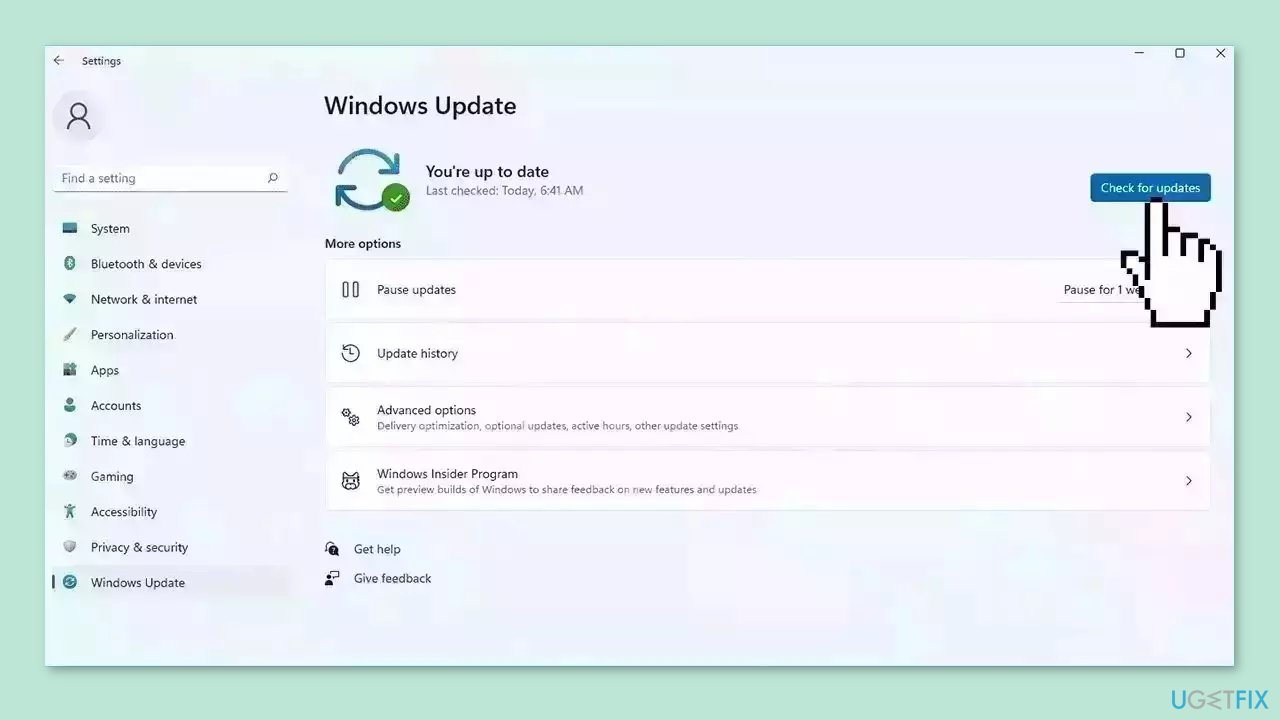
- If there is a feature update available, select Download and install.
- Wait for the update to complete.
- Once done, restart your computer to install the update.
Xbox:
- Press the Home button on the Xbox console to open the Dashboard menu.
- Select Settings from the bottom of the menu.
- Select All Settings.
- Choose to System.
- Select Updates.
- Select Update Console (if available).
- Follow the on-screen prompts to complete the update process.
- Once done, restart the console to apply changes.
PlayStation:
- Go to the Settings menu on the PlayStation console.
- Select System Software Update.
- Check for available updates and follow the on-screen instructions to complete the update process.
- Once done, reboot the system to apply changes.
Nintendo Switch:
- Select the System Settings on the HOME menu.
- Scroll down the menu and select System.
- Select System Update to start the process.
- The system will check if a new system update is available.
- If there is an update available, the download process will begin automatically.
- Wait for the update to complete.
Bottom line
To fix the HyperX Cloud Stinger mic not being detected, you can check the audio settings, update the drivers, test the headset on another device, and look for firmware updates. If these solutions do not resolve the issue, consider using a maintenance tool to address system errors.
Frequently asked questions
Your HyperX Cloud Stinger mic may not be detected due to incorrect audio settings or outdated drivers. Ensure that the mic is set as the default recording device in your sound settings and check for driver updates.
To troubleshoot your HyperX Cloud Stinger mic on Windows 11, try unplugging and replugging the headset, and check the privacy settings to ensure that apps have permission to access the microphone.
If your HyperX Cloud Stinger mic is not working after a Windows update, you may need to roll back the audio driver or reinstall it via Device Manager to restore functionality.




Report an issue
What's wrong with this guide? We review every report and update or remove content.
Report received — thank you. We'll review and fix it.
You need a free account to submit a report.
Be the first to comment