How to fix
Klif.sys BSOD
on Windows
Resolve klif.sys BSOD errors on Windows 10 and 11 effortlessly. Follow our expert-tested solutions and get your PC running smoothly in minutes.

What causes How to fix klif.sys BSOD in Windows?
- Malfunction of klif.sys file
- Corrupted system files
- Presence of Kaspersky Anti-Virus
- Presence of Zone Alarm software
- Unexpected system crashes
- Data loss or damage
Repairs Windows system files, removes malware, and restores a clean OS state — without reinstalling.
Hello. I keep getting a klif.sys Blue Screen error every few days. What could it be and can I fix it?
When the Klif.sys file, which is a software component of Kaspersky Anti-Virus, malfunctions, the klif.sys BSOD (Blue Screen of Death) error in Windows occurs. This file is an essential driver[ref en-1] component of antivirus software and is typically found in the C:WindowsSystem32drivers folder. The klif.sys file is also used by CheckPoint Software Technologies' Zone Alarm software.
Blue Screen Errors are serious errors that occur in Windows when the system crashes. When the klif.sys file causes a Blue Screen Error, the system may crash unexpectedly, resulting in data loss or damage. Users may see a blue screen with an error message, or the system may automatically restart.
Users who have Kaspersky Anti-Virus or Zone Alarm installed on their computers may be affected by this issue. It can cause significant inconvenience and data loss, and restoring the system to its previous state may take some time. Uninstalling klif.sys with a removal tool is one option for resolving the BSOD error. To resolve the issue, you can also perform a system restore or repair installation of Windows.
In this guide, you will find 6 steps that should help you fix klif.sys BSOD in Windows. We also recommend trying a system repair tool like [d1]. It can fix most system errors, BSODs,[ref en-2] corrupted files, and registry[ref en-3] issues automatically. Otherwise, follow the step-by-step instructions below.
Method 1. Fix Corrupted System Files
Use Command Prompt commands to repair system file corruption:
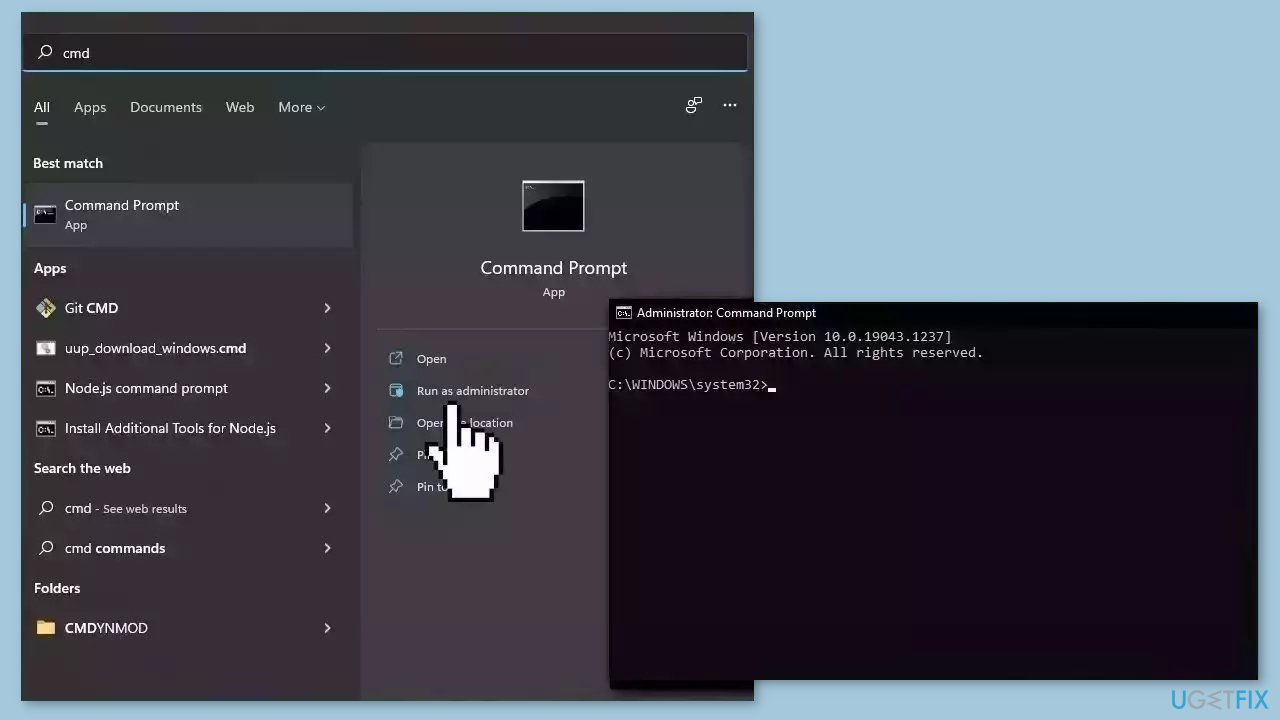
- Open Command Prompt as administrator
- Use the following command and press Enter:
sfc /scannow
- Reboot your system
- If SFC returned an error, then use the following command lines, pressing Enter after each:
DISM /Online /Cleanup-Image /CheckHealth
DISM /Online /Cleanup-Image /ScanHealth
DISM /Online /Cleanup-Image /RestoreHealth
Method 2. Remove Klif.sys
- Press the Windows key + R simultaneously to open the Run dialog.
- Type or copy and paste the path C:\Windows\System32\drivers in the Run dialog box.
- Hit the Enter key to go to the location.
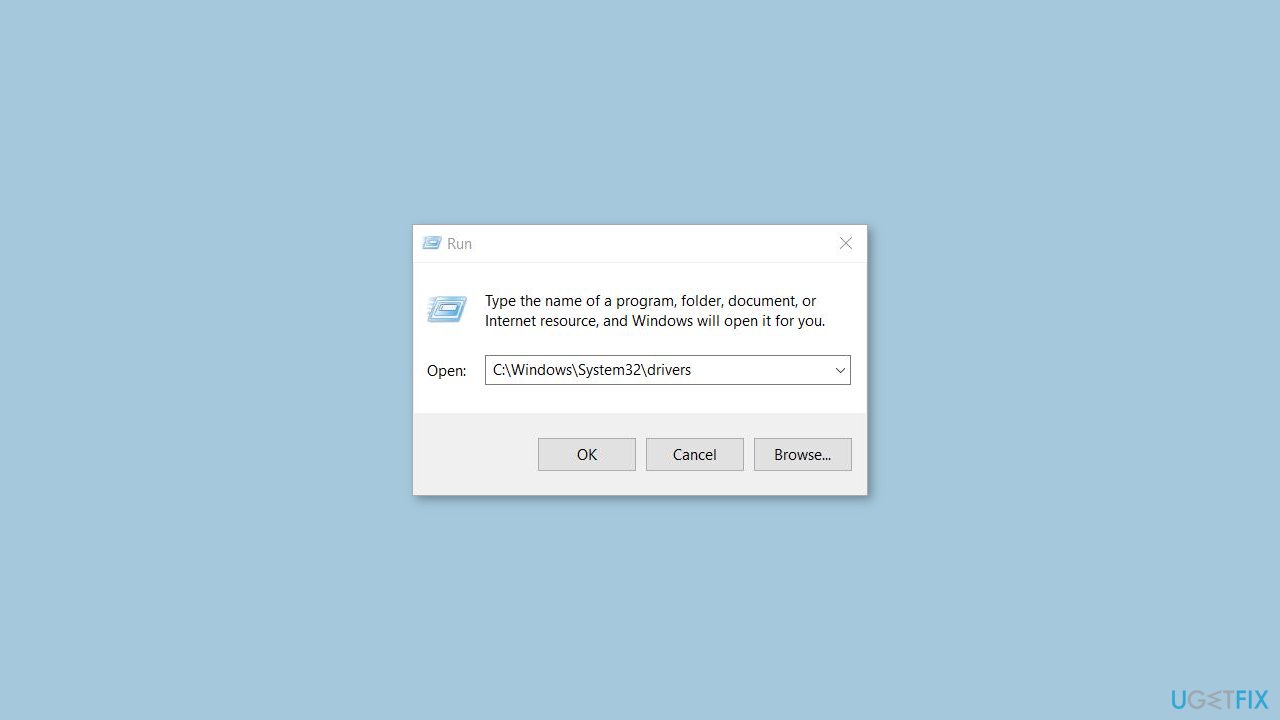
- Look for the Klif.sys file and delete it.
- Open the Run dialog box again by pressing the Windows key + R.
- Type or copy and paste the path C:\Windows\System32\DriverStore in the Run dialog box.
- Hit the Enter key to go to the location.
- Look for the Klif.sys file and delete it.
- Reboot your system to ensure the changes take effect.
Method 3. Uninstall Kaspersky
- Go to the official Kaspersky website and download the Kavremover tool.

- Once the download is complete, navigate to the downloaded file location.
- Double-click on kavremvr.exe to launch the application.
- If prompted by User Account Control (UAC), click on Yes to allow the application to make changes to your device.
- On the Kavremover tool window, click on the Remove button.
- Wait for the tool to complete the removal process.
- Once done, restart your computer to ensure that all Kaspersky products have been successfully removed.
Method 4. Uninstall Third-Party Security Software
- Click on the Windows Start menu in the bottom left-hand corner of your screen.
- Type Control Panel into the search bar and click on the corresponding result.
- Click on Programs or Programs and Features depending on the version of Windows you're using.
- Scroll through the list of installed programs until you find the antivirus software you want to remove.
- Click on the antivirus program to select it, and then click on the Uninstall button at the top of the list.
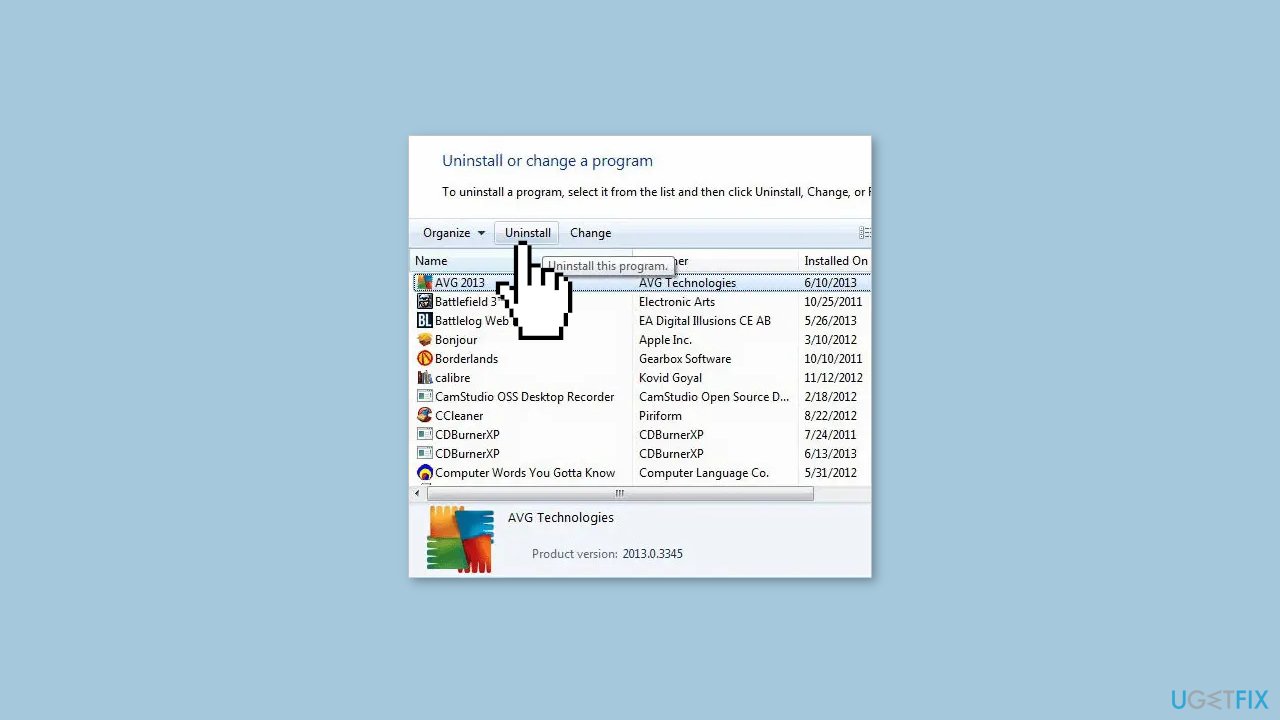
- Follow the prompts in the uninstall wizard to complete the removal process.
- If prompted, restart your computer to complete the uninstallation process.
Method 5. Use System Restore
System Restore is a feature in Microsoft Windows that allows users to revert their computer's state to a previous point in time. This can be helpful if you have made changes to your system that are causing problems.
- Press the Windows key + R on your keyboard to open the Run box.
- Type SystemPropertiesProtection and press Enter.
- Go to the System Protection tab.
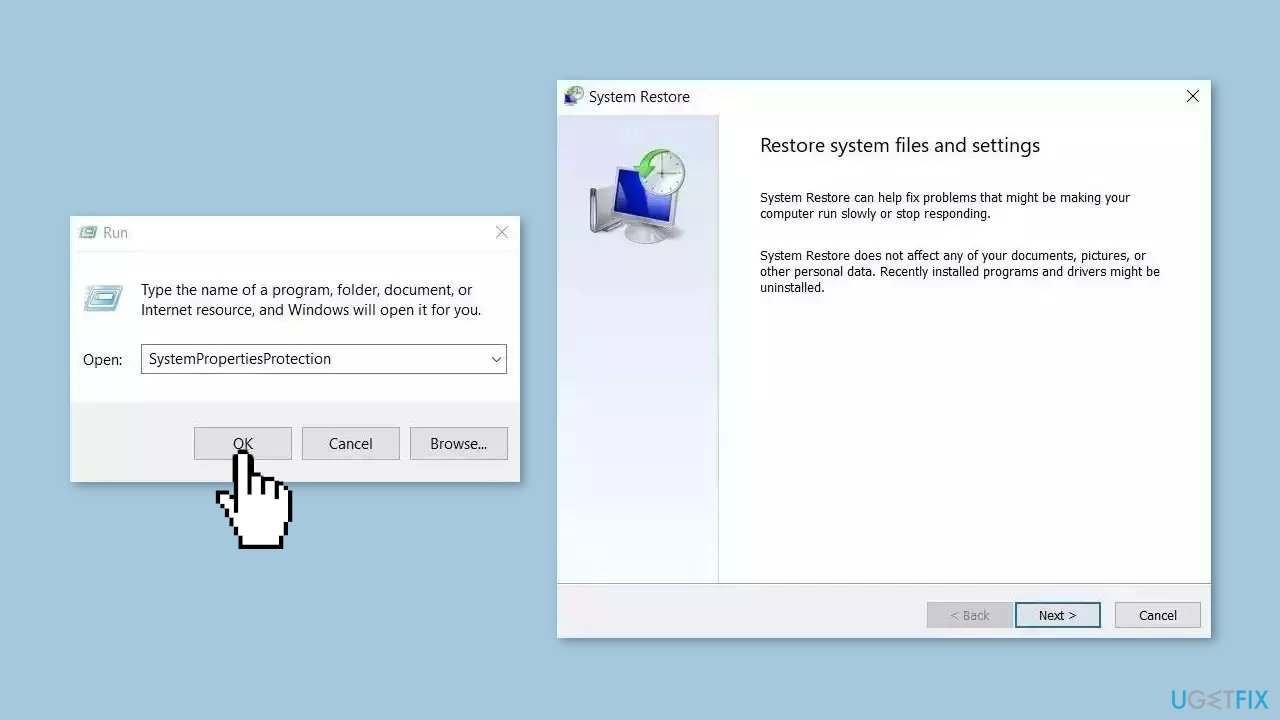
- You will see the System Restore… button. Click it to run System Restore.
- Follow the prompts until you can select a restore point.
- Select the one you want (ideally before the issue started occurring) and go ahead with the process.
Method 6. Repair Install Windows
- Visit the official Microsoft website to download Windows 11 or Windows 10 Installation Media
- Run the Media Creation Tool and select Create Installation Media for another PC.
- Select your USB drive.
- Let the Process complete of writing the Installation files to the USB drive.
- Click Finish.
- On the PC you wish to upgrade, Press Windows + E to open the File Explorer.
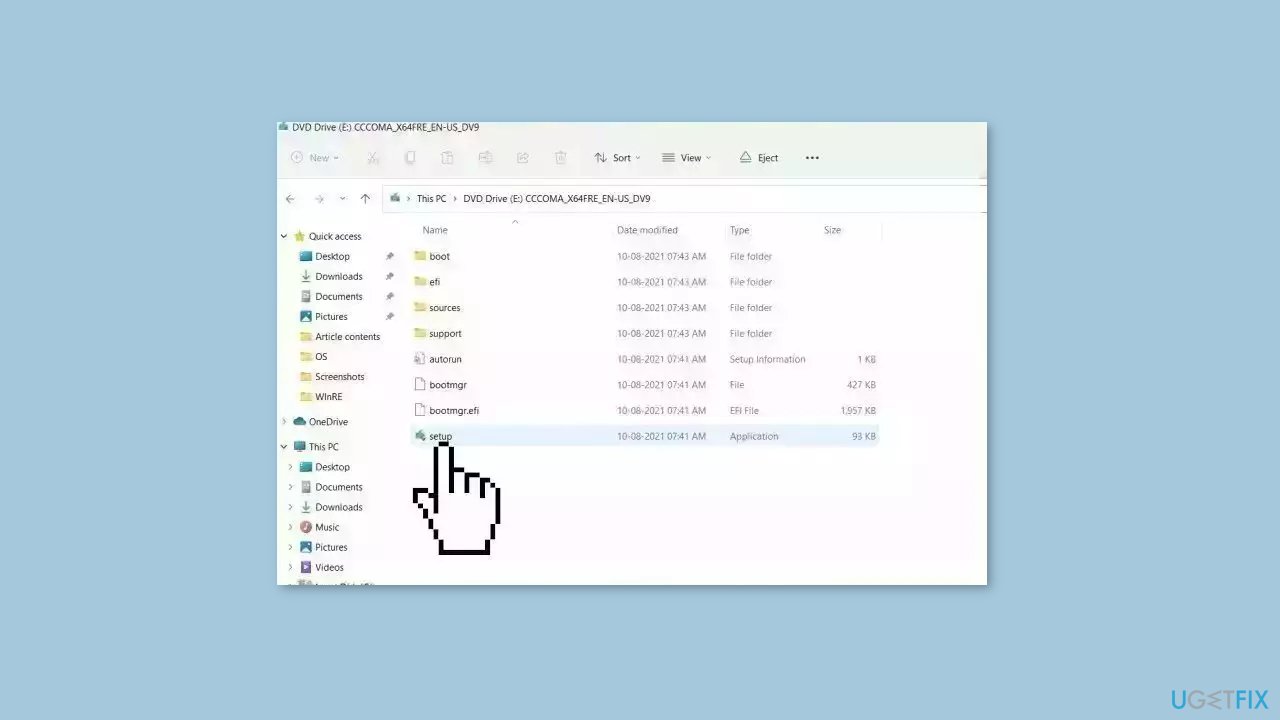
- Open the Removable drive and click Setup.exe.
- Accept the license terms on the next screen.
- Confirm the Upgrade options – Files, apps and Settings are kept.
- Click Install, and the upgrade should start.
Bottom line
To fix the klif.sys BSOD error, you can repair corrupted system files using Command Prompt commands, or remove the klif.sys file directly. If these methods do not resolve the issue, consider performing a system restore or a repair installation of Windows.
Frequently asked questions
klif.sys is a driver associated with Kaspersky antivirus, and it can lead to a Blue Screen of Death (BSOD) in Windows 10 due to compatibility issues or corruption.
To fix the klif.sys BSOD error on Windows 11, you can uninstall Kaspersky antivirus, update the driver, or use the Windows Memory Diagnostic tool to check for memory issues.
Reinstalling Kaspersky may help, but it's crucial to ensure that you have the latest version compatible with Windows 10 or Windows 11 to prevent further BSOD errors.




Report an issue
What's wrong with this guide? We review every report and update or remove content.
Report received — thank you. We'll review and fix it.
You need a free account to submit a report.
Be the first to comment