How to fix
“Not all of the updates were successfully uninstalled” error
on Windows
Resolve the "Not all of the updates were successfully uninstalled" error in Windows 10 and 11 quickly and effectively. Expert-tested solutions await!
What causes How to fix “Not all of the updates were successfully uninstalled” error in Windows?
- Conflicts with other software
- Compatibility issues
- Security concerns
- System issues such as crashes or errors
- Poor performance
Repairs Windows system files, removes malware, and restores a clean OS state — without reinstalling.
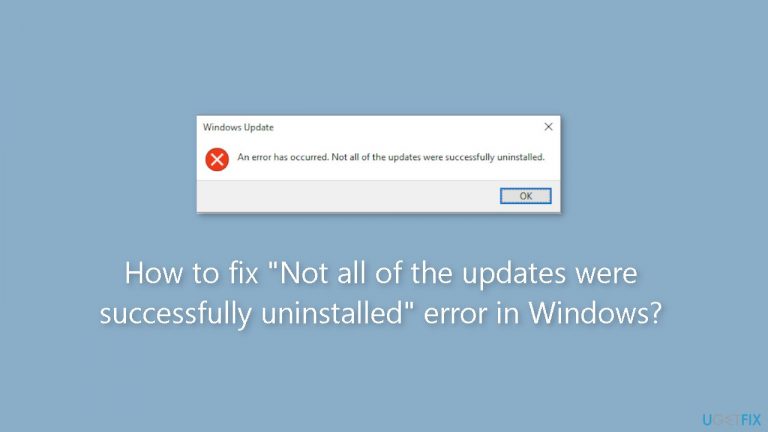
Hello. After the last Windows update, I started getting errors when trying to open apps so I decided to uninstall it. However, after trying, I get the message "An error has occurred. Not all of the updates were successfully uninstalled." How do I fix this?
Users may need to uninstall updates for a variety of reasons, including conflicts with other software, compatibility issues, or security concerns. In some cases, an update may cause system issues such as crashes, errors, or poor performance, and users may choose to uninstall the update to return their system to a previous state.
"An error has occurred. Not all of the updates were successfully uninstalled." is a common error message that Windows users may encounter when attempting to uninstall updates from their system. This error message indicates that the update was not completely removed from the system, and some files or settings related to the update may still be present.
This error message can have an impact on users because it prevents them from completely uninstalling the update, and the update may continue to cause problems with the system. Furthermore, the error message may indicate a deeper underlying problem with the system that will necessitate additional troubleshooting or intervention to resolve.
Resetting Windows update components, renaming the SoftwareDistribution and Catroot2 folders, or manually removing the update files and registry[ref en-1] entries are all possible solutions to this problem. These solutions, however, can be complex and may necessitate technical knowledge.
In this guide, you will find 7 steps that should help you fix "Not all of the updates were successfully uninstalled" error in Windows. You may can also use a maintenance tool like [d1] that can fix most system errors, BSODs,[ref en-2] corrupted files, registry issues, or clear cookies and cache.[ref en-3] Otherwise, follow the step-by-step instructions below.

Method 1. Fix Corrupted System Files
Use Command Prompt commands to repair system file corruption:
- Open Command Prompt as administrator
- Use the following command and press Enter:
sfc /scannow

- Reboot your system
- If SFC returned an error, then use the following command lines, pressing Enter after each:
DISM /Online /Cleanup-Image /CheckHealth
DISM /Online /Cleanup-Image /ScanHealth
DISM /Online /Cleanup-Image /RestoreHealth
Method 2. Uninstall via Command Prompt
- Open Command Prompt as administrator.
- Type wmic qfe list brief /format:table and press Enter.
- Find the update you want to uninstall and take note of its KB number.
- Type WUSA /UNINSTALL /KB:NUMBER and replace NUMBER with the actual KB number and press Enter.

- Click Yes when prompted to confirm the uninstallation of the update.
- Restart your computer to complete the uninstallation process.
Method 3. Reset Windows Update Components
- Open Command Prompt or Windows PowerShell with administrative privileges.
- Type net stop wuauserv and press Enter.

- Type net stop cryptSvc and press Enter.
- Type net stop bits and press Enter.
- Type net stop msiserver and press Enter.
- Wait for the process to finish and see if the issue is solved.
Method 4. Restart the Windows Update Services
- Open Command Prompt (Admin).
- Type net start wuauserv and press Enter.

- Type net start cryptSvc and press Enter.
- Type net start bits and press Enter.
- Type net start msiserver and press Enter.
- Close the Command Prompt.
- Try uninstalling the update again.
Method 5. Rename SoftwareDistribution and Catroot2
- Open Command Prompt (Admin).
- Type the following commands and press Enter after each:
ren C:\Windows\SoftwareDistribution SoftwareDistribution.old
ren C:\Windows\System32\catroot2 catroot2.old

Method 6. Modify Windows Registry
- Open Registry Editor on your Windows computer.
- Navigate to the following path:
HKEY_LOCAL_MACHINE\System\CurrentControlSet\Control\Print

- Create a new DWORD (32-bit) value and name it RPCAuthnLevelPrivacyEnabled.
- Double-click on the newly created value to open it, and change the value data to 0.
- Click OK to save the change.
- Restart your computer for the changes to take effect.
Method 7. Repair Install Windows
- Visit the official Microsoft website to download Windows 11 or Windows 10 Installation Media
- Run the Media Creation Tool and select Create Installation Media for another PC.
- Select your USB drive.
- Let the Process complete of writing the Installation files to the USB drive.
- Click Finish.
- On the PC you wish to upgrade, Press Windows + E to open the File Explorer.

- Open the Removable drive and click Setup.exe.
- Accept the license terms on the next screen.
- Confirm the Upgrade options – Files, apps and Settings are kept.
- Click Install, and the upgrade should start.
Bottom line
To fix the 'Not all of the updates were successfully uninstalled' error, you can reset Windows update components, rename the SoftwareDistribution and Catroot2 folders, or manually remove update files and registry entries. If these solutions do not work, consider using a maintenance tool to address system errors.
Frequently asked questions
You can try running the Windows Update Troubleshooter, which can help identify and resolve issues related to updates. Additionally, consider manually uninstalling the problematic update through the 'Update & Security' settings.
Yes, you can access the Settings app, go to 'Update & Security', and select 'View update history' to remove the updates causing the issue. If that doesn't work, using the DISM tool via Command Prompt might help repair the Windows image.
Absolutely, if you have a restore point created before the problematic update was installed, you can revert your system to that state in both Windows 10 and Windows 11. This can effectively eliminate the error.


Report an issue
What's wrong with this guide? We review every report and update or remove content.
Report received — thank you. We'll review and fix it.
You need a free account to submit a report.
Be the first to comment