How to fix
Msvfw32.dll error
on Windows
Resolve the msvfw32.dll error in Windows 10/11 easily. Follow our expert-tested solutions to get your system running smoothly again, fixed in minutes.

What causes How to fix msvfw32.dll error in Windows?
- Corrupted or deleted files
- Outdated drivers
- Incompatible software versions
- Missing DLL file
Repairs Windows system files, removes malware, and restores a clean OS state — without reinstalling.
Hello. When I try to launch certain programs on my Windows PC, I get the msvfw32.dll error. What is it and how can I fix it?
The "msvfw32.dll" error is a common problem with Microsoft Windows operating systems. This error is caused by a Dynamic Link Library (DLL) file, specifically the "msvfw32.dll" file, which is used in various Windows applications to support video compression and decompression.
DLL files are essential components of the Windows operating system because they contain code and data that multiple programs can use at the same time. These files contribute to system efficiency and performance by allowing programs to share resources and avoid the need to load redundant code into memory. Many Windows programs would be unable to run or would require significantly more memory and processing power if DLL files were not present.
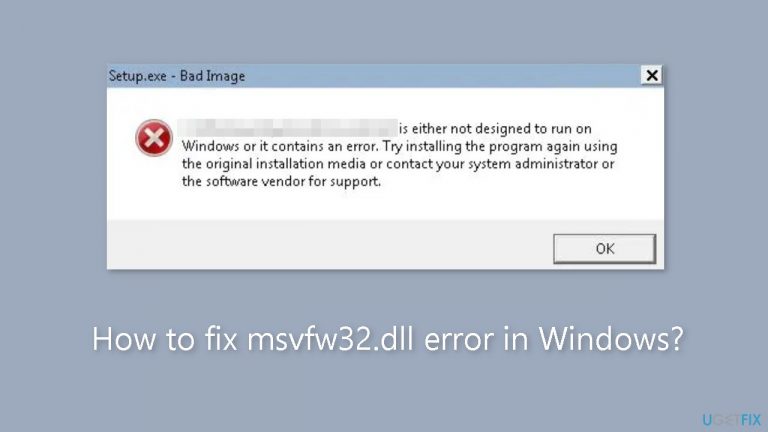
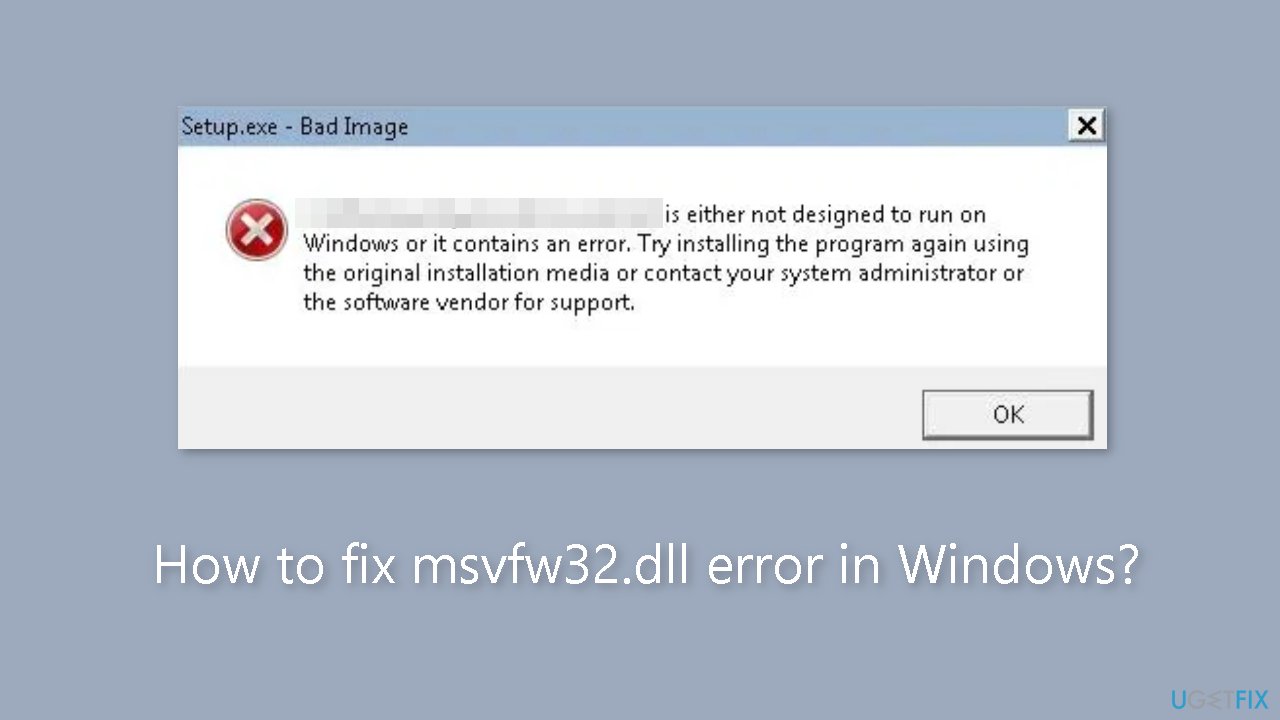
However, DLL files can also be the source of various errors, such as the "msvfw32.dll" error. Users may encounter messages such as "msvfw32.dll missing or not found" or "msvfw32.dll is either not designed for Windows or it contains an error." These errors can occur for various reasons, such as corrupted or deleted files, outdated drivers,[ref en-1] or incompatible software versions.
Depending on the programs and applications that rely on this file, the "msvfw32.dll" error can affect users in a variety of ways. Users may encounter problems while watching videos, gaming, or performing other multimedia-related tasks. In some cases, the error may cause a program to crash or fail to start at all, resulting in frustration and lost productivity.
in this guide, you will find 6 steps that should help you fix msvfw32.dll error in Windows. You can also use a system repair tool like [d1] that can fix most system errors, BSODs,[ref en-2] corrupted files, and registry[ref en-3] issues. Otherwise, follow the step-by-step instructions below.
Solution 1. Install Windows Updates
- Press the Windows key + R to open the Run box
- Type ms-settings:windowsupdate in the text box and press Enter
- Click the Check for updates button
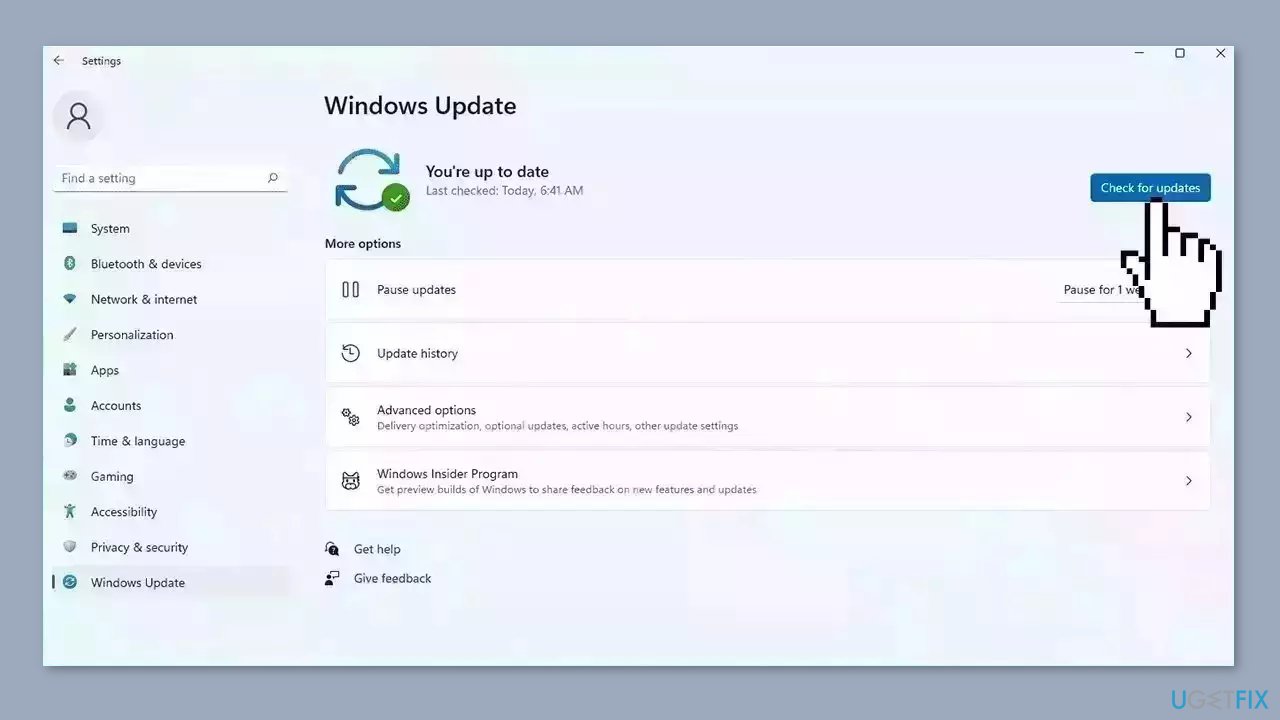
- If a new update is available, click the Download & Install all button.
- Restart your computer after the process is finished and check to see if the problem is fixed
Solution 2. Fix Corrupted System Files
Use Command Prompt commands to repair system file corruption:
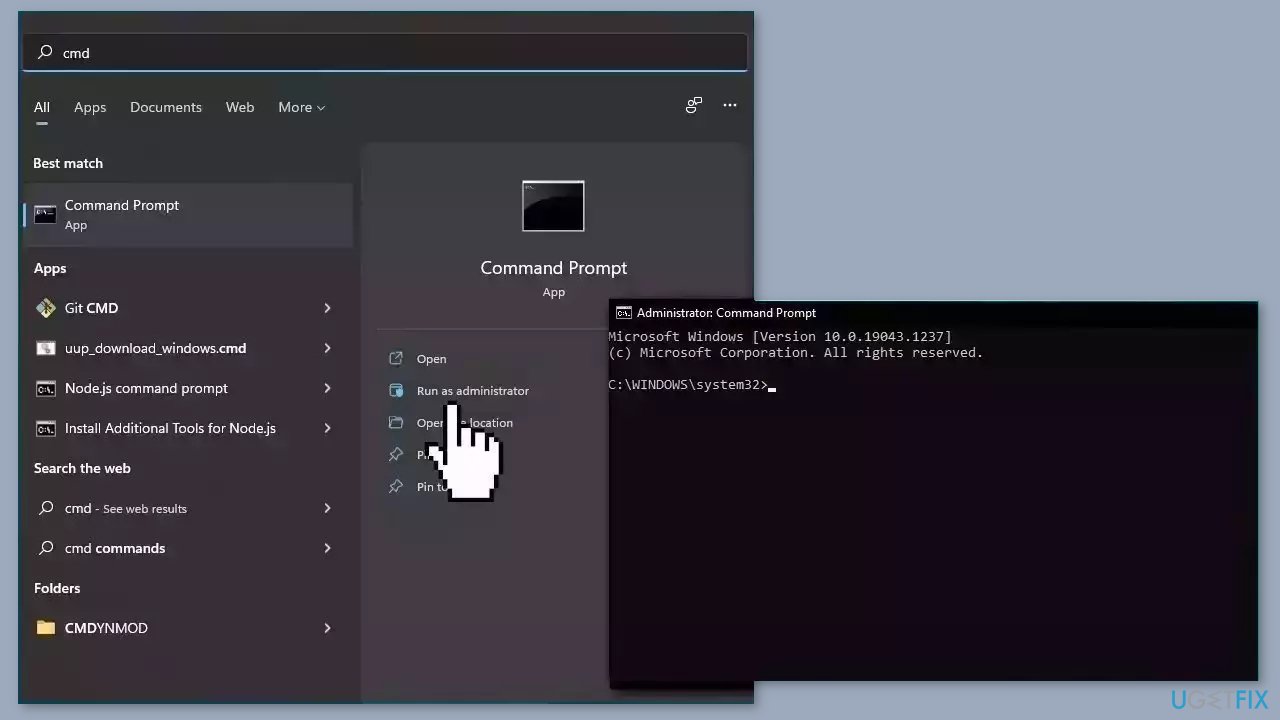
- Open Command Prompt as administrator
- Use the following command and press Enter:
sfc /scannow
- Reboot your system
- If SFC returned an error, then use the following command lines, pressing Enter after each:
DISM /Online /Cleanup-Image /CheckHealth
DISM /Online /Cleanup-Image /ScanHealth
DISM /Online /Cleanup-Image /RestoreHealth
Solution 3. Perform a Malware Scan
It is possible that a malware infection may be the cause of the msvfw32.dll error in Windows. It is important to run a comprehensive security scan to rule out this possibility and ensure that the computer is not infected. This can help to prevent further issues with the Windows operating system and ensure that it is functioning properly.
If you have access to a security scanner, or if your organization pays for one, you can use it to scan your entire system to check for a virus infection. Otherwise, you can use Windows Defender to scan your system:
- Click on the Windows Start menu or press the Windows key on your keyboard
- Type Microsoft Defender in the search bar and click on Microsoft Defender Antivirus to open the application
- Click on the Virus & threat protection option in the left-hand menu
- Click on the Quick scan or Full scan option, depending on your preference
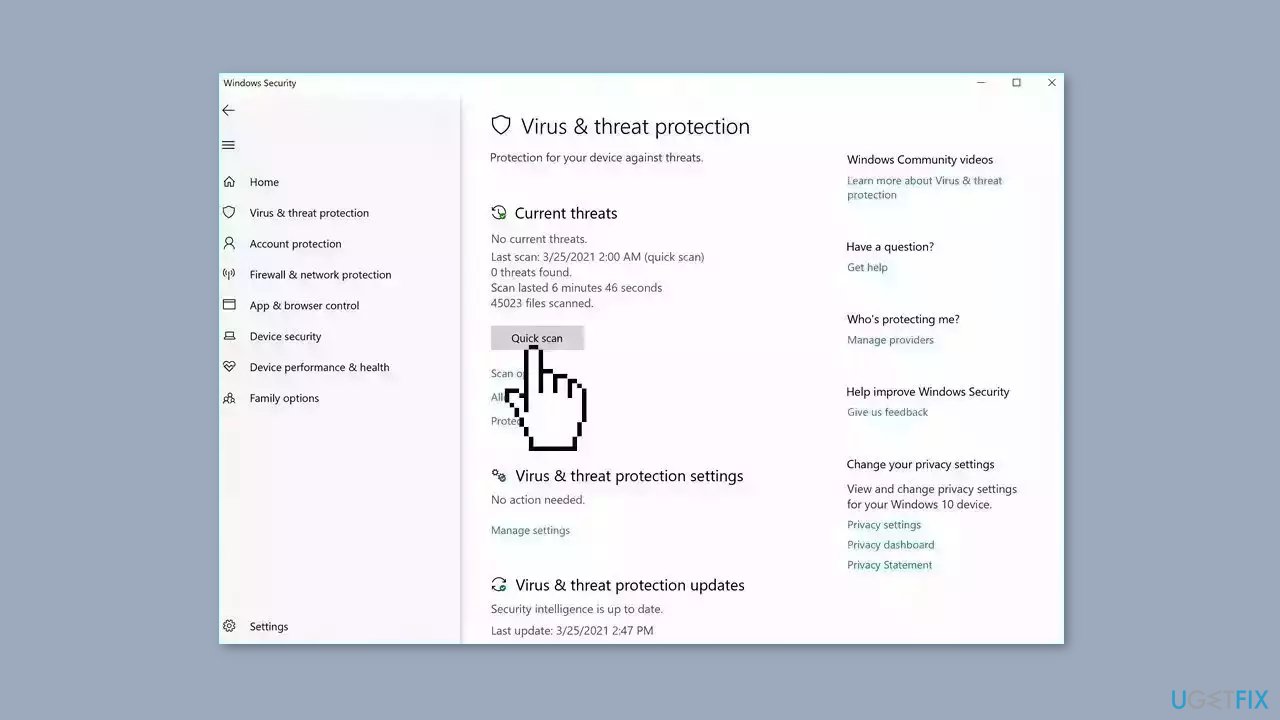
- If you choose Quick scan, Microsoft Defender Antivirus will scan the most vulnerable and commonly infected areas of your computer
- If you choose Full scan, Microsoft Defender Antivirus will scan your entire computer, including all files, folders, and programs
- Click on the Scan now button to start the selected scan type and wait for the scan to complete
- The time it takes will depend on the size of your hard drive and the number of files being scanned
- Once the scan is complete, you will be informed of any detected threats, and you can choose to quarantine or remove them
- If no threats are found, Microsoft Defender Antivirus will inform you that your device is secure
Solution 4. Try Clean Boot
- Open the Search menu, type in system configuration, and press Enter
- Under the Services tab, tick the Hide all Microsoft services box
- Click on Disable all button
- Head over to the Startup tab and click on Open Task Manager
- Select a third-party program and click on Disable at the top
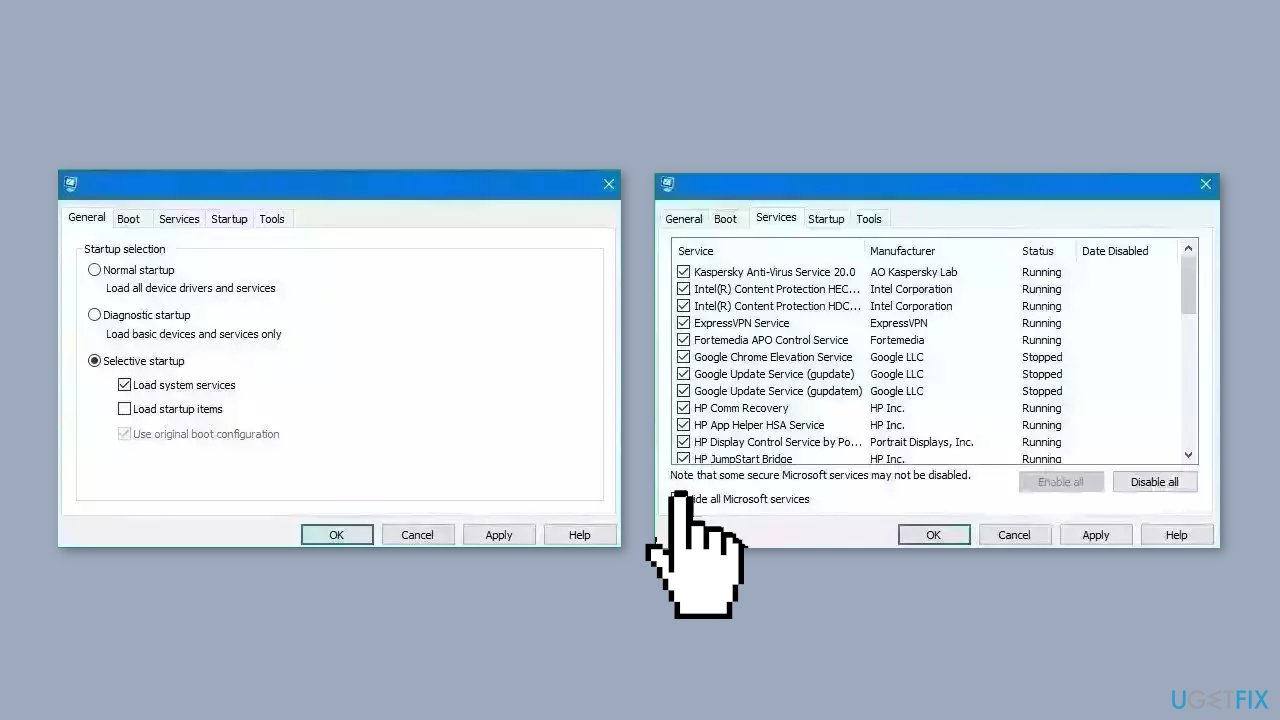
- Repeat this step to disable all third-party apps and programs
- Restart your PC to enter the clean boot state and see if the issue persists
- If the issue disappeared in the clean boot state, then you can be certain that a third-party app is causing it
- Go through all recently installed apps or programs and remove them one by one
Solution 5. Use System Restore
System Restore is a feature in Microsoft Windows that allows users to revert their computer's state to a previous point in time. This can be helpful if you have made changes to your system that are causing problems.
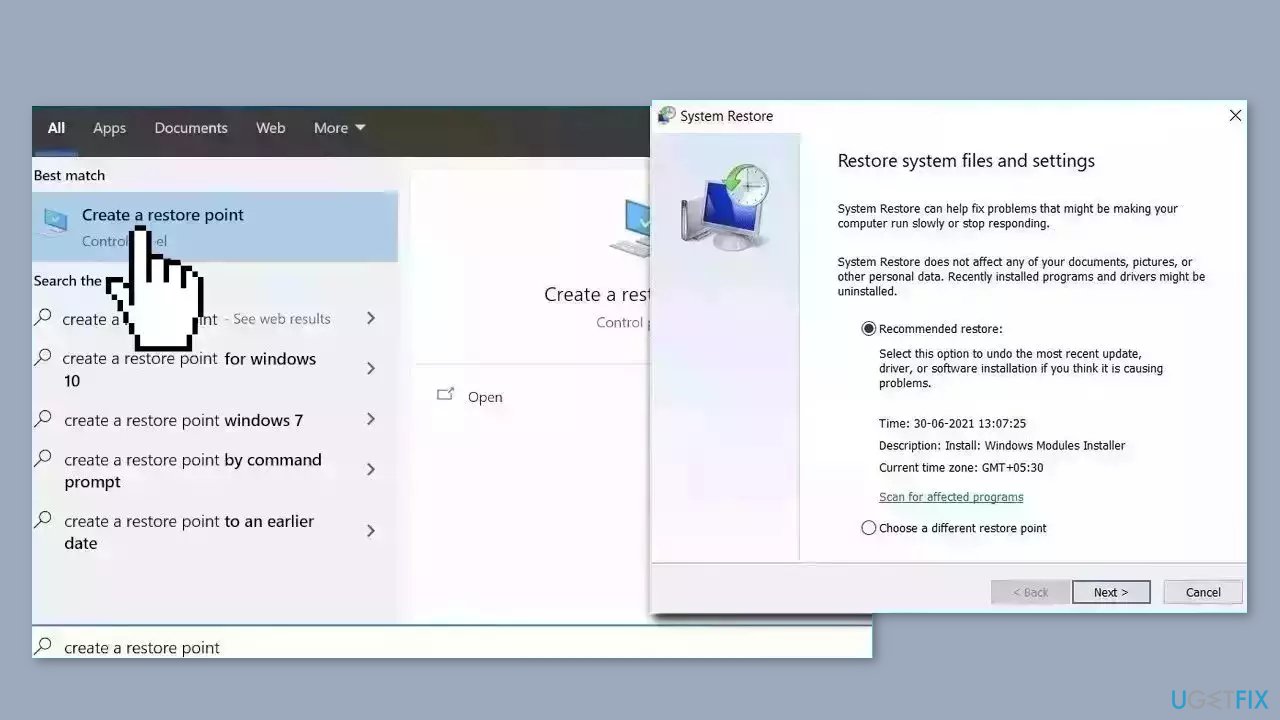
- Go to the Start menu, type restore, and click on Create a restore point
- Click System Restore, then follow the prompts until you can select a restore point
- Select the one you want (ideally before the issue started occurring) and go ahead with the process
Solution 6. Repair Install Windows
- Visit the official Microsoft website to download Windows 11 or Windows 10 Installation Media
- Run the Media Creation Tool and select Create Installation Media for another PC
- Select your USB drive
- Let the Process complete of writing the Installation files to the USB drive
- Click Finish
- On the PC you wish to upgrade, Press Windows + E to open the File Explorer
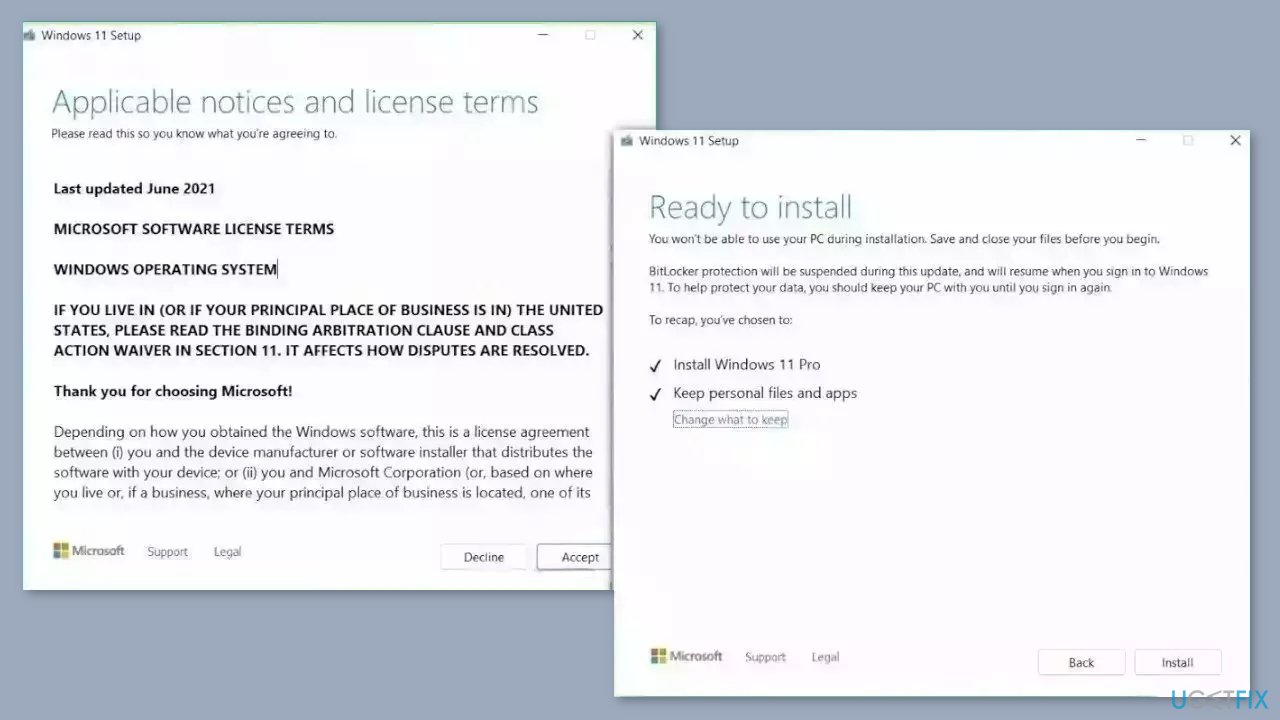
- Open the Removable drive and click Setup.exe
- Accept the license terms on the next screen
- Confirm the Upgrade options – Files, apps and Settings are kept
- Click Install, and the upgrade should start
Bottom line
To fix the msvfw32.dll error in Windows, you can install Windows updates, use a system repair tool, or follow specific step-by-step instructions provided in the guide. If these solutions do not resolve the issue, consider seeking further technical assistance.
Frequently asked questions
The msvfw32.dll error can be caused by corrupted system files, outdated drivers, or software conflicts that affect multimedia functions in Windows 10 and 11.
You can restore the msvfw32.dll file by running the System File Checker tool with the command 'sfc /scannow' in the Command Prompt, which scans and repairs corrupted system files.
Downloading msvfw32.dll from unverified sources is not recommended, as it may introduce malware; instead, use built-in Windows tools to fix the error.




Report an issue
What's wrong with this guide? We review every report and update or remove content.
Report received — thank you. We'll review and fix it.
You need a free account to submit a report.
Be the first to comment