How to fix
“Secure Boot State Unsupported” error
on Windows
Resolve the "Secure Boot State Unsupported" error on Windows 10 and 11 effortlessly. Get expert-tested solutions and fix it in minutes!
What causes How to fix “Secure Boot State Unsupported” error in Windows?
- Secure Boot feature not enabled in firmware settings
- Secure Boot feature not supported by the system
- Incompatible hardware configuration
- Issues with the Windows installer recognizing Secure Boot
Repairs Windows system files, removes malware, and restores a clean OS state — without reinstalling.
Hello. I tried upgrading my PC to Windows 11 but I got the "Secure Boot State Unsupported" error. How do I fix this?
Secure Boot State is a security feature built into modern computer systems, including Windows PCs, that prevents unauthorized firmware, operating system, and driver software from running during the boot process. It ensures that only digitally signed and trusted applications can be loaded and executed, lowering the risk of malware or unauthorized software being installed on the computer.
When you enable Secure Boot, the system verifies the digital signatures of the boot loader, kernel, and other critical components before allowing them to run. Secure Boot prevents any component from loading if it lacks a valid signature or is not recognized as trustworthy, thereby increasing system security. In recent years, this feature has become a standard security measure and is usually enabled by default on most computers.
Users may encounter the "Secure Boot state unsupported" error message when upgrading to a new operating system, such as Windows 11. When the system's Secure Boot feature is not supported or recognized by the Windows installer or other boot-related processes, this error occurs. As a result, users may encounter issues during the installation process, and in some cases, they may be unable to complete the upgrade.
Users may need to check their computer's firmware settings (BIOS or UEFI) to see if Secure Boot is enabled and supported in order to resolve the "Secure Boot state unsupported" error. If Secure Boot is not supported, users may need to consider other options, such as upgrading their hardware to a compatible system that supports Secure Boot or reverting to a previous operating system version that is compatible with their current hardware configuration.
In this guide, you will find 5 steps that should help you fix "Secure Boot State Unsupported" error. Run a maintenance tool like [d1] that can fix most system errors, BSODs,[ref en-1] corrupted files, and registry[ref en-2] issues if you experience any other OS issues. Otherwise, follow the step-by-step instructions below.

Method 1. Enable Secure Boot in BIOS
- Press the Windows key + R to open the Run dialog box.
- Type msinfo32 and press Enter. This will open the System Information window.
- Click on System Summary in the left panel.

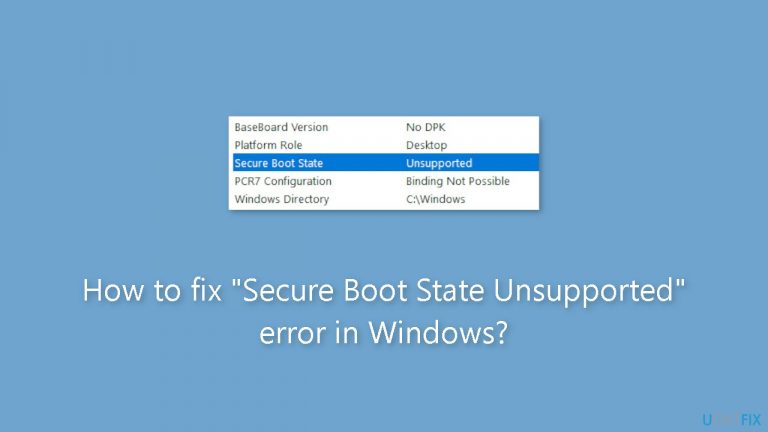
- Check the Secure Boot State in the right pane. If it shows Off, you need to enable it through your BIOS.
- Press the Windows key + I to open the Settings menu.
- Navigate to System and then select Recovery.

- Click on Restart now located next to Advanced startup.
- Choose Troubleshoot and then Advanced options.
- Select UEFI Firmware Settings and click Restart. This will boot your computer directly into the Windows UEFI BIOS.
- Once in the BIOS Setup, locate the Secure Boot option.
- Switch to the Secure Boot section.
- Check the box next to Secure Boot Enable to enable it.
Method 2. Enable TPM Support
- Open the Run dialog box.
- In the search bar, type tpm.msc and press Enter.
- In the TPM management window, click on Action in the top bar.
- Choose Prepare the TPM from the context menu.

- Restart your computer to complete the TPM preparation process.
Method 3. Change BIOS Mode to UEFI
- Open the BIOS page on your computer.
- Choose Boot Sequence from the left panel.
- Check the option for UEFI under Boot List Options.

- Save the changes made to the Boot Sequence settings.
- Restart your computer to apply the changes.
Method 4. Convert the Partition Style
- Press the Windows key + X to open the Power menu.
- Choose Disk Management from the list.
- In the Disk Management window, right-click on the hard disk drive and choose Properties from the context menu. Then, switch to the Volumes tab.

- Check the Partition style. If it shows Master Boot Record (MBR), you will need to convert it to GPT.
- Open the Start Menu by pressing the Windows key.
- Type Command Prompt in the search bar, and right-click on it to select Run as administrator from the right pane.
- In the Command Prompt, type:
mbr2gpt /validate /allowfullOS
- Press Enter. This command will validate the partition.
- Once the validation is complete, type:
mbr2gpt /convert /allowfullOS
- Press Enter to initiate the MBR to GPT conversion process.
Method 5. Try Clean Boot
- Open the Search menu, type in system configuration, and press Enter.
- Under the Services tab, tick the Hide all Microsoft services box.
- Click on Disable all button.
- Head over to the Startup tab and click on Open Task Manager.

- Select a third-party program and click on Disable at the top.
- Repeat this step to disable all third-party apps and programs.
- Restart your PC to enter the clean boot state and see if the issue persists.
- If the issue disappeared in the clean boot state, then you can be certain that a third-party app is causing it.
- Go through all recently installed apps or programs and remove them one by one.
Bottom line
To fix the 'Secure Boot State Unsupported' error, check your computer's firmware settings to ensure Secure Boot is enabled and supported. If it is not supported, consider upgrading your hardware or reverting to a previous operating system version. If these fixes do not work, running a maintenance tool may help resolve other underlying issues.
Frequently asked questions
This error typically occurs when Secure Boot is disabled in the BIOS or UEFI firmware settings, or when the system firmware is not compatible with Secure Boot requirements.
To enable Secure Boot, restart your computer, enter the BIOS/UEFI settings, navigate to the Boot tab, and change the Secure Boot option to 'Enabled'.
Yes, enabling Secure Boot helps protect your Windows 10 or Windows 11 system from malware and unauthorized software during the boot process.


Report an issue
What's wrong with this guide? We review every report and update or remove content.
Report received — thank you. We'll review and fix it.
You need a free account to submit a report.
Be the first to comment