How to fix
Event ID 46 (Crash dump initialization failed)
on Windows
Resolve Event ID 46 (Crash dump initialization failed) in Windows 10 and 11 with expert-tested solutions for a smoother experience. Fixed in minutes!
What causes How to fix Event ID 46 (Crash dump initialization failed) in Windows?
- Insufficient disk space
- Incompatible hardware components
- Improper system settings
- Incorrect page file settings
- Faulty drivers
Repairs Windows system files, removes malware, and restores a clean OS state — without reinstalling.
I have recently replaced my CPU with a Ryzen 5 5600X, and since then my PC has been crashing. I checked the Event Viewer and saw Event ID 46 errors whenever these crashes occur. Please advise on how to resolve this.
Event Log IDs are integral parts of the Windows operating system, serving as critical indicators of system health and performance. These numerical identifiers correspond to specific events within the system – including errors, warnings, or informational messages. Event Logs, which can be accessed through the Event Viewer tool, are invaluable for diagnosing and troubleshooting system problems. They provide a chronological record of system events and are commonly used by system administrators, technical support teams, and advanced users to uncover the root causes of various issues, aiding in their resolution.
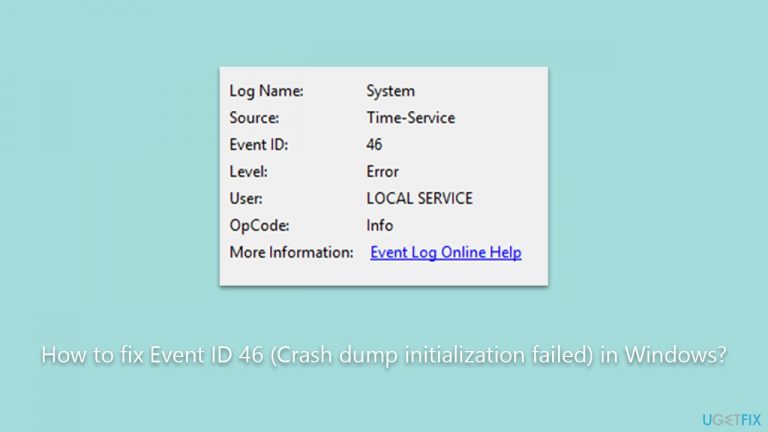
One specific Event Log ID that some users may encounter is Event ID 46, which corresponds to the message, "Crash dump initialization failed." This message indicates that Windows was unable to create a crash dump file. Crash dumps are files generated by Windows when a system error occurs, containing detailed information about the system state at the time of the error. These files are instrumental in diagnosing and troubleshooting the system error.
The failure of crash dump initialization may occur due to several reasons. The most common of these is insufficient disk space, where Windows cannot create the dump file due to a lack of available storage space. It can also be a symptom of hardware changes, where updated or new hardware components are incompatible with the system's existing configurations. Sometimes, this error may also be caused by improper system settings or configuration changes, such as those related to the page file settings or registry entries, as well as drivers.

In order to fix Event ID 46, users may have to perform several troubleshooting steps, such as changing the Memory Dump settings, checking disk or system files for errors, using Registry Editor, etc. More details on how to perform these fixes are provided in this article below.
Users who want an automated solution to diagnose and repair computer issues may opt to use the [d1] PC repair tool. This tool can automatically detect system-related issues and provide suitable solutions automatically, streamlining the troubleshooting process.
Fix 1. Enable memory dump in settings
Enabling memory dump involves adjusting your system settings to instruct Windows to create a dump file upon encountering a system error. This is crucial for diagnosing issues like Event ID 46, as the crash dump contains detailed information about the system's state during the error.
- Open Windows Settings and go to System > About.
- Click on Advanced system settings.
- Under the Startup and Recovery section, click Settings.

- In the new window, under the System failure section, make sure Write an event to the system log and Automatically restart are checked.
- In the Write debugging information dropdown, select Automatic memory dump.
- Click OK to apply changes.

Fix 2. Run check disk
The Check Disk utility in Windows scans your hard disk for errors and attempts to fix them automatically. If the Event ID 46 issue is due to disk-related issues, running Check Disk may resolve the problem.
- Type cmd in Windows search.
- Right-click on Command Prompt and pick Run as administrator.
- When UAC shows up, click Yes.
- In the new window, type in the following command and press Enter after:
chkdsk c: /f
(Note: use chkdsk c: /f /r /x command if you are using SSD as your primary partition) - If you receive an error, type in Y, close down Command Prompt and restart your system.
- Wait until the scan is finished - you can find the results in the Event Viewer.

Fix 3. Perform SFC and DISM scans
System File Checker (SFC) and Deployment Image Servicing and Management (DISM) are Windows utilities that can repair corrupted system files. If the issue is due to system file corruption, running these scans can help fix the problem.
- Open Command Prompt as administrator.
- Type in the following command and press Enter:
sfc /scannow - When done, run the following commands as well:
dism /online /cleanup-image /scanhealth
dism /online /cleanup-image /checkhealth
dism /online /cleanup-image /restorehealth
(Note: if you get an error executing this last command, add /Source:C:\RepairSource\Windows /LimitAccess to it and try again). - Restart your computer.

Fix 4. Use the registry editor to generate dump file
Modifying the registry to generate a dump file can sometimes resolve the "Crash dump initialization failed" error. Be cautious when using the Registry Editor, as incorrect changes can cause serious system problems.
- In Windows search, type regedit, and press Enter to open the Registry Editor.
- Navigate to the following location:
HKEY_LOCAL_MACHINE\SYSTEM\CurrentControlSet\Control\CrashControl - In the right pane, right-click on NMICrashDump, select Modify, set the value to 1, and click OK.
- If the NMICrashDump entry does not exist, you should create it by right-clicking on an empty space and selecting New > DWORD (32-bit) value, then naming it NMICrashDump.
- Close the Registry Editor and restart your computer.

Bottom line
To fix Event ID 46, users can change the Memory Dump settings, check disk or system files for errors, and use the Registry Editor. If these steps do not resolve the issue, further investigation into hardware compatibility may be necessary.
Frequently asked questions
Event ID 46 typically indicates that the system is unable to create a crash dump file when a crash occurs, which can hinder troubleshooting efforts in Windows 10 or Windows 11.
To enable crash dumps, go to System Properties, click on the Advanced tab, then under Startup and Recovery, ensure that 'Write debugging information' is set to 'Automatic memory dump' or 'Kernel memory dump'.
If the issue persists, check for disk space on the system drive, ensure the page file is correctly configured, and consider updating your system drivers or Windows to the latest version.


Report an issue
What's wrong with this guide? We review every report and update or remove content.
Report received — thank you. We'll review and fix it.
You need a free account to submit a report.
Be the first to comment