How to fix
“Windows could not start the Windows Defender Service service on Local Computer” Error
on Windows
Resolve the "Windows could not start the Windows Defender Service" error on Windows 10 and 11 easily. Expert-tested solutions for quick fixes!

What causes How to Fix “Windows could not start the Windows Defender Service service on Local Computer” Error?
- Conflicting Windows Defender program with third-party tools
- External program modifying Windows Defender registry files
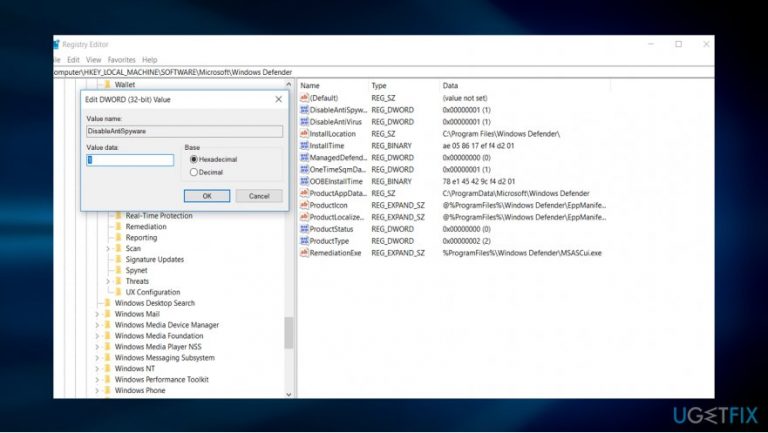
- DisableAntiSpyware registry value set to 0
- DisableAntiVirus registry value set to 0
- Group policy settings disabling Windows Defender
Repairs Windows system files, removes malware, and restores a clean OS state — without reinstalling.
I can’t launch Windows Defender as “Windows could not start the Windows Defender Service service on Local Computer. Error 577” message pops up. Disabled my anti-virus and tried to rerun the program but to no avail. I’d appreciate your help.
“Windows could not start the Windows Defender Service service on Local Computer” notification is the error message some Windows 10 users may encounter. Usually, this problem occurs due to conflicting Windows Defender program with third-party tools present on the system.
Since the introduction of the utility the program, Microsoft has warned about such issues and, likewise, suggested using only one tool: either Defender or a third-party tool. On the other hand, the software does not cause troubles while cooperating with malware elimination tools, e.g. Malwarebytes Anti-malware.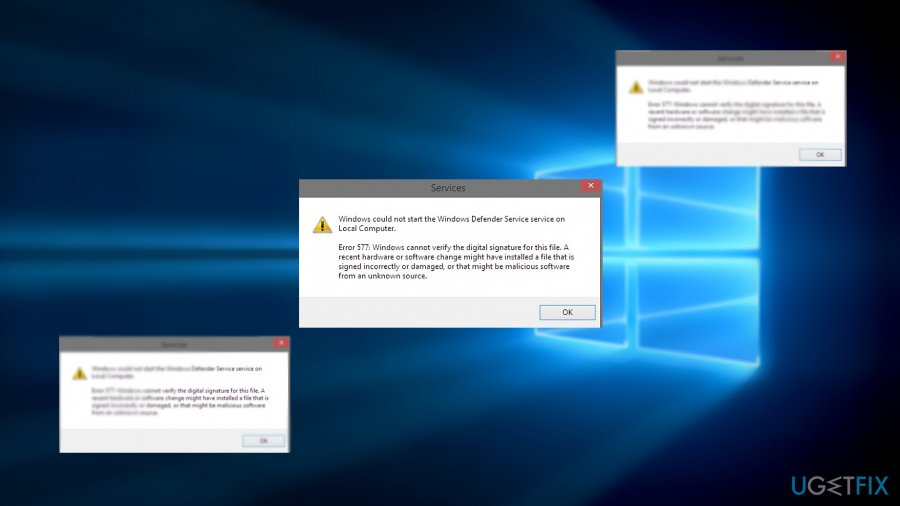
Furthermore, though the program may conflict with certain anti-virus tools, it does not negate them entirely. In fact, this Windows Defender error 577 appears a result of the external program modifying its registry files. Thus, let us provide solutions.
Option 1. Use Registry Editor to fix Windows Defender Error 577
Step 1.
- Click on Windows key+R.
- Type regedit.
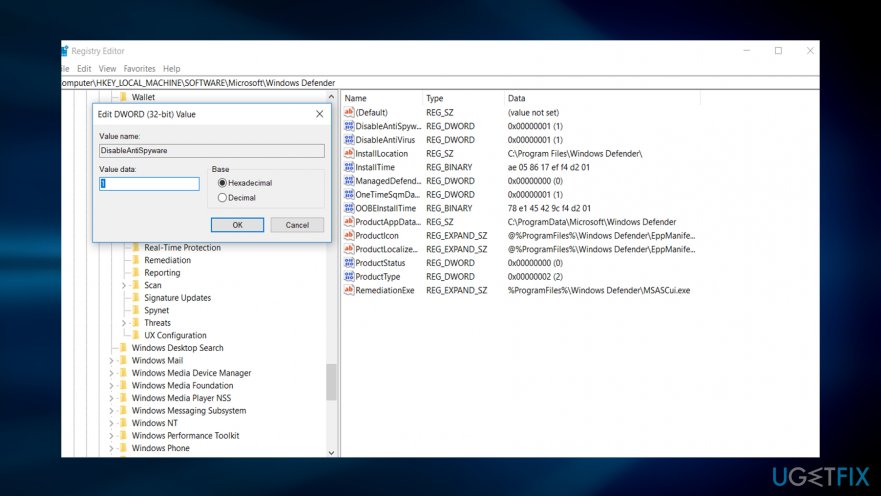
- Once the program launches, enter the following path: HKEY_LOCAL_MACHINE\\SOFTWARE\\Microsoft\\Windows Defender
- Once the folder expands, you will find two registry files named DisableAntiSpyware and DisableAntiVirus on the right side of the panel.
- Double click on both of them and check that DWORD (32-bit) value is set to 1. If necessary, change it to 1 from 0 and click OK.
- Restart the device, if a notification prompts.
Step 2.
Due to these changes, another notification may appear: “This app is turned off by group policy.” Follow these steps:
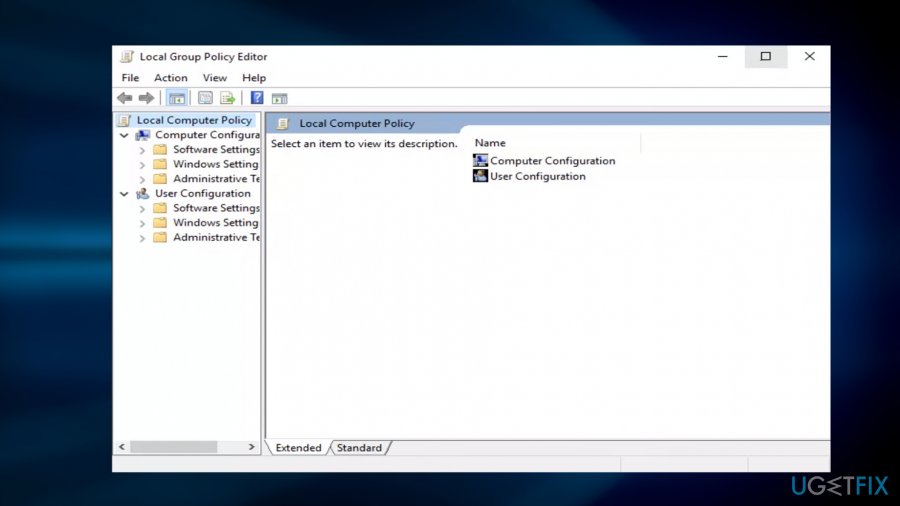
- Click on Start button and type local group.
- Choose Edit group policy suggestion.
- Select Computer Configuration. Then expand Administrative Templates. Go to Windows components.
- Find Windows Defender.
- On the right side of the panel, you will see option Turn off Windows Defender. Double- click and place the checkmark on Disabled option. Finish the action by clicking Apply and OK.
- Launch Windows Defender.
Option 2. Ensure the protection of your computer
Some users complain that they the error appears, but they cannot find the software listed in Registry Editor or Local Group Policy components. Make sure there is no malicious presence on the system. In case, you suspected unusual behavior, scan the computer with malware elimination utility in Safe Mode. Besides Advanced settings in the pre-boot mode, you can activate the mode via these steps:
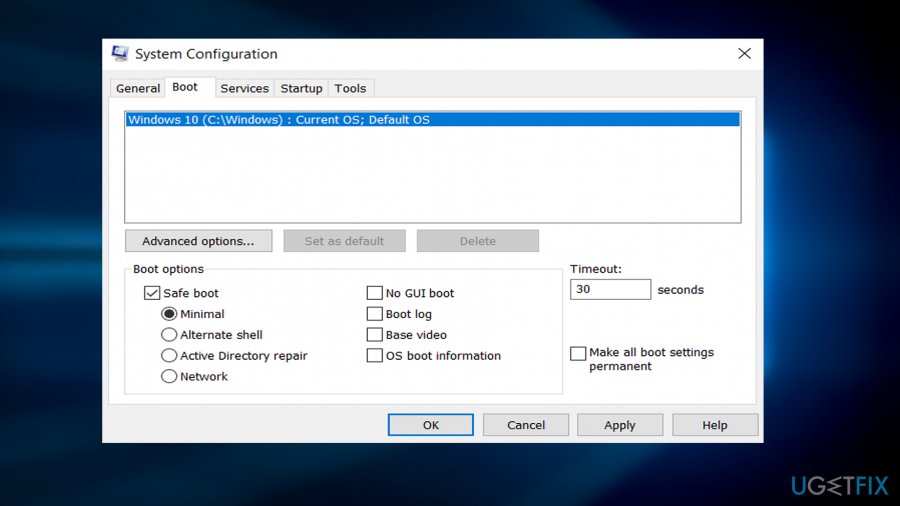
- Click on Start button.
- Type system configuration.
- Launch the program. Enter Boot section and mark Safe Boot option. Click Apply and then OK. The next time you boot the computer, it will launch in Safe Mode. To deactivate it, remove the checkmark from Safe Boot and restart the PC.
Bottom line
To fix the 'Windows could not start the Windows Defender Service service on Local Computer' error, you can use the Registry Editor to ensure the DisableAntiSpyware and DisableAntiVirus values are set to 1, and adjust group policy settings to enable Windows Defender. If these solutions do not resolve the issue, consider checking for other conflicting software or reinstalling Windows Defender.
Frequently asked questions
First, try running the 'sfc /scannow' command in Command Prompt to repair system files. If that doesn't work, check if the Windows Defender service is enabled in the Services app.
Open the Services app, locate 'Windows Defender Antivirus Service', right-click it, select 'Properties', and set the Startup type to 'Automatic'. This should help prevent the service from failing to start.
Yes, keeping Windows 10 or Windows 11 updated can fix underlying issues that may be causing the Windows Defender service to fail.




Report an issue
What's wrong with this guide? We review every report and update or remove content.
Report received — thank you. We'll review and fix it.
You need a free account to submit a report.
Be the first to comment