How to fix
High CPU usage by Microsoft.Photos.exe
on Windows
Struggling with high CPU usage caused by Microsoft.Photos.exe on Windows 10 or 11? Get quick fixes and boost your system performance with expert-tested …

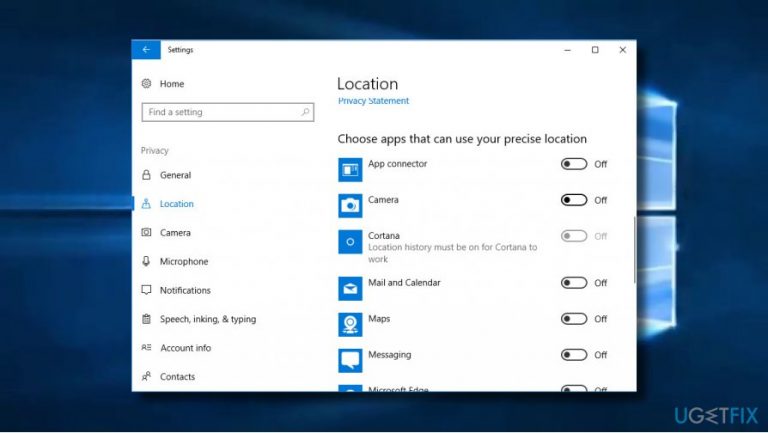
What causes How to fix high CPU usage by Microsoft.Photos.exe?
- Corruption of Photos app
- Installation of incompatible software
- Damaged Registry entries
- Virus infection
- Malware hiding under Microsoft.Photos.exe
Repairs Windows system files, removes malware, and restores a clean OS state — without reinstalling.
I wonder why Microsoft.Photos.exe uses so much CPU resources? I think that it might be related to PC’s slowdowns. Could you please tell me if it’s possible to decrease the CPU usage? Thanks in advance!
Microsoft.Photos.exe is one of essential Windows OS files,[ref en-1] which is also known as Photo Background Task Host. Its original location is C:\\Program Files, and it should not be changed. There’s only one condition when the location of this file may differ – that virus infection.[ref en-2] Malware developers can hide malicious processes under this file, which is why its technical security rating is 39%. Therefore, security experts[ref en-3] recommend scanning the system with a professional anti-malware, such as [d1] regularly.
Apart from the malware attack, Microsoft.Photos.exe may start malfunctioning due to many other reasons, such as corruption of Photos app, installation of incompatible software or damaged Registry entries. This may result in high CPU usage by Microsoft.Photos.exe. Too high CPU consumption may lead to severe system’s slowdown, unresponsive software, and similar issues.
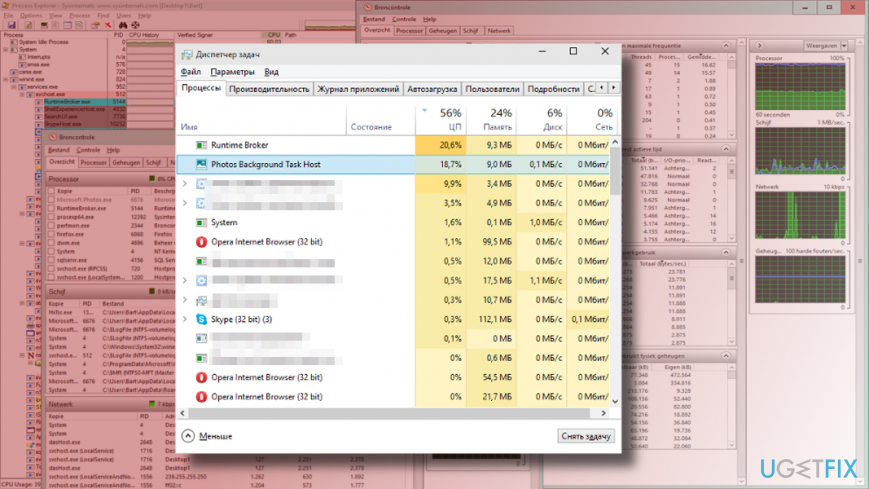
The only way to find out if Photo Background Task Host is sucking up your PC’s CPU resources is to open Windows Task Manager, navigate to Processes tab and look for this process. If it uses more than 30% CPU resources, it means that your PC requires maintenance.
There are several methods to fix high CPU usage by Microsoft.Photos.exe. Most of the fixes require modification of Photos app. For more details, follow the guidance below.
Disable Runtime Broker process
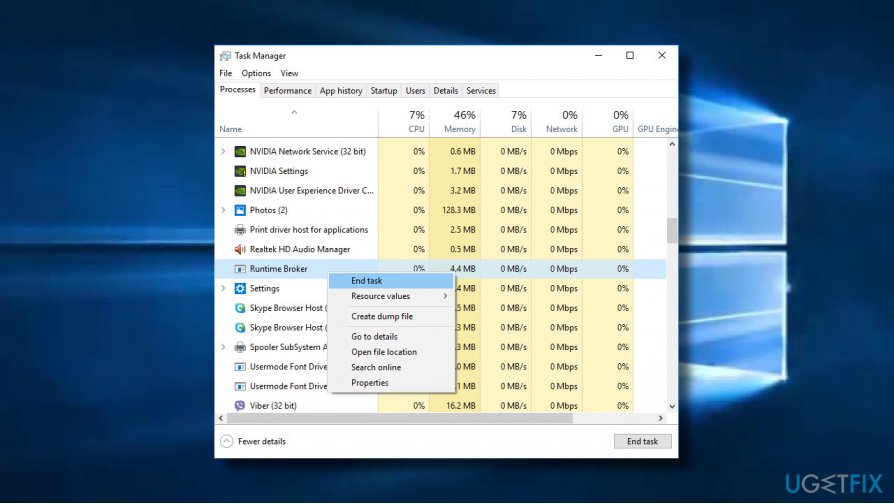
- Press Ctrl + Alt + Del to open Task Manager.
- Navigate to Processes tab and find Runtime Broker process.
- Right-click on the Runtime Broker and select End Task.
Disable the Photos Background Task Host process
- Press Ctrl + Alt + Del to open Task Manager.
- Navigate to Processes tab and find Photo Background Task process.
- Right-click on the Photo Background Task and select End Task.
Turn off Windows Camera app
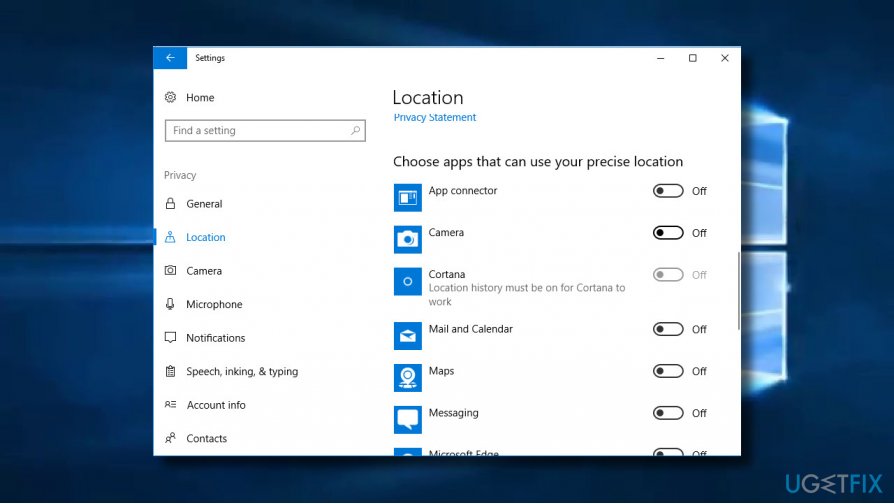
- Press Windows key + I to open Settings.
- Open Privacy section and select Location.
- Find Camera app and slide the toggle to Off.
Re-register Windows apps
- Open Windows search and type PowerShell in a search bar.
- Right-click on PowerShell and select Run as administrator.
- Enter the Get-AppXPackage | Foreach {Add-AppxPackage -DisableDevelopmentMode -Register “$($_.InstallLocation)\\AppXManifest.xml”} command and press Enter.
- Close PowerShell and restart your PC.
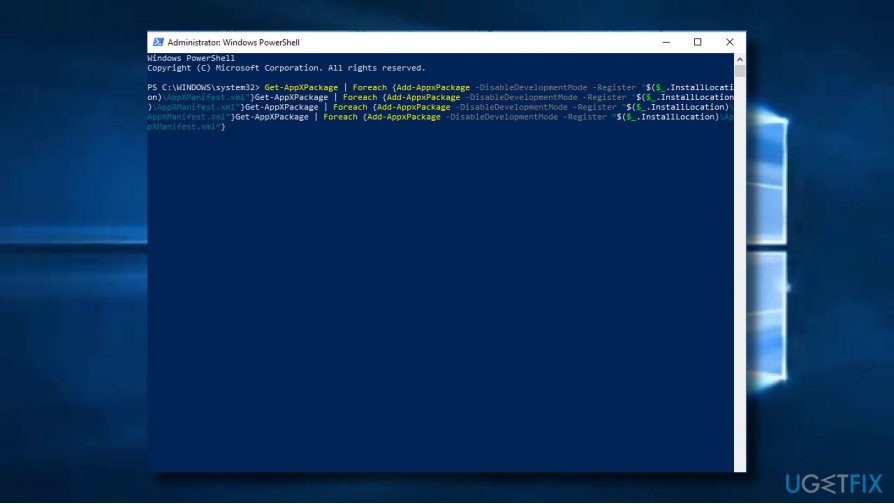
Run Windows PowerShell script
- Close Photos app if it’s currently open.
- Type PowerShell in Windows search.
- Right-click on PowerShell and select Run as administrator.
- Once the elevated PowerShell opens, copy and paste the Get-AppxPackage *photo* | Remove-AppxPackage command and press Enter.
- You should temporarily see “Deployment operation progress” notification. Once the notification disappears, close PowerShell and reboot your PC.
Bottom line
To fix high CPU usage by Microsoft.Photos.exe, you can disable the Runtime Broker process, disable the Photos Background Task Host process, turn off the Windows Camera app, or re-register Windows apps. If none of these methods work, consider scanning your system with a professional anti-malware tool.
Frequently asked questions
High CPU usage by Microsoft.Photos.exe can be caused by background processes, corrupted app data, or issues with the Photos app itself. These factors can lead to the app consuming excessive system resources.
To reduce CPU usage, try resetting the Photos app through Settings > Apps > Apps & features, then select Microsoft Photos and choose 'Advanced options' to reset it. Additionally, ensure that no photo syncing features are running in the background.
Yes, you can uninstall Microsoft Photos on Windows 11 by going to Settings > Apps > Apps & features, finding Microsoft Photos, and selecting 'Uninstall.' However, note that this will remove the app entirely and may affect your ability to view images.




Report an issue
What's wrong with this guide? We review every report and update or remove content.
Report received — thank you. We'll review and fix it.
You need a free account to submit a report.
Be the first to comment