How to fix
“Could not connect to the Steam network” error
on Windows
Resolve the "Could not connect to the Steam network" error on Windows 10 or 11 quickly. Follow our expert-tested solutions for seamless gaming.
What causes How to fix “Could not connect to the Steam network” error in Windows?
- Network connectivity issues
- Firewall or antivirus interference
- Outdated or corrupted Steam client
- Incorrect protocol
- Issues with Steam servers
Repairs Windows system files, removes malware, and restores a clean OS state — without reinstalling.
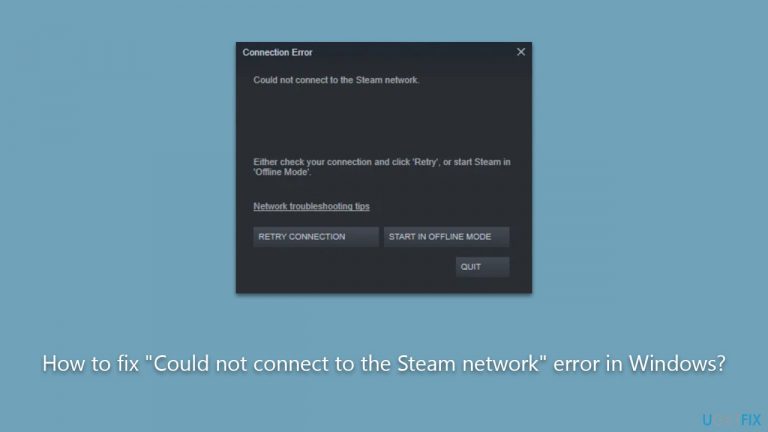
Hi, I got this new PC recently, and I keep getting this error when trying to log into Steam: "Could not connect to the Steam network." How do I fix this?
Steam is a popular online gaming platform developed by Valve Corporation that allows users to purchase, download, and play video games on their Windows, Mac, or Linux computers.
This platform provides a convenient way to access a vast library of games, connect with friends, and enjoy various gaming features. However, to access these functionalities, Steam requires a stable internet connection to authenticate users and synchronize their gaming progress.
In some instances, users face challenges when logging into the gaming platform, with the most common error being "Could not connect to the Steam network." This error can occur due to various reasons, such as poor network connectivity, software glitches, or conflicts with third-party applications.
When this error appears, it prevents the user from accessing their Steam account and enjoying the gaming experience they desire. Some of the common factors that contribute to this error include:
- Network connectivity issues. A weak or unstable internet connection can prevent Steam from connecting to its servers, causing this error message to appear.
- Firewall or antivirus interference. Overprotective firewalls or antivirus software may block Steam from accessing the internet, leading to the error.
- Outdated or corrupted Steam client. An outdated or corrupted Steam client can cause compatibility and connectivity issues, triggering the "Could not connect to the Steam network" error.
- Incorrect protocol. Steam typically uses UDP protocol to transfer data, which might not work optimally with some configurations. Swapping it to TCP might help you fix the "Could not connect to the Steam network" error.
- Issues with Steam servers. Sometimes, the problem lies with Steam's servers themselves, which might be undergoing maintenance or experiencing technical difficulties.
Although the steps to fix this error will be detailed below this article, it is important to remember that resolving the issue may require different approaches depending on the underlying cause. In some cases, troubleshooting network connectivity, updating the Steam client, or adjusting firewall settings might be sufficient, while in others, more advanced steps may be necessary.

To avoid encountering such issues in the future and ensure optimal PC performance, it is advisable to use a reliable PC repair tool like [d1]. This software can help detect and fix various system issues, optimize performance, and maintain the overall health of your computer.
Fix 1. Check the Steam server status
Before attempting to troubleshoot the "Could not connect to the Steam network" error, it is essential to determine whether the issue lies with your computer or Steam's servers. One effective way to do this is by visiting the Steam server status page, which provides real-time information about the platform's servers and their current performance. This resource can help you identify if there are any ongoing server outages or scheduled maintenance periods that might be causing the error you are experiencing.

Fix 2. Remove the "TCP" parameter from Steam
As mentioned, changing which protocol Steam uses might be the solution for Steam connection issues:
- Find the Steam shortcut on your desktop.
- Right-click and pick Properties.
- Go to the Shortcut tab.
- In the Target section, remove everything and paste in the following:
"C:\Program Files (x86)\Steam\Steam.exe" -tcp - Close down Properties and launch Steam.

Fix 3. Run as administrator
Insufficient permissions may sometimes prevent Steam from connecting to its servers. To bypass this, run the app as administrator:
- Right-click on the Steam icon and select Properties.
- Go to the Compatibility tab.
- Mark the Run this program as an administrator option.
- Click Apply and OK.
- Launch Steam and see if the problem is gone.

Fix 4. Run Network troubleshooter/reset your internet
Network troubleshooter and check whether your local devices work as intended. Follow these steps:
- Right-click on Start and pick Settings.
- Go to Network & Internet section.
- On the right side, find the Advanced network settings section.
- Click Network troubleshooter and wait.
- The fixes should be automatically applied.

If issues were found but could be fixed automatically, you can always reset your internet connection (note this will set all your internet connection parameters to default):
- Type cmd in Windows search, right-click on Command Prompt, and select Run as administrator
- When the new window opens, copy and paste the following commands, pressing Enter after each:
ipconfig /flushdns
ipconfig /registerdns
ipconfig /release
ipconfig /renew
netsh winsock reset - Close down Command Prompt and check if the problem is resolved.
Fix 5. Update Steam
Usually, Steam should apply updates when you launch it. Some users, however, do not shut down their PCs and let Steam run in the background. If that's the case, please follow these steps:
- Open Steam client.
- At the top-left corner of the window, click Steam and select Check for Steam Client Updates.
- Wait till all the updates are installed.

Fix 6. Update drivers
Updating your computer's drivers can also help resolve the "Could not connect to the Steam network" error, as outdated or incompatible drivers may cause conflicts with Steam's connectivity. One way to update your drivers is by using Windows Update, which can automatically detect and install the latest driver versions for your hardware components.
- Type Updates in Windows search and press Enter.
- Click Check for updates and wait.
- It is crucial you install all the optional updates as well.
- Restart your computer.

However, for a more efficient and convenient solution, consider using an automatic driver updater like [rev id="DriverFix"]. This tool can quickly and easily scan your system for outdated drivers and install the latest versions without any hassle. Alternatively, you can also visit your device manufacturer's website to download and install the most recent drivers manually.
Bottom line
To resolve the 'Could not connect to the Steam network' error, you can troubleshoot network connectivity, update the Steam client, or adjust firewall settings. If these steps do not resolve the issue, consider checking the status of Steam's servers or seeking further technical support.
Frequently asked questions
First, check your internet connection to ensure it's stable, then restart both your router and Steam client. If the problem persists, try disabling any VPN or proxy settings that might interfere with the connection.
You can resolve this issue by verifying the integrity of your game files through Steam's settings, or by resetting your Windows network settings. Additionally, ensure that the Steam application has the necessary permissions in the Windows Firewall.
Yes, check your DNS settings and consider switching to a public DNS server like Google DNS. Also, ensure that your Windows Defender Firewall is not blocking Steam.


Report an issue
What's wrong with this guide? We review every report and update or remove content.
Report received — thank you. We'll review and fix it.
You need a free account to submit a report.
Be the first to comment