How to fix
Night Light feature grayed out
on Windows
Fix the Night Light feature grayed out issue in Windows 10 or 11 quickly and easily. Expert-tested solutions with screenshots for guaranteed results!
What causes How to fix Night Light feature grayed out in Windows?
- Outdated graphics drivers
- Incorrect display settings
- System settings misconfiguration
- Pending Windows updates
Repairs Windows system files, removes malware, and restores a clean OS state — without reinstalling.
Hello. I wanted to turn on the Night light feature in Windows but the option is grayed out, and I can't click on it. What should I do to enable it again?
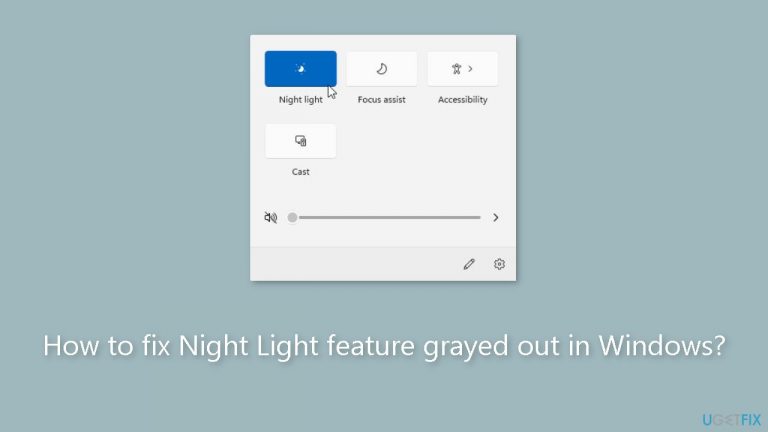
The purpose of Windows' Night Light function is to lessen the quantity of blue light that your computer's screen emits at night or in the evening. Electronic devices frequently emit blue light, which is known to disturb sleep and can strain the eyes. By changing the display's color temperature from its usual chilly, bluish tones to warmer, more yellowish tones, Night Light illuminates the screen. By lessening the effects of blue light exposure, this modification is meant to be easier on the eyes and encourage healthy sleep.
On a Windows PC, the Night Light feature is grayed out, which means users are unable to access or utilize this functionality. Users who rely on Night Light to make using their computers more pleasant at night may find this problem to be inconvenient. They are virtually prevented from personalizing the color temperature and timing due to the grayed-out option.
Users may be impacted in a number of different ways if Night Light cannot be used as intended. First and foremost, especially if they use their laptops late at night, it can interfere with their sleep patterns. Blue light exposure at night can disrupt the body's normal circadian rythm, making it more difficult to fall asleep and perhaps causing sleep disorders.
Users may need to investigate multiple solutions, such as updating graphics drivers, tweaking display settings, or changing system settings, to resolve the problem with the grayed out Night Light function. This article includes 5 steps that should assist you in resolving Windows' grayed-out Night Light function. You can also run a maintenance tool like [d1] that can fix most system errors, BSODs,[ref en-1] corrupted files, and registry[ref en-2] issues. Otherwise, follow the step-by-step instructions below.

Solution 1. Install Windows Updates
- Click Start on the taskbar.
- Select the Setting app pinned to the Start menu.
- Click Windows Update on the left side of Settings.
- Press the Check for updates button to download and install new patch updates.

Solution 2. Modify Windows Registry
- Press the Windows key + R to open the Run window.
- Type regedit into the box and hit Enter to open the Registry Editor window.
- Navigate to the aimed folder with the following path: HKEY_CURRENT_USER > SOFTWARE > Microsoft > Windows > CurrentVersion > CloudStore > Store > DefaultAccount > Cloud.
- Expand the Cloud folder to find the following folders:
default$windows.data.bluelightreduction.bluelightreductionstate
default$windows.data.bluelightreduction.settings

- Right-click on each folder and choose Delete respectively.
- If the two folders do not exist under the Cloud folder, you can go to the Cache > DefaultAccount to check whether the two folders are here.
- Afterward, restart your computer to fully apply these changes.
Solution 3. Update Display Driver
- Click on the Search icon.
- Type Device Manager in the search bar.
- Click on Open when Device Manager appears.
- In Device Manager, find and click on Display adapters to expand the section.

- Right-click on your graphics card listed in the expanded section.
- Select Update driver from the context menu.
- Choose Search automatically for drivers.
Solution 4. Run a Night Light Script
- Press the Windows key + S to open the search dialog box.
- Type Notepad and open the corresponding entry.
- In the new Notepad file, paste the following script:
Windows Registry Editor Version 5.00[HKEY_CURRENT_USER\Software\Microsoft\Windows\CurrentVersion\CloudStore\Store\Cache\DefaultAccount\$$windows.data.bluelightreduction.bluelightreductionstate][HKEY_CURRENT_USER\Software\Microsoft\Windows\CurrentVersion\CloudStore\Store\Cache\DefaultAccount\$$windows.data.bluelightreduction.bluelightreductionstate\Current] "Data"=hex:02,00,00,00,54,83,08,4a,03,ba,d2,01,00,00,00,00,43,42,01,00,10,00,\d0,0a,02,c6,14,b8,8e,9d,d0,b4,c0,ae,e9,01,00

- Click on File, select Save as, and save it as NightLight.reg. Ensure that you use the .reg extension to allow the Registry Editor to recognize and execute the script.
- Double-click on the NightLight.reg script and press YES if prompted for administrator privileges.
- Check to see if the Night Light option is working now.
Solution 5. Use System Restore
System Restore is a feature in Microsoft Windows that allows users to revert their computer's state to a previous point in time. This can be helpful if you have made changes to your system that are causing problems.
- Go to the Start menu, type restore, and click on Create a restore point.
- Click System Restore, then follow the prompts until you can select a restore point.
- Select the one you want (ideally before the issue started occurring) and go ahead with the process.

Bottom line
To resolve the grayed-out Night Light feature, you can try installing Windows updates, updating your graphics drivers, and adjusting your display settings. If these solutions do not work, consider using a maintenance tool to fix system errors.
Frequently asked questions
The Night Light feature may be grayed out if your display drivers are outdated or if the feature is disabled in the Settings. Ensure that your graphics drivers are updated and check the Settings under System > Display.
To enable Night Light in Windows 11, first, make sure your display supports the feature and verify that your graphics drivers are up to date. If the option is still grayed out, try adjusting the display settings or restarting your device.
If Night Light keeps turning off, check the scheduled times set for the feature and ensure there are no conflicting display settings. Additionally, consider running the Windows Troubleshooter for Display to identify any underlying issues.


Report an issue
What's wrong with this guide? We review every report and update or remove content.
Report received — thank you. We'll review and fix it.
You need a free account to submit a report.
Be the first to comment