How to fix
Non-responsive Start Menu
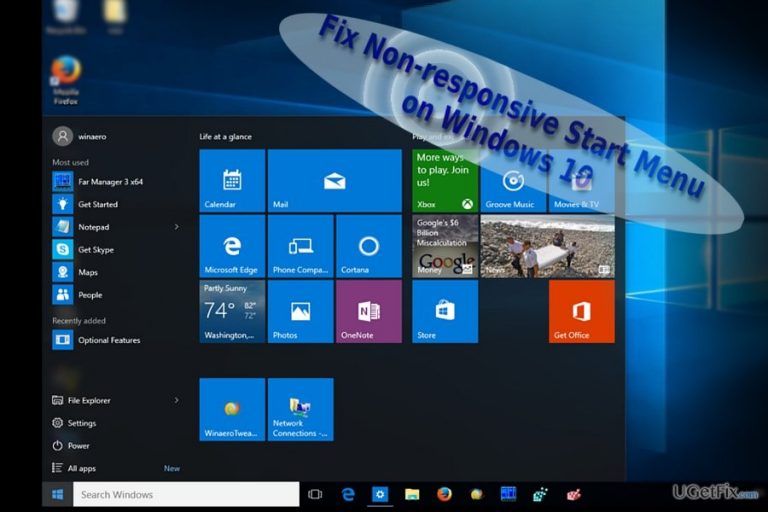
on Windows
Resolve your non-responsive Start Menu issues on Windows 10 quickly and easily with expert-tested solutions. Get your PC running smoothly again!
What causes How to Fix Non-responsive Start Menu on Windows 10?
- Task Manager temporal errors
- Corrupted files present on the system
- Issues after installing a Windows update
- Settings in Registry Editor
- User profile corruption
Repairs Windows system files, removes malware, and restores a clean OS state — without reinstalling.
I noticed this problem recurring once in a while. When I start Windows and click on Start button, it does not respond. No start menu appears, neither action center responds. In some cases, it becomes active again, in other cases, I have to restart the device. Do you know how to fix it?
Start menu issue on Windows 10 might appear for all users despite whether they have installed Anniversary or Creators update. In fact, observing the reported issues, users might encounter it even if after installing one particular update. Furthermore, several factors may result in non-responsive Start menu even due to Task Manager temporal errors or corrupted files present on the system. In that case, System File Checker may find them but fail to remove. If you encounter the same, scan your device with [d1]. Here below you will find some options which may help you solve the problem depending on the cause.
Option 1. Solve the issue with PowerShell
1. Launch it either by right-clicking on the Start button (right-click function should still function) and type powershell.
2. When the program loads, type in Get-AppXPackage -AllUsers | Foreach {Add-AppxPackage -DisableDevelopmentMode -Register "$($_.InstallLocation)\AppXManifest.xml"} and click Enter.
3. Wait until the process is completed and reboot the computer.
Option 2. Use Registry Editor
The credits for developing this method go to Microsoft specialist Kapil Arya.
- Press Windows button+R and type regedit. Click Enter.
- Locate the following key:
HKEY_CURRENT_USER\Software\Microsoft\Windows\CurrentVersion\Explorer\Advanced - Note. You may use Find Next function by choosing Edit section to find the location faster.
- In the dialogue box enter HKEY, and you will be directed to the folder.
- When you reach the final point of the indicated key, find EnableXAMLStartMenu entry.
- Right-click on it and choose New –> DWORD value.
- Once the new value is created, change the default value to 0. If it is already set to this number, do not apply any changes. If you modified it, click OK.
- Upon exiting Registry Editor, you will be asked to restart the device.
- After the reboot, you will no longer experience the inconvenience.
Option 3. Create new user
- For some users, creating user name might solve the issue.
- In order to do that, use Power Shell again.
- First, launch Task Manager and choose Run new task in the top-left corner.
- Tick the box with Create this task with administrative privileges.
- Once PowerShell launches, type net user username /add. Follow the instructions.
- Log in to your new account.
Option 4. Repair corrupted files
- If you have run System File Checker and it found corrupted files which it was unable to repair, launch Powershell again.
- Type DISM /Online /Cleanup-Image /RestoreHealth and click Enter. This command reinstalls damaged files with the new ones downloaded from Microsoft.
Bottom line
To fix the non-responsive Start menu on Windows 10, you can try using PowerShell to re-register apps, modifying the Registry Editor settings, or creating a new user account. If none of these solutions work, consider scanning your device for additional issues.


Report an issue
What's wrong with this guide? We review every report and update or remove content.
Report received — thank you. We'll review and fix it.
You need a free account to submit a report.
Be the first to comment