How to fix
OneSettingsClient.dll missing or not found error
on Windows
Resolve the OneSettingsClient.dll missing error in Windows 10 or 11 with our expert-tested solutions. Get your system back on track in minutes!
What causes How to fix OneSettingsClient.dll missing or not found error in Windows?
- Missing OneSettingsClient.dll file
- Corrupted system files
- Issues with specific applications
- Backup of the DLL file not available
Repairs Windows system files, removes malware, and restores a clean OS state — without reinstalling.
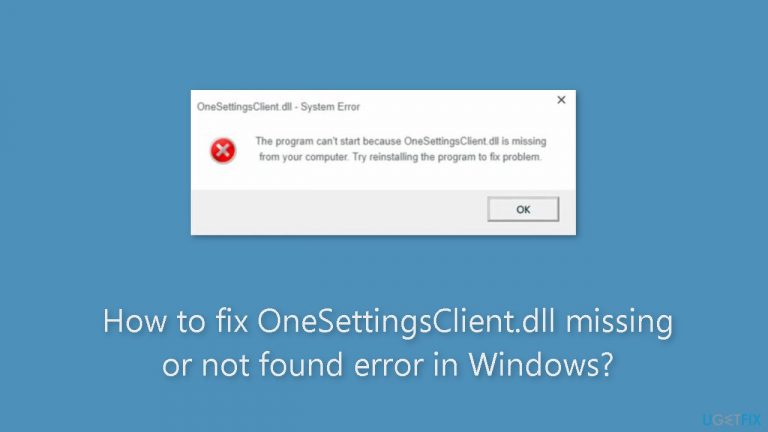
Hello. I keep getting a "OneSettingsClient.dll is missing" error on my Windows PC. What is this file? Any way to fix this?
Users may find the Windows "OneSettingsClient.dll is missing" or "not found" error to be a serious problem. This DLL (Dynamic Link Library) file[ref en-1] is an integral part of the Microsoft Windows operating system and is crucial for giving other programs and system components various services and functionality. It normally resides in the C:WindowsSystem32 directory.
The way users interact with their Windows PCs can be negatively impacted by this issue in a number of ways. First of all, it can cause some programs or apps that depend on OneSettingsClient.dll's functionality to stop working or crash. When trying to execute specific apps, users may experience error messages or pop-up notifications due to missing DLL files, which might impair their productivity.
Additionally, system DLL files like OneSettingsClient.dll that are missing or damaged may have larger effects on the operating system's overall performance and stability. Users may suffer decreased system performance, a rise in system faults, or even system instability, all of which can have a negative effect on how they use computers in general.
Users often have a few options available to them for fixing the "OneSettingsClient.dll missing or not found" bug. These remedies could involve running a system file check (sfc scan) to fix or restore faulty system files, using the Windows System File Checker tool, or, if a backup exists, restoring the missing DLL file. Users may also think about reinstalling or fixing the problematic program or application that is having DLL-related problems.
In this guide, you will find 6 steps that should help you fix OneSettingsClient.dll missing or not found error in Windows. You can also run a maintenance tool like [d1] that can fix most system errors, BSODs,[ref en-2] corrupted files, and registry[ref en-3] issues. Otherwise, follow the step-by-step instructions below.

Method 1. Fix Corrupted System Files
Use Command Prompt commands to repair system file corruption:
- Open Command Prompt as administrator
- Use the following command and press Enter:
sfc /scannow

- Reboot your system
- If SFC returned an error, then use the following command lines, pressing Enter after each:
DISM /Online /Cleanup-Image /CheckHealth
DISM /Online /Cleanup-Image /ScanHealth
DISM /Online /Cleanup-Image /RestoreHealth
Method 2. Re-register the DLL File
- Hit the Windows key.
- Type Command Prompt.
- Right-click on it.
- Select Run as administrator.
- Type the following command and press Enter:
regsvr32 onesettingsclient.dll

- This command registers the missing DLL file. However, if more than one DLL file is not registered, you can use the following command:
For %1 in (*.dll) do regsvr32 /s %1
Method 3. Scan for Malware
It is possible that a malware infection may be the cause of OneSettingsClient.dll missing or not found error in Windows. It is important to run a comprehensive security scan to rule out this possibility and ensure that the computer is not infected. This can help to prevent further issues with the Windows operating system and ensure that it is functioning properly.
If you have access to a security scanner, or if your organization pays for one, you can use it to scan your entire system to check for a virus infection. Otherwise, you can use Windows Defender to scan your system:
- Click on the Windows Start menu or press the Windows key on your keyboard.
- Type Microsoft Defender in the search bar and click on Microsoft Defender Antivirus to open the application.
- Click on the Virus & threat protection option in the left-hand menu.
- Click on the Quick scan or Full scan option, depending on your preference.

- If you choose Quick scan, Microsoft Defender Antivirus will scan the most vulnerable and commonly infected areas of your computer.
- If you choose Full scan, Microsoft Defender Antivirus will scan your entire computer, including all files, folders, and programs.
- Click on the Scan now button to start the selected scan type and wait for the scan to complete.
- The time it takes will depend on the size of your hard drive and the number of files being scanned.
- Once the scan is complete, you will be informed of any detected threats, and you can choose to quarantine or remove them.
- If no threats are found, Microsoft Defender Antivirus will inform you that your device is secure.
Method 4. Reset Windows Update Components
- Press the Windows key.
- Type cmd.
- Select Run as administrator to open the Command Prompt.
- Type the following commands and press Enter after each one:

net stop bits
net stop wuauserv
net stop appidsvc
net stop cryptsvc
Del "%ALLUSERSPROFILE%\Application Data\Microsoft\Network\Downloader*.*"
rmdir %systemroot%\SoftwareDistribution /S /Q
rmdir %systemroot%\system32\catroot2 /S /Q
regsvr32.exe /s atl.dll
regsvr32.exe /s urlmon.dll
regsvr32.exe /s mshtml.dll
netsh winsock reset
netsh winsock reset proxy
net start bits
net start wuauserv
net start appidsvc
net start cryptsvc
Method 5. Use System Restore
System Restore is a feature in Microsoft Windows that allows users to revert their computer's state to a previous point in time. This can be helpful if you have made changes to your system that are causing problems.
- Press the Windows key + R on your keyboard to open the Run box.
- Type SystemPropertiesProtection and press Enter.
- Go to the System Protection tab.

- You will see the System Restore… button. Click it to run System Restore.
- Follow the prompts until you can select a restore point.
- Select the one you want (ideally before the issue started occurring) and go ahead with the process.
Method 6. Repair Install Windows
- Visit Microsoft's official website.
- Choose the desired product language and OS edition for Windows 11.
- Download the Windows 11 ISO file.

- Locate the downloaded ISO file and double-click it.
- In the prompt that appears, click Open.
- Run the setup.exe file.
- When the UAC (User Account Control) dialog box appears, click Yes to continue.
- Click Next to proceed with the installation.
- Accept Microsoft's license terms by clicking Accept.
- Make sure the setup option reads Keep personal files and apps.
- Click Install to begin the Windows 11 repair upgrade.
- Wait patiently for the repair upgrade to complete.
Bottom line
To fix the OneSettingsClient.dll missing or not found error, users can run a system file check (sfc scan), use the Windows System File Checker tool, or restore the missing DLL from a backup. Additionally, reinstalling or repairing the affected application may help. If none of these solutions work, consider using a maintenance tool to address system errors.
Frequently asked questions
OneSettingsClient.dll is a dynamic link library file essential for the Settings app functionality in Windows 10 and Windows 11. If it's missing or corrupted, it can lead to issues accessing system settings.
You can restore the OneSettingsClient.dll file by running the System File Checker tool; open Command Prompt as an administrator and type 'sfc /scannow' to automatically repair missing or corrupted system files.
If reinstalling the OneSettingsClient.dll file does not resolve the issue, consider performing a Windows Repair Upgrade to fix any underlying system problems without losing your files.


Report an issue
What's wrong with this guide? We review every report and update or remove content.
Report received — thank you. We'll review and fix it.
You need a free account to submit a report.
Be the first to comment