How to fix
“Scanning and repairing drive” stuck
on Windows
Resolve the "Scanning and repairing drive" issue on Windows 10 seamlessly with our expert-tested solutions and fixes to get your system running smoothly.

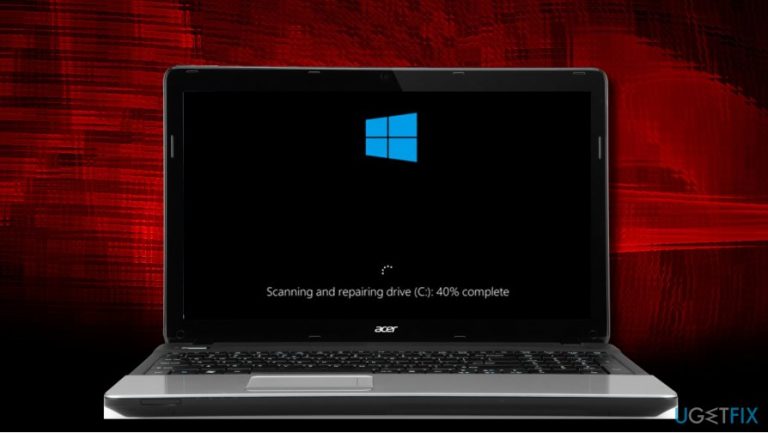
What causes How to fix “Scanning and repairing drive” stuck on Windows 10?
- Inappropriate PC turn off
- Power failure
- Forced shutdown
- Loss of data stored in RAM
- Hard disk damage
Repairs Windows system files, removes malware, and restores a clean OS state — without reinstalling.
Hello all. My PC gets stuck on boot while “Scanning and repairing drive C: 28% complete.” Even if a driver test eventually ends up and the system boots up, the whole procedure is repeated the next time I reboot. I wonder maybe Microsoft added the hard drive test to the boot sequence for Windows 10 Fall Creators Update?
"Scanning and repairing drive C/D: Complete" notification during Windows boot is a real headache for many people. For the last couple of month, Windows 10[ref en-1] users keep submitting questions on official Microsoft’s website and various Windows-related forums about the system getting stuck at boot with a "Scanning and repairing drive."
The percentage at which the scanning and repairing process stuck differs for each person Windows PC user. However, it stops from 10 to 30% and stays like that up to 2 hours depending on the size of the drive and number of errors detected.
NOTE: Usually, the stuck "Scanning and repairing drive" from 10 or 30% jumps to 100%, so it’s important to be patient and wait for Windows to fully boot up.
Often Windows starts initiating scanning and repairing drive process at each boot after inappropriate PC’s turn off.[ref en-2] A power failure, forced shut down and similar problems may cause the loss of data stored in RAM[ref en-3] or damage hard disk.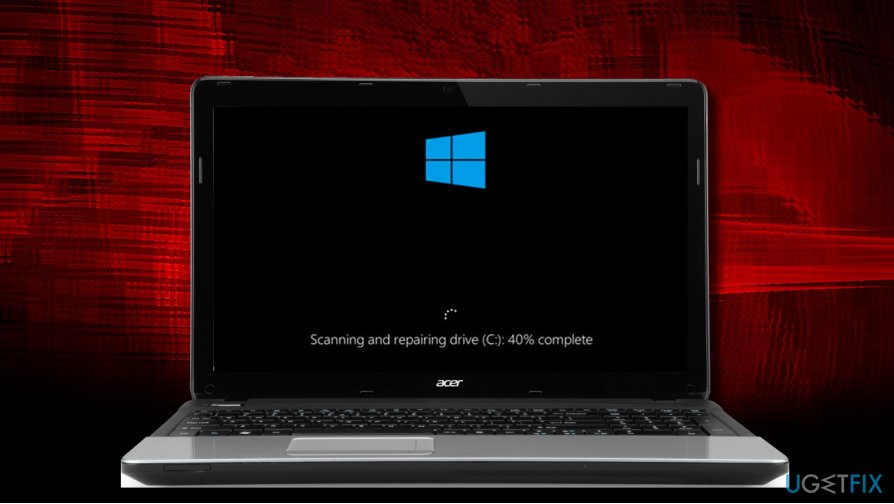
Unfortunately, the PC stuck at "Scanning and repairing drive" for hours each time when booting Windows is an irritating problem when you need your PC right now. If you are experiencing this problem, several fixes can be applied. Some of them can be initiating when the system is stuck at the repairing process, while the others require for booting Windows completely.
Fix 1. Enter your BIOS
- Once your PC fully loads, press and hold Shift button and at the same time click Shut down button from the boot menu.
- Then press and hold the F2 button and click the power button. Do NOT release the F2 button until the BIOS screen emerges.
- Once BIOS opens, you can release the F2 button. Now go to Boot section.
- Check the priority list. If the boot drive (SSD/HDD) is not listed at the top, shift it to the top instead of Windows Boot Manager,USB HDD or DVD Rom.
- Save the changes and close the BIOS.
- Once done, restart the PC.
Fix 2. Check the driver
Windows has a drive repair utility, which automatically detects and allows repairing its failures. Thus, try these steps:
- Press Windows key + S and type Control Panel.
- Open it and select Small icons at the top-right corner of the window.
- Select Security and Maintenance and click Maintenance.
- If the system detected some issues, you should see them listed under Driver status.
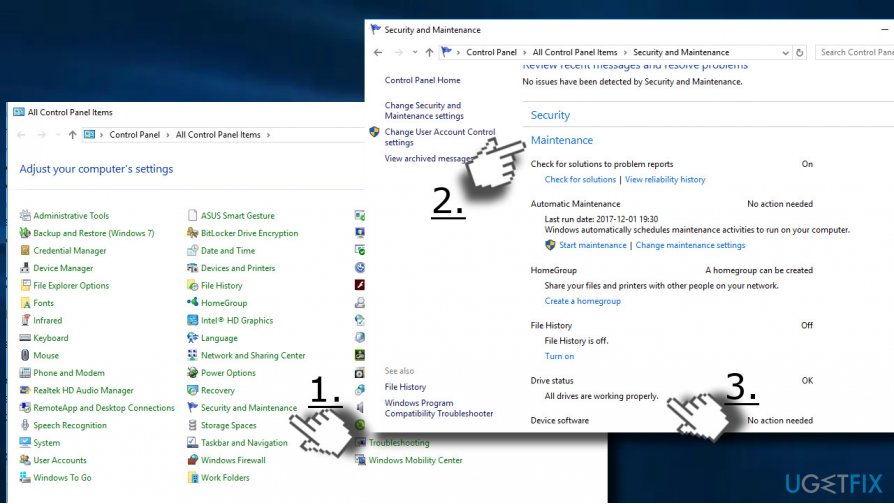
Driver status - To fix them, click on the link provided next to the error.
Fix 3. Run CHKDSK command
- First of all, boot your PC into Safe Mode. If you are using Windows 10, press Windows key + R, type msconfig in the run and press Enter.
- Open Boot tab and mark Safe boot under Boot options.
- Click OK and Restart to boot into Safe Mode.
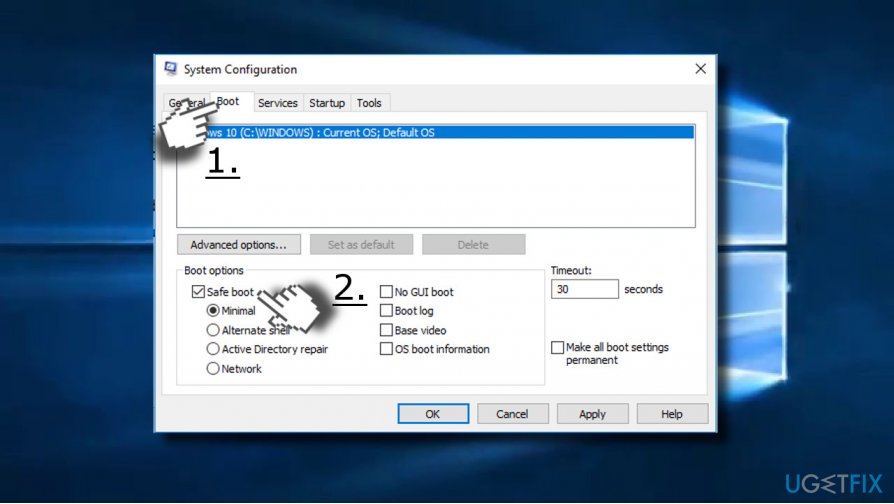
Safe boot - Those who are using older Windows versions can access Safe Mode by pressing F8 key during the startup.
- When the system boots into Safe Mode, right-click on Windows key and select Command Prompt (Admin).
- Alternatively, you can press Windows key + R to open Run, type cmd, and press Shift + Ctrl + Enter.
- Copy and paste the chkdsk x: /f command in the Command Prompt.
NOTE: change x with the drive letter that you want to scan and repair (e.g. c or d).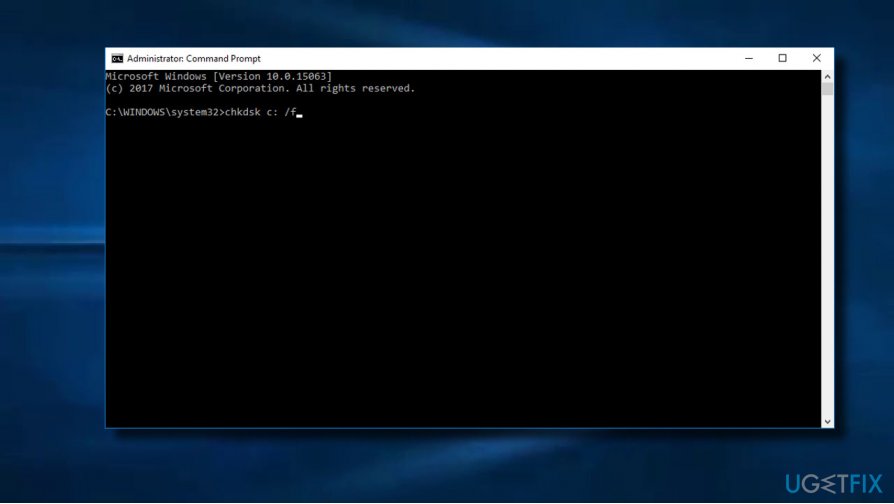
Run command prompt - After the scan and repair, reboot your PC.
Fix 4. Use a System Restore Point
If your PC got stuck at "Scanning and repairing drive" after power failure or some important system’s changes, try enabling a System Restore Point. For this purpose, follow these steps:
- Open Control Panel and select Recovery.
- Click on the Open System Restore link and click Next.
- Select the Restore Point that was created before the “Scanning and repairing drive” error occurred.
- Finally, click Next and wait while the restore process is being executed.
Fix 5. Use Windows PowerShell
- Boot your PC into Safe Mode as explained in the Fix 4 above.
- Then press Windows key + S and type PowerShell.
- Right-click on the Windows PowerShell option and select Run as Administrator.
- Copy and paste the repair-volume -driveletter x command.
NOTE: replace x with the drive letter that you want to scan and repair (e.g. c or d).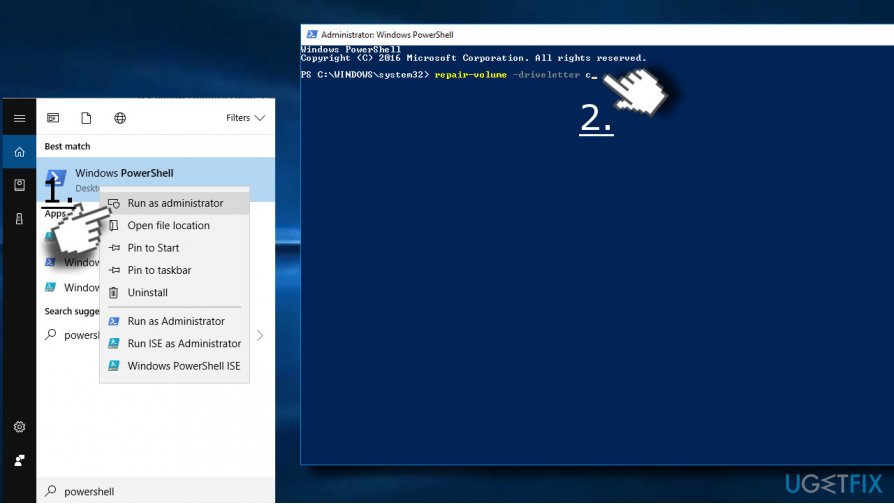
Use powershell - Once done, reboot your PC.
Bottom line
Several fixes can be applied to resolve the 'Scanning and repairing drive' issue, including entering the BIOS and checking the boot section. If these fixes do not work, further troubleshooting may be necessary.
Frequently asked questions
You can try restarting your computer and booting into Safe Mode to see if the issue persists. If it does, running the CHKDSK command in the Command Prompt might help resolve the problem.
It is not recommended to turn off your computer as it may lead to data corruption. Instead, wait for a significant amount of time before considering other troubleshooting options.
Ensure your Windows 10 system is regularly updated and perform routine disk checks to maintain drive health. Additionally, consider using tools like Disk Cleanup to remove unnecessary files that may affect drive performance.




Report an issue
What's wrong with this guide? We review every report and update or remove content.
Report received — thank you. We'll review and fix it.
You need a free account to submit a report.
Be the first to comment