How to fix
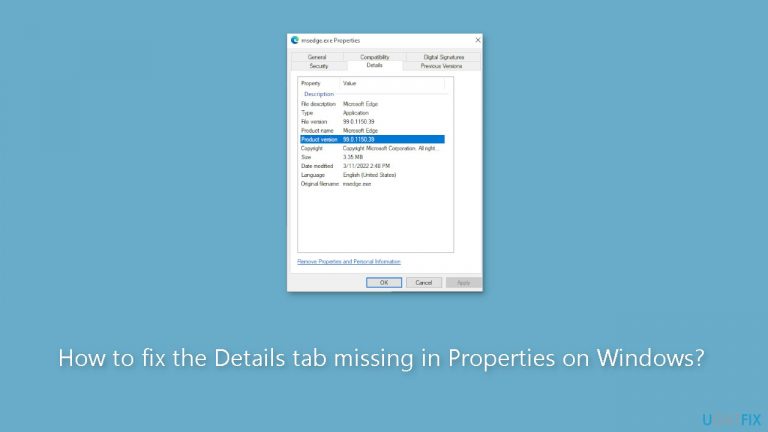
The Details tab missing in Properties
on Windows
Resolve the missing Details tab in Properties on Windows 10 and 11 with our expert-tested solutions. Get it fixed quickly and efficiently!
What causes How to fix the Details tab missing in Properties on Windows?
- Damaged user profiles
- Corrupt user profiles
- System crashes
- Hardware issues
- Software incompatibilities
Repairs Windows system files, removes malware, and restores a clean OS state — without reinstalling.
Hello. When I open any file Properties, the Details tab is missing. How do I fix this?
On a Windows system, the absence of the "Details" tab in file or folder properties is frequently a sign that there may be problems with the user profile. Users may experience substantial effects from this issue since it makes it difficult for them to get crucial file information including file size, type, and date changed. Users may find it difficult to efficiently manage their files without the "Details" tab, especially when working with enormous amounts of data or when attempting to troubleshoot problems with certain files or folders.
One of the main causes of this issue may be damaged user profiles. Corrupt user profiles can cause a number of system-related problems, such as the loss of essential attributes like the "Details" tab in file or folder properties. System crashes, hardware issues, or software incompatibilities could all be at blame for this corruption. Additionally, a faulty user profile may cause the user to lose customized settings and preferences, which will make using the computer less effective and annoying.
Users can look at a few potential fixes to fix the missing "Details" tab. One strategy is to create a new user profile and import the information and settings from the previous, corrupted profile in an effort to repair the user profile. Another option might be to use the built-in Windows programs to scan and fix corrupted system files, as this can also affect how different functions, including file properties, function.
Users may need to think about executing a system restore to a time when the user profile was operational in more serious situations where user profile damage is deeply ingrained. However, if not done carefully, this should only be used as a last resort in order to avoid data loss.
In this guide, you will find 5 steps that should help you fix the Details tab missing in Properties on Windows. You can also run a system repair tool like [d1] that can fix most system errors, BSODs, corrupted files, and registry issues. Otherwise, follow the step-by-step instructions below.

Method 1. Fix Corrupted System Files
Use Command Prompt commands to repair system file corruption:
- Open Command Prompt as administrator
- Use the following command and press Enter:
sfc /scannow

- Reboot your system
- If SFC returned an error, then use the following command lines, pressing Enter after each:
DISM /Online /Cleanup-Image /CheckHealth
DISM /Online /Cleanup-Image /ScanHealth
DISM /Online /Cleanup-Image /RestoreHealth
Method 2. Modify the Registry Editor
- Press the Windows key + R to open Run, type regedit in the text field, and hit Enter.
- Click Yes in the UAC prompt.
- Now, paste the following path in the address bar and hit Enter:
HKEY_CLASSES_ROOT*\shellex\PropertySheetHandlers

- Check whether the {883373C3-BF89-11D1-BE35-080036B11A03} subkey exists in the left pane.
- If not, right-click on PropertySheetHandlers, hover the cursor over New, select Key, and give it the same name as the string.
- Alternatively, if you have stored a backup of the reg file before deleting the key, restore it, and the Details tab should reappear in the Windows 11 file properties.
Method 3. Use System Restore
System Restore is a feature in Microsoft Windows that allows users to revert their computer's state to a previous point in time. This can be helpful if you have made changes to your system that are causing problems.
- Press the Windows key + R on your keyboard to open the Run box.
- Type SystemPropertiesProtection and press Enter.
- Go to the System Protection tab.

- You will see the System Restore… button. Click it to run System Restore.
- Follow the prompts until you can select a restore point.
- Select the one you want (ideally before the issue started occurring) and go ahead with the process.
Method 4. Create a new User Account
- Press the Windows key + R to open Run.
- Type netplwiz in the text field, and click OK.
- Click the Add button.
- Click on Sign in without a Microsoft account.

- Choose Local account from the bottom to proceed.
- Enter the username, password, and a hint, then complete the account creation.
- Select the new account, and click on Properties.
- Go to the Group Membership tab, select Administrator, and click OK to save the changes.
Method 5. Perform an In-place Upgrade
- Visit Microsoft's official website.
- Choose the desired product language and OS edition for Windows 11.
- Download the Windows 11 ISO file.
- Locate the downloaded ISO file and double-click it.
- In the prompt that appears, click Open.
- Run the setup.exe file.

- When the UAC (User Account Control) dialog box appears, click Yes to continue.
- Click Next to proceed with the installation.
- Accept Microsoft's license terms by clicking Accept.
- Make sure the setup option reads Keep personal files and apps.
- Click Install to begin the Windows 11 repair upgrade.
- Wait patiently for the repair upgrade to complete.
Bottom line
To fix the missing 'Details' tab, users can create a new user profile and import settings from the old one, or use built-in Windows tools to scan and repair corrupted system files. In more severe cases, a system restore may be necessary. If these solutions do not work, consider running a system repair tool.
Frequently asked questions
The Details tab may be missing due to corrupted system files or issues with the File Explorer. Running a system file checker scan can help restore it.
You can restore the Details tab by resetting File Explorer settings or by performing a system restore to a point when it was available.
If the Details tab is still missing, consider updating your Windows to the latest version or creating a new user profile to see if the issue persists.


Report an issue
What's wrong with this guide? We review every report and update or remove content.
Report received — thank you. We'll review and fix it.
You need a free account to submit a report.
Be the first to comment