How to fix
VMware “Failed to start the Virtual Machine” error
on Windows
Resolve the VMware "Failed to start the Virtual Machine" error on Windows 10 or 11 effortlessly. Expert-tested fixes for seamless virtualization, update…
What causes How to fix VMware “Failed to start the Virtual Machine” error in Windows?
- Virtual machine configurations are incorrect
- Insufficient system resources
- Outdated VMware software
- Virtualization settings in BIOS or UEFI are not enabled
Repairs Windows system files, removes malware, and restores a clean OS state — without reinstalling.
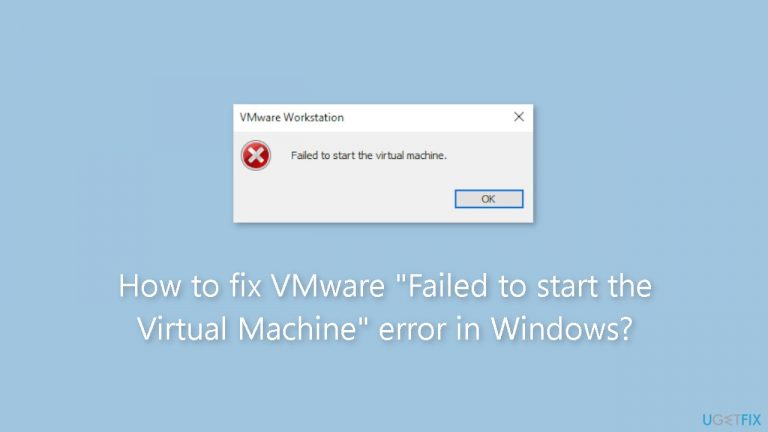
Hello. I was trying to run the Virtual Machine using VMware, but I received a "Failed to start the Virtual Machine" error. Any way to fix this?
Some users have been frustrated by the "Failed to start the Virtual Machine" message in VMware when attempting to turn on their virtual machines. Because it enables users to run several operating systems on a single machine, VMware is a popular third-party hypervisor that is useful for a variety of tasks, including software development, testing, and virtualization. The seamless experience that VMware seeks to deliver, however, is hampered by this inaccuracy.
Users may experience this error's effects in a number of ways. First of all, it stops them from starting any virtual machines in VMware, thereby stopping their workflow or other virtualization-dependent duties. This mistake can be particularly frustrating for people who depend on virtual machines for software development, testing, or running legacy applications because it can cause delays and possible work interruptions.
Additionally, troubleshooting this problem can be difficult and time-consuming, especially for people who are unfamiliar with the technical nuances of virtualization and hypervisors. They might be forced to go for outside help or spend a lot of time looking for solutions, which would reduce their productivity and frustrate them.
VMware troubleshooting techniques include checking virtual machine configurations, confirming system resources, and updating VMware software are all potential fixes for the "Failed to start the Virtual Machine" error. Additionally, it can entail changing virtualization-related settings in the BIOS or UEFI firmware. Users must consider all available choices to address the problem because the precise fix can vary based on the underlying causes of the error.
In this guide, you will find 7 steps that should help you fix VMware "Failed to start the Virtual Machine" error. You can also run a maintenance tool like [d1] that can fix most system errors, BSODs,[ref en-1] corrupted files, and registry[ref en-2] issues. Otherwise, follow the step-by-step instructions below.

Solution 1. Close and Restart the VMWare Virtual Machine
- Right-click on the Start button to open the Power User menu.
- Select the Task Manager option.
- Click on the search bar and type vmware.
- Press the Enter key to initiate the search for related processes.
- Right-click on the process and choose the End Task option.

- Repeat the above step to close all related processes.
- Close the Task Manager window.
- Press the Windows key.
- and type vmware.
- Click on the Run as administrator option.
- The User Account Control window will appear.
- Click on the Yes button.
- Try launching a virtual machine to see if the error persists.
Solution 2. Check If Virtualization is Active
- Restart your Windows PC.
- Repeatedly press the designated F-key (or even the Esc key in some cases) to access the BIOS. You can identify the correct F-key for your PC by searching for its model name.
- Switch to the Advanced Settings page.
- Locate the Hardware Virtualization settings. You might encounter terms like VT-x, AMD-V, or Vanderpool. Use the arrow key to select and press the Enter key to enable this feature. Then, save the changes by pressing the F10 key and exit the BIOS.
- Boot to the desktop and open VMware. Check if you can launch a virtual machine without encountering any errors.
Solution 3. Update VMware App
- Press the Windows key and type vmware. Then press the Enter key to open the app.
- Go to the top menu and click on the Player button.
- Navigate to the Help > Software updates option.

- Click on the Check for updates button. Wait for the utility to search the servers for new updates, if any. Download and install the updates on your PC.
- Restart your PC and launch VMware. Power on a virtual machine and check if the error appears or not.
Solution 4. Disable Memory Integrity
- Press the Windows key, type Windows Security, and press the Enter key.
- Click on the Device Security option.
- Locate the Core Isolation section and click on the Core Isolation details option.

- Now, click on the toggle below Memory Integrity to disable the feature.
- Close the Windows Security app.
Solution 5. Remove other Windows Virtualization Features
- Press the Windows key + R to open the Run command box.
- Type appwiz.cpl and press the Enter key.
- The Programs and Features window will appear. Click on the Turn Windows features on or off option.
- Scroll down and uncheck Hyper-V, Virtual Machine Platform, and Windows Subsystem for Linux features in the list.

- Click on the OK button. Now, click on the Restart now button to implement the changes and remove these features from your PC.
Solution 6. Reinstall the VMware App
- Right-click on the Start button to access the Power User menu.
- Click on the Terminal (Admin) option.
- The User Account Control window will appear. Click on the Yes button.
- Type the following command and press the Enter key to uninstall VMware:
Winget uninstall VMware.WorkstationPlayer.
- Wait for Winget to remove the app package from your PC.
- Now, execute the following command to install VMware from the Winget repository:
Winget install VMware.WorkstationPlayer.

- It will take some time to download and install the app on your PC.
- Close the Terminal app window.
- Launch VMware and power on a virtual machine to verify if it runs without any issues now.
Solution 7. Use System Restore
System Restore is a feature in Microsoft Windows that allows users to revert their computer's state to a previous point in time. This can be helpful if you have made changes to your system that are causing problems.
- Press the Windows key + R on your keyboard to open the Run box.
- Type SystemPropertiesProtection and press Enter.
- Go to the System Protection tab.

- You will see the System Restore… button. Click it to run System Restore.
- Follow the prompts until you can select a restore point.
- Select the one you want (ideally before the issue started occurring) and go ahead with the process.
Bottom line
To fix the 'Failed to start the Virtual Machine' error, users can try closing and restarting the VMware virtual machine, checking configurations, confirming system resources, and updating the software. If these solutions do not resolve the issue, consider using a maintenance tool or seeking further assistance.
Frequently asked questions
This error can occur due to insufficient system resources, incorrect VM configuration, or conflicts with antivirus software on Windows 10.
You can try increasing the allocated RAM and CPU resources for the VM, or ensure that virtualization is enabled in the BIOS settings on Windows 11.
Yes, disabling Hyper-V can resolve this issue, as it may conflict with VMware on both Windows 10 and Windows 11.


Report an issue
What's wrong with this guide? We review every report and update or remove content.
Report received — thank you. We'll review and fix it.
You need a free account to submit a report.
Be the first to comment