How to fix
Windows Upgrade Assistant is stuck at 99% error
on Windows
Resolve the Windows Upgrade Assistant stuck at 99% on Windows 10 efficiently. Get expert-tested solutions to complete your upgrade without hassle. Fixed…

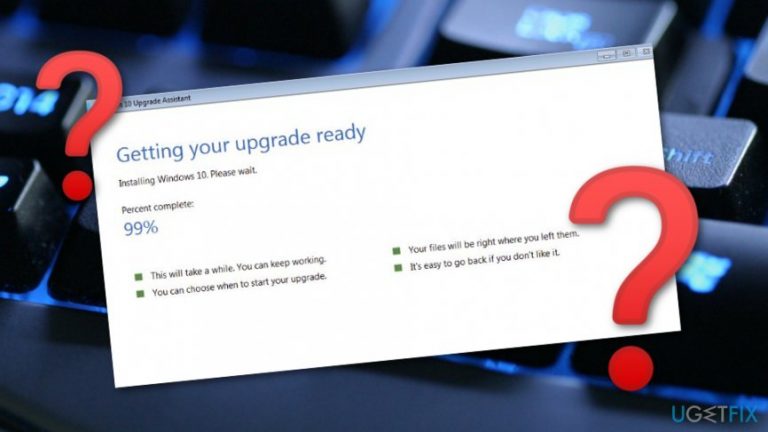
What causes How to Fix Windows Upgrade Assistant is stuck at 99% error on Windows 10?
- Third-party anti-virus interference
- High CPU usage from applications like Skype
- Issues with the Media folder location
- Problems with Windows Update components
- Incomplete previous update installations
Repairs Windows system files, removes malware, and restores a clean OS state — without reinstalling.
I tried to install Windows 10 Creators Update for three times using Windows Upgrade Assistant, but assistant gets stuck at 99% all the time. What should I do?
Windows Upgrade Assistant is a tool, which is can be used for downloading and automatically running the setup for major Windows 10 updates.[ref en-1] It has been deployed to Windows 10 PCs that did not have installed the latest updates. Initially, the tool has been used to download Windows 10 Anniversary Update, but thousands of people experienced Upgrade Assistant is stuck at 99% error during the process.
Unfortunately, it seems that Upgrade Assistant is stuck at 99% is a reoccurring error and already started harassing people who try to install Windows 10 Creators Update. Although the Creators Update rolled out today, the most eager Windows users were able to download it via Windows Update Assistant a week ago.
Unfortunately, not all users could seize the opportunity due to the Windows Update Assistant bug. If you are encountering Windows Upgrade Assistant is stuck at 99% error as well, you can try to fix the problem by following these steps:
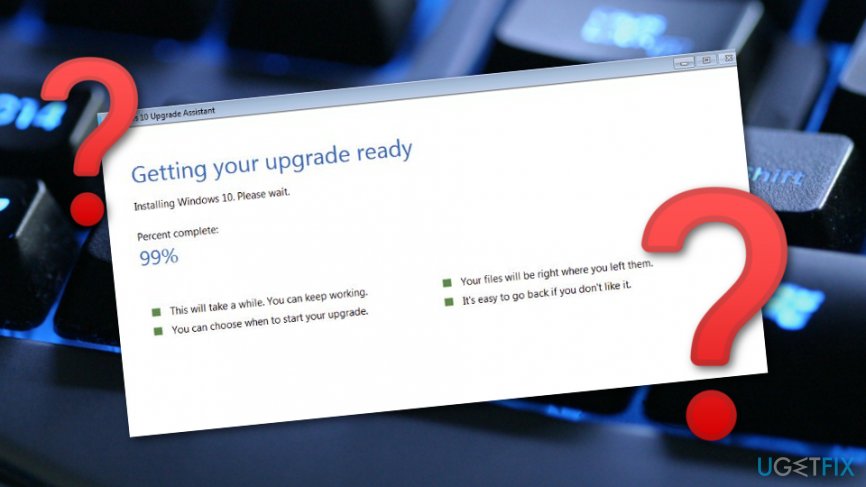
How to Fix Windows Upgrade Assistant is stuck at 99% error on Windows 10?
To start with, it’s advisable to disable third-party[ref en-2] anti-virus. Additionally, you may temporarily disable applications like Skype, to minimize CPU[ref en-3] usage. Once done, try to perform these methods:
Method 1. Change the location of Media folder temporarily
- Open File Explorer, type C:\\$GetCurrent, and press Enter.
- Find Media folder, copy it and paste to the desktop.
- If you cannot find Media folder, then click View and check Hidden items box.
- Reboot the PC and reopen File Explorer.
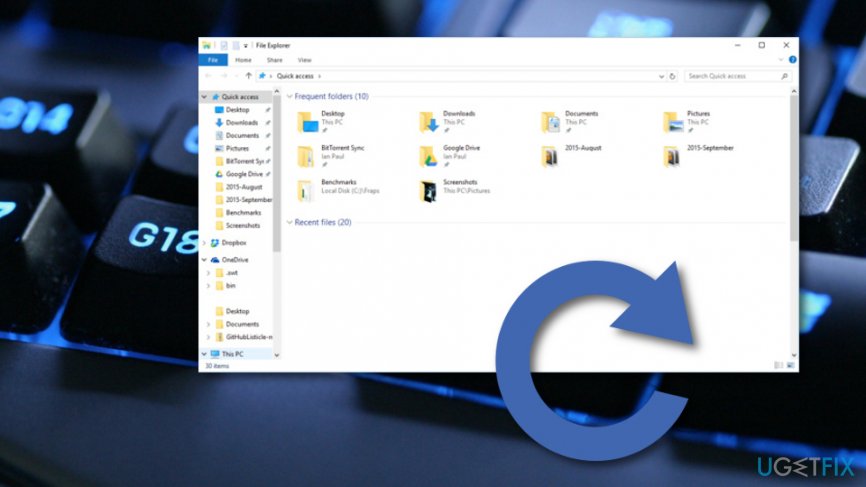
Use file explorer - Type C:\\$GetCurrent in File Explorer and hit Enter.
- The copy the Media folder from the desktop and paste it to the C:\\$GetCurrent.
- Now open the Media folder and click twice on the Setup.
- Then follow the onscreen instructions to perform the upgrade.
- Click Not right now on the Get important updates screen, and press Next.
Method 2. Restart Windows Update components
NOTE: before performing the steps indicated below, it's advisable to make registry backups.
- Right-click Win key and select Command Prompt (Admin).
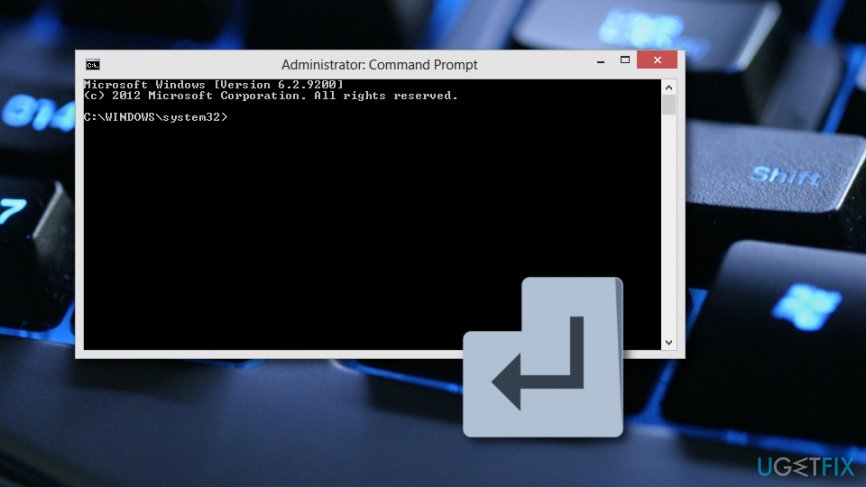
Use cmd - If a UAC shows up, click OK to proceed.
- By typing the following commands you will stop BITS, Windows Update, Cryptographic, MSI Installer services. Don't forget to press Enter after each of them:
net stop bits
net stop wuauserv
net stop appidsvc
net stop cryptsvc - Then type Del "%ALLUSERSPROFILE%\\Application Data\\Microsoft\\Network\\Downloader\\qmgr*.dat” command to delete qmgr*.dat files.
- Once done, copy and paste cd /d %windir%\\system32 command and press Enter to execute the command.
- To re-register BITS and Windows Update files, you will have to type all the commands (followed by Enter) provided below:
regsvr32.exe atl.dll
regsvr32.exe urlmon.dll
regsvr32.exe mshtml.dll
regsvr32.exe shdocvw.dll
regsvr32.exe browseui.dll
regsvr32.exe jscript.dll
regsvr32.exe vbscript.dll
regsvr32.exe scrrun.dll
regsvr32.exe msxml.dll
regsvr32.exe msxml3.dll
regsvr32.exe msxml6.dll
regsvr32.exe actxprxy.dll
regsvr32.exe softpub.dll
regsvr32.exe wintrust.dll
regsvr32.exe dssenh.dll
regsvr32.exe rsaenh.dll
regsvr32.exe gpkcsp.dll
regsvr32.exe sccbase.dll
regsvr32.exe slbcsp.dll
regsvr32.exe cryptdlg.dll
regsvr32.exe oleaut32.dll
regsvr32.exe ole32.dll
regsvr32.exe shell32.dll
regsvr32.exe initpki.dll
regsvr32.exe wuapi.dll
regsvr32.exe wuaueng.dll
regsvr32.exe wuaueng1.dll
regsvr32.exe wucltui.dll
regsvr32.exe wups.dll
regsvr32.exe wups2.dll
regsvr32.exe wuweb.dll
regsvr32.exe qmgr.dll
regsvr32.exe qmgrprxy.dll
regsvr32.exe wucltux.dll
regsvr32.exe muweb.dll
regsvr32.exe wuwebv.dll - To reset Winsock, type netsh winsock reset and netsh winhttp reset proxy commands. Press Enter after each of them as usually.
- Finally, restart BITS, Windows Update, Cryptographic, MSI Installer services by entering the following commands each followed by Enter:
net start bits
net start wuauserv
net start appidsvc
net start cryptsvc
Method 3. Check the system for corrupted files
It might be that Windows Update Assistant stuck at 99% bug is triggered by corrupted system files, which prevent the update from being installed completely. Therefore, you should try to run sfc /scannow command and then perform a thorough system's scan with [d1]. This tool will automatically replace corrupted/damaged Windows system files and, additionally, remove malware. After all, try to run the Windows Upgrade Assistant. Hopefully, the problem has been solved.
Bottom line
To fix the Windows Upgrade Assistant stuck at 99% error, you can disable third-party anti-virus software, minimize CPU usage by closing applications like Skype, and change the location of the Media folder. If these methods do not resolve the issue, consider restarting Windows Update components or seeking further assistance.
Frequently asked questions
Try restarting your computer and then running the Windows Upgrade Assistant again. If the issue persists, check for any pending Windows updates and install them before retrying the upgrade process.
Yes, you can cancel the process, but be cautious as it may affect your current Windows installation. After canceling, ensure to run the Windows Update Troubleshooter to fix any potential issues.
Make sure that your internet connection is stable and that there are no active applications or processes that might interfere with the upgrade. Additionally, disable any third-party antivirus temporarily during the upgrade process.




Report an issue
What's wrong with this guide? We review every report and update or remove content.
Report received — thank you. We'll review and fix it.
You need a free account to submit a report.
Be the first to comment