How to fix
“WindowsService.exe has stopped working” error
on Windows
Resolve the "WindowsService.exe has stopped working" error on Windows 10 and 11 quickly. Expert-tested solutions ensure your PC runs smoothly, fixed in …
What causes How to fix “WindowsService.exe has stopped working” error in Windows?
- Critical system service has crashed
- Corrupted system files
- Malware infection
- Outdated or corrupted drivers
- Improper system configurations
Repairs Windows system files, removes malware, and restores a clean OS state — without reinstalling.
Hello. Every time I boot my PC up, I get the error "WindowsService.exe has stopped working". Some apps do not launch. What should I do to fix it?
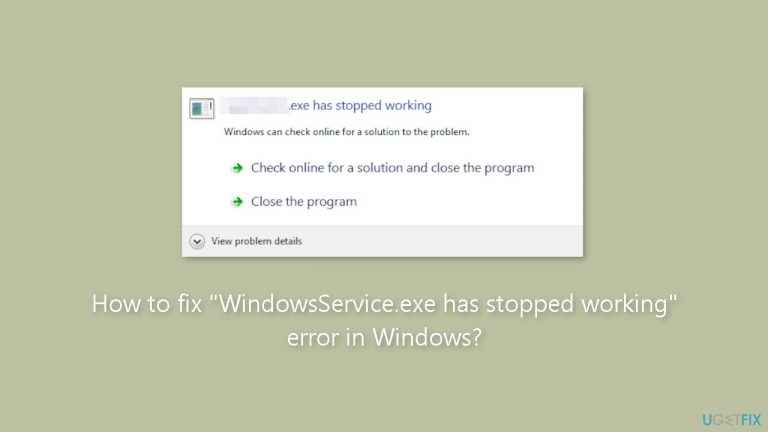
"WindowsService.exe has stopped working" is a common error message encountered by Windows users. This error message indicates that a critical system service has crashed or stopped working unexpectedly, which can result in a variety of problems, including system instability, application crashes, slow performance, and even system crashes.
The error can have a number of consequences for users. When a critical system service fails, the system becomes unstable and may crash, resulting in data loss or corruption. Some applications may also crash as a result of the error, preventing users from using them. In some cases, the error may even prevent the system from booting up or cause the system to enter a boot loop, rendering the computer inoperable.
This error has several possible solutions. Updating or reinstalling the driver[ref en-1] or software associated with the problematic service is a common solution. Users can also attempt to run the System File Checker tool or a virus scan to identify any corrupted files or malware that may be causing the error. In some cases, using the Services console or the Autoruns utility to disable or stop the problematic service can resolve the issue.
It is important to note that resolving the "WindowsService.exe has stopped working" error can be a difficult task, and users should proceed with caution. Any system changes should be carefully considered and implemented, as they may have unintended consequences or cause additional problems. Before attempting any repairs or modifications to the system, it is always a good idea to backup important data.
In this guide, you will find 5 steps that should help you fix "WindowsService.exe has stopped working" error in Windows. You can also use a system repair tool like [d1] that can fix most system errors, BSODs,[ref en-2] corrupted files, and registry[ref en-3] issues. Otherwise, follow the step-by-step instructions below.

Solution 1. Fix Corrupted System Files
Use Command Prompt commands to repair system file corruption:
- Open Command Prompt as administrator
- Use the following command and press Enter:
sfc /scannow

- Reboot your system
- If SFC returned an error, then use the following command lines, pressing Enter after each:
DISM /Online /Cleanup-Image /CheckHealth
DISM /Online /Cleanup-Image /ScanHealth
DISM /Online /Cleanup-Image /RestoreHealth
Solution 2. Install Windows Updates
- Click Start and select Settings.
- Go to the Windows Update section.
- Click Check for updates and wait.

- Go to the Advanced options and install optional updates.
- Reboot your system.
Solution 3. Update Drivers
Outdated drivers could be the cause of this issue. In this case, you can fix it automatically by using [rev id="DriverFix"], which will scan your PC for missing and out-of-date device drivers. Or you can update them manually:
- Open Settings.
- Click on Update & Security.
- Click on Windows Update.
- Click the Check for updates button.
- Click the View optional updates option.
- Click the Driver updates tab.
- Select the driver you want to update.
- Click the Download and install button.

If the View optional updates link is not available after checking for updates, then Windows Update does not have any new drivers or any updates for other products at that particular time.
Solution 4. Use Autoruns
Autoruns is a free utility developed by Sysinternals, a Microsoft subsidiary, that allows you to view and manage programs and services that start automatically when Windows starts. It displays a comprehensive list of all the applications, services, drivers, and other components that are configured to run automatically at system startup or login in a convenient tree view, making it easy to identify and disable any unnecessary or unwanted items.
- Download the AutoRun utility.
- Once the download is complete, you will need to unzip the file. You can do this by clicking on the Extract or Extract all option.
- The extracted file will be saved in the Downloads folder in File Explorer.
- Open the Downloads folder and double-left click on the first Autoruns or 2nd - that says Autorun64 to open a small window.
- In the small window, click on Run and say Yes to the UAC prompt to open the AutoRun Windows interface.
- Look for the Quick Filter option at the top-middle of the screen and click on it.
- Type WindowsService in the Quick Filter space and if you see a pink line, right-click on it and select Delete.

- You don't need to restart your PC if you delete the WindowsService.
- If you don't see a pink line across the AutoRun screen after typing WindowsService, type updates in the Quick Filter space.
- If you see a pink line after typing updates, right-click on it and select Delete.
- If the error is not shown after deleting, then the fix worked.
Solution 5. Repair Install Windows
- Visit the official Microsoft website to download Windows 11 or Windows 10 Installation Media
- Run the Media Creation Tool and select Create Installation Media for another PC.
- Select your USB drive.
- Let the Process complete of writing the Installation files to the USB drive.
- Click Finish.
- On the PC you wish to upgrade, Press Windows + E to open the File Explorer.

- Open the Removable drive and click Setup.exe.
- Accept the license terms on the next screen.
- Confirm the Upgrade options – Files, apps and Settings are kept.
- Click Install, and the upgrade should start.
Bottom line
To fix the 'WindowsService.exe has stopped working' error, you can update or reinstall the associated drivers, run the System File Checker tool, or perform a virus scan. If these solutions do not resolve the issue, consider using the Services console or a system repair tool for further assistance.
Frequently asked questions
This error can be caused by corrupted system files, conflicts with third-party software, or issues with Windows updates in Windows 10.
You can use the System File Checker tool by running 'sfc /scannow' in the Command Prompt as an administrator on Windows 11.
Yes, uninstalling recent updates can sometimes fix the error if it started occurring after an update in Windows 10 or Windows 11.


Report an issue
What's wrong with this guide? We review every report and update or remove content.
Report received — thank you. We'll review and fix it.
You need a free account to submit a report.
Be the first to comment