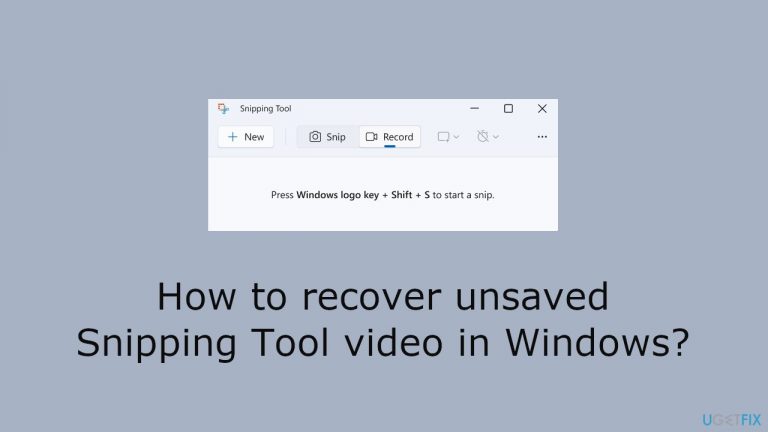
How to recover
Unsaved Snipping Tool video
from Windows
Easily recover unsaved Snipping Tool videos on Windows 10 and 11 with our expert-tested methods. Get your files back in minutes!
What leads to How to recover unsaved Snipping Tool video in Windows?
- Users forget to save the video after recording
- The Snipping Tool does not automatically save recordings
- Temporary files are stored in specific locations
- Users are unaware of where temporary files are located
- Lack of automatic backup or recovery mechanisms
Repairs Windows system files, removes malware, and restores a clean OS state — without reinstalling.
Hello. I recorded a video using the Snipping Tool on Windows but forgot to save it. Is there a way to get it back?
The Snipping Tool, a built-in application on Windows operating systems, is essential for capturing screenshots and recording screen videos. It allows users to easily capture and annotate portions of their desktop, allowing them to document information, create tutorials, or simply share content with others. Because of its simplicity and versatility, it is a popular choice among users who require basic screen recording capabilities.
However, when using the Snipping Tool to record videos, some users have reported a common problem. They realize they did not save a video after recording it, leaving them unsure whether the tool automatically saves the recordings somewhere on the system. This uncertainty stems from the Snipping Tool's habit of saving temporary files in specific locations on the computer.
This problem can have serious consequences for users who rely on the Snipping Tool for screen recording. When you lose an unsaved video, you may lose important information, instructional content, or even creative work. The frustration grows when users are unsure whether the tool is storing unsaved recordings in a hidden location.
To address this issue, some users investigate the possibility of recovering unsaved Snipping Tool videos by looking into specific folders where the tool is known to store temporary files. The TempState folder is one such location, which can be reached via a series of steps. While this may appear to be a viable option, it is important to note that success in recovering unsaved videos varies, and it is not a guaranteed method.
Given the difficulties users have encountered with unsaved Snipping Tool videos, it emphasizes the importance of incorporating features within the application that improve user experience and reduce the risk of data loss. An automatic backup or recovery mechanism within the Snipping Tool could be a potential improvement, allowing users to easily retrieve unsaved recordings. Furthermore, clearer documentation and user guidance on where temporary files are stored and the possibility of recovery would enable users to navigate such situations more confidently.
As technology evolves, it becomes increasingly important to ensure that built-in tools correspond with user expectations and provide effective answers to common difficulties for a seamless and frustration-free computing experience. Furthermore, proactive efforts such as introducing an auto-save option or a prompt to save before closing the Snipping Tool could help to drastically reduce the loss of valuable recordings.
In this guide, you will find step-by-step instructions on how to recover unsaved Snipping Tool video in Windows. Follow the provided solution below. In case you experience any other OS issues, you can run a maintenance tool like [d1] that can fix most system errors, BSODs,[ref en-1] corrupted files, registry[ref en-2] issues, or clear cookies, and cache.[ref en-3]

Search the TempState Folder
- Press the Windows key + R to open the Run dialog box.
- Type %LOCALAPPDATA%\Packages\Microsoft.ScreenSketch_8wekyb3d8bbwe\TempState into the Run dialog.
- Press Enter or click OK to open the TempState folder.
- Look for your unsaved video within the TempState folder, as the Snipping Tool often saves temporary files there.

If the video is not in the TempState folder, or you accidentally deleted the video before saving it, unfortunately, there is no known way to recover it.
Bottom line
To recover unsaved Snipping Tool videos, users can check the TempState folder for temporary files. It's important to note that success in recovery is not guaranteed. If these methods do not work, consider implementing better saving practices or using alternative screen recording software.
Frequently asked questions
Unfortunately, if you have not saved the Snipping Tool video before closing the application, it cannot be recovered in Windows 10.
To avoid losing your Snipping Tool videos in Windows 11, make it a habit to save your captures immediately after creation.
If your Snipping Tool video is saved but not visible, try searching for it in the default save location or check your Recent Files in File Explorer.


Report an issue
What's wrong with this guide? We review every report and update or remove content.
Report received — thank you. We'll review and fix it.
You need a free account to submit a report.
Be the first to comment