How to fix
Disable Windows Defender Enhanced Notifications
on Windows
Easily disable Windows Defender enhanced notifications on Windows 10 for a quieter experience. Follow our expert-tested guide for optimal results.
Why does How to Disable Windows Defender Enhanced Notifications on Windows 10 occur?
- Windows 10 Anniversary Update introduced changes to notifications
- High frequency of notifications about malware infections
- Frequent prompts to perform full scans
- Notifications appear both as pop-ups and in Action Center
- Windows Defender now checks the system while offline
Repairs Windows system files, removes malware, and restores a clean OS state — without reinstalling.
Running Windows 10 Anniversary Update, I keep on getting Windows Defender pop-up messages either asking to scan the system or warning about malware infection. Ok, I wish my PC to be fast and secured, but those messages occur with such a great frequency that it’s annoying. Is it possible to leave Windows Defender working in the background, but disable its notifications? Would highly appreciate your help!
Windows 10 Anniversary Update introduced a variety of innovations and improvements. Although this OS has been loved by millions, it brought a lot of system errors and inconsistencies, which is why Microsoft has had to work hard to fix all of them in a very limited period of time. Thus, a year after Windows 10 release, the Anniversary Update has been introduced to the Microsoft Community expecting that all the errors and buggies will be left behind. Unfortunately, it seems that Microsoft will have to keep working hard because Anniversary Update is full of problems as well.
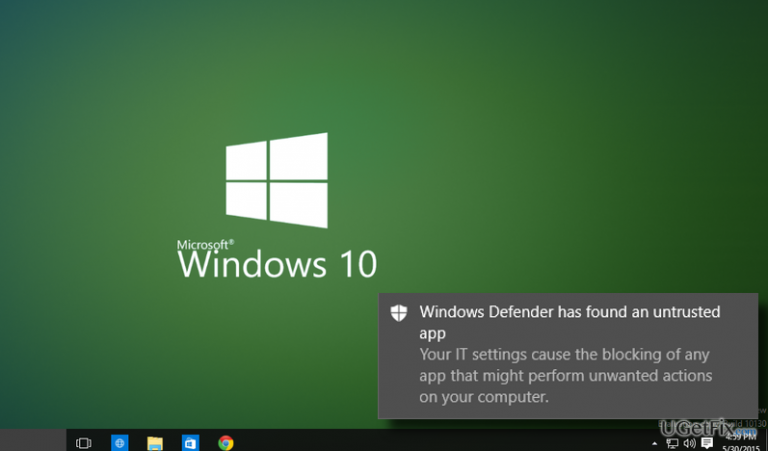
A little bit earlier, people started asking is it possible to manage Windows Defender notifications. Windows Defender is an anti-virus tool, which comes as a part of Windows 10 OS. Its task is to protect computers from malware, spyware, worms, viruses, and so on. However, Windows 10 Anniversary Update changed the way Windows Defender shows notifications. After the update, it displays pop-up notifications on the Desktop and shows the same message in the Action Center. Besides, now the program is capable of checking the system while offline, which was impossible previously. Unfortunately, but Windows Defender notifications often get very irrritating due to the high frequency. People are either reported about possible malware infections or prompted to perform a full scan while offline. What is by far the most irritating that performing the scan gives noting except a confirmation that there is NO malware on the system. Luckily, there is a chance to manage Windows Defender alerts, so if you already got annoyed by those messages, perform the following steps and disable the notifications.
How to turn off Windows Defender enhanced notifications?
Windows Defender alerts is not an error or a system mulfunction. Contrary, this way Microsoft attepts to keep Windows 10 system secured. However, lots of people claim that Windows Defender notifications get very frequent and annoying. Luckily, Microsoft has left people the possibility to reset the settings and disabe those alerts (with the possibility to reenable them in the future). To do this, you have to:
Method 1.
- Open Settings and select Update and Security.
- Locate Windows Defender and find Enhanced notifications.
- Slide the toggle to Off to disable Windows Defender‘s notifications.
Method 2.
- Click Win key + R, type regedit in the search box, and press Enter.
- When the confirmation window shows up, click Yes to open Registry Editor.
- After that, navigate to the HKEY_LOCAL_MACHINE\SOFTWARE\Microsoft\Windows Defender\Reporting using the left pane and find DisableEnhancedNotifications.
- Change the value of DisableEnhancedNotifications to 1 if you want to disable enhanced notifications.
- If after disabling Windows Defender notifications you would like to enable them, perform the steps indicated above and change the DisableEnhanceNotification value to 0.
- Once done, restart your PC.
Bottom line
To disable Windows Defender enhanced notifications, you can manage the alerts through specific settings in the application. If these steps do not resolve the issue, consider seeking additional support or exploring alternative antivirus solutions.
Frequently asked questions
You can access Windows Defender settings by opening the Start menu, typing 'Windows Security', and navigating to the 'Notifications' section under 'App & browser control'.
No, disabling enhanced notifications will not affect the overall protection provided by Windows Defender; it only reduces the frequency of notifications.
Yes, you can re-enable enhanced notifications by following the same steps in the Windows Security app and toggling the notification settings back on.


Report an issue
What's wrong with this guide? We review every report and update or remove content.
Report received — thank you. We'll review and fix it.
You need a free account to submit a report.
Be the first to comment