How to fix
Enable a Hidden Elevated Administrator Account
on Windows
Unlock the hidden elevated Administrator account in Windows 10 effortlessly. Gain complete control with our expert-tested guide and optimize your settin…
Why does How to Enable a Hidden Elevated Administrator Account in Windows 10 occur?
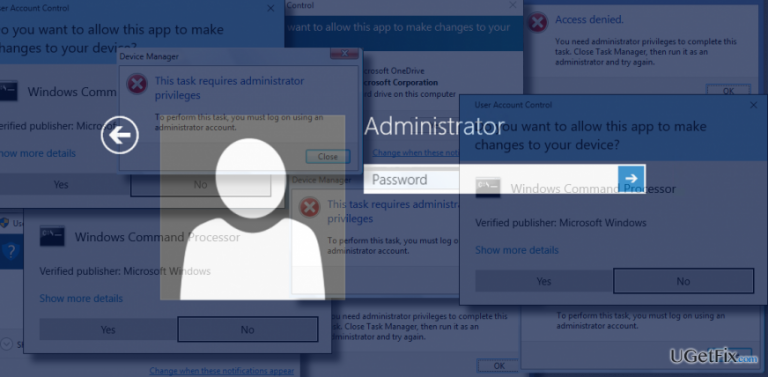
- User Account Control (UAC) prompts require administrator privileges
- System changes necessitate elevated access
- Built-in Administrator account is disabled by default
- Standard Administrator account has restrictions on system changes
Repairs Windows system files, removes malware, and restores a clean OS state — without reinstalling.
Could you please explain me what is the difference between “Administrator user” and “Built-in Administrator” accounts on Windows? I need to enable the latter account, but I actually don’t know how Could you please help?
Windows-based operating systems have three types of accounts, including Administrator account, Built-In Administrator account, and Guest account. Each different account features its own parameters, themes, apps, and other settings. While one account is intended for everyday computing, logging into another is obligatory for initiating some important system’s changes. Typically people don't worry about the account into which they are signed until they receive a User Account Control warning, which requires to type in administrator password or sign into the elevated Administrator account. It seems that many Windows 10 users don't know how to enable or disbale the Built-In Administrator account, especially when the system fails to boot normally. Therefore, we will try to explain that briefly in this post, but before that, we will shortly explain what the differences between all three Windows accounts are.
1. Guest Account. This type of account is intended for the temporary users of a PC. Usually, it contains the crucial system folders/applications and is usually created on computers located in public places, such as library, airport, reading rooms, and so on.
2. Administrator Account. This type of account is intended for the everyday use. It’s not elevated and has a set of restrictions related to system’s changes that influence the overall PC’s performance. Ifthe account user attempts to perform a task that required administrative privileges, he/she receives a User Account Control (UAC) window, which asks to enter the password to complete the required action.
3. Built-in Administrator Account. This type of account is more or less similar to the Standard User Account, except that the user of this account has an unrestricted access to all system files, folders, settings, etc. and can easily modify them. This account is not intended for the everyday use.

Windows users often fall for the situations when the system needs to be modified to optimize, protect or fix it. Such intervention usually requires running an elevated Command Prompt or PowerShell, which necessarily require signing into the Built-In Administrator Account. If you don’t know how to do that, please follow these steps:
Enabling the Hidden Administrator Account via an elevated Command Prompt
- Right-click on Windows key and select Command Prompt (Admin).
- To enable the in-built administrator account, copy and paste net user administrator /active:yes command into the run window and press Enter.
- To disable the in-built administrator account, copy and paste net user administrator /active:no command into the run window and press Enter.
IMPORTANT: if the language you are using on your PC is not English, then change the administrator in the command above with the translation for your language.
Signing into Elevated Administrator Account Using a USB or recovery drive
If you ran into a BSOD or if you can’t sign in to your Windows 10 desktop due to another reason, enabling the Built-in Administrator at boot would be a great option. For this purpose, you have to:
- Plug in the USB or a insert a recovery drive and boot the system from it.
- Press Shift + F10 at boot to open Command Prompt.
- Type regedit in the run and press Enter.
- Use the left pane to navigate to the HKEY_LOCAL_MACHINE key.
- Click on File and select Load Hive.
- Open the drive on which the Windows 10 is stored and navigate to the D:\Windows\System32\config.
- Find SAM file and open it.
- When the Load Hive dialog opens, type REM_SAM and press Enter.
- After that, use the left pane to navigate to the HKEY_LOCAL_MACHINE\REM_SAM\SAM\Domains\Account\Users\000001F4 key.
- Find the F binary value.
- To enable the Built-in Administrator account, change the first column of line 0038 from 11 to 10 and press Enter.
- To disable the Built-in Administrator account, change the first column of line 0038 from 10 to 11 and press Enter.
Bottom line
To enable the Built-in Administrator account, you can use the Command Prompt or Local Security Policy settings. If these methods do not work, consider checking for system corruption or restoring the system to an earlier point.
Frequently asked questions
To enable the hidden elevated Administrator account, open Command Prompt as an administrator and type 'net user administrator /active:yes', then press Enter.
Yes, you can disable it by running 'net user administrator /active:no' in an elevated Command Prompt.
Yes, using the elevated Administrator account can expose your system to risks, so it should only be used for specific administrative tasks.


Report an issue
What's wrong with this guide? We review every report and update or remove content.
Report received — thank you. We'll review and fix it.
You need a free account to submit a report.
Be the first to comment