How to fix
Windows installation error 0xC1900101 – 0x30017
on Windows
Resolve the Windows installation error 0xC1900101 - 0x30017 quickly and effectively. Get expert-tested solutions for Windows 10 and 11. Fixed in minutes!
What causes How to fix Windows installation error 0xC1900101 – 0x30017?
- Outdated drivers
- Corrupted files
- Third-party security software
- Previous Windows installation files
Repairs Windows system files, removes malware, and restores a clean OS state — without reinstalling.
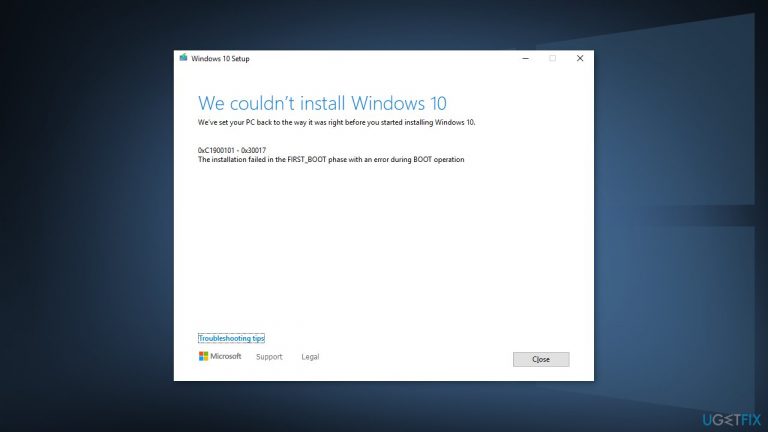
Hello. I tried to upgrade my Windows 10 PC but during the update, it starts showing messages "Attempting to recover installation" and "Undoing changes made to your computer." After that, it displays the 0xC1900101 - 0x30017 error. What could be the problem?
Windows is one of the most popular operating systems so there should be no questions why people try to update or upgrade their machines. Newer versions introduce various functions, security patches,[ref en-1] and so on. Unfortunately, for some people, the Windows installation fails and gets interrupted by errors.
Some Windows users have been met with the installation error 0xC1900101 - 0x30017. It is unclear what exactly could be causing this. Sometimes the installation could be prevented by outdated drivers, corrupted files, third-party security software, and previous Windows installation files.
The manual troubleshooting process could take a while because it is unclear what exactly is causing the issue. You can try using an automatic solution [d1] to avoid going through all of the possibilities. This repair tool can identify the damaged system components, fix BSODs,[ref en-2] corrupted files, and registry issues with the click of a button. This software could also be used to free up space by clearing cookies[ref en-3] and cache, which should boost the device's performance.
In this guide, you will find 5 methods that could help you fix the Windows installation error 0xC1900101 - 0x30017, including some additional steps at the end of the article. Make sure to follow the instructions carefully and in an orderly manner.

Method 1. Repair Corrupted System Files
Use Command Prompt commands to repair system file corruption:
- Open Command Prompt as administrator
- Use the following command and press Enter:
sfc /scannow

- Reboot your system
- If SFC returned an error, then use the following command lines, pressing Enter after each:
DISM /Online /Cleanup-Image /CheckHealth
DISM /Online /Cleanup-Image /ScanHealth
DISM /Online /Cleanup-Image /RestoreHealth
Method 2. Uninstall Third-Party Antivirus Software
Some security programs might be conflicting with Microsoft servers and data packages that they send during the activation process, mistakenly perceiving these servers as insecure. Thus, it is known that removing AV software helped some users when trying to fix Windows errors.
- Right-click the antivirus icon and select Disable
- You can also double-click the antivirus icon and look for a Disable option there
- You also have the option to remove the program completely by going to Apps & Features

Method 3. Delete the Windows.old folder
- Open Windows Disc Cleanup application. Click on the Start button and use Windows search to find this program.
- Open the program and choose the main system drive. Click on Clean up system files button and wait for a couple of minutes while Windows completes the scan
- When you receive scan results, you will find a list of different files and how much disk space the use. For instance, you will see Recycle Bin, Temporary files, and more. However, you should look for Previous Windows installation(s) and check this option

NOTE. Make sure that deleted only this file to avoid accidental loss of other data
- Click OK to confirm the deletion
Method 4. Delete the SoftwareDistribution Folder
- Press Windows key + R to open the Run command box
- Type services.msc and click OK
- In Services control panel locate the Windows Update service
- Right-click on Windows Update service and select Stop
- Now open Windows Explorer and navigate to: C:\\Windows folder

- Find and Delete the SoftwareDistribution folder
Method 5. Perform a Clean Installation
Performing a clean install wipes out data from the PC, so please create backups before you proceed.
- Download the ISO file
- Select Create installation media for another PC and click Next
- Select ISO file and click Next
- Click Finish

- Open the Windows ISO file you downloaded
- Open Setup and click Next
- Click Accept (Be prepared to wait; this next part may take a while)
- Click Install
- Wait for your system to restart and install Windows
Additional steps that could help fix Windows installation error 0xC1900101 - 0x30017:
- Remove any SD cards or external USB devices or peripherals
- Update BIOS
- Update all drivers
Bottom line
To fix the Windows installation error 0xC1900101 - 0x30017, you can repair corrupted system files using Command Prompt, uninstall third-party antivirus software, and consider using an automatic repair tool. If these methods do not resolve the issue, further investigation into the specific cause may be necessary.
Frequently asked questions
This error typically indicates a driver issue or hardware incompatibility that occurs during the upgrade process in Windows 10 or Windows 11.
To fix this error, ensure all drivers are updated, especially for your graphics and network devices, and disconnect any unnecessary peripherals before attempting the installation again.
Yes, temporarily disabling non-essential drivers, like antivirus or third-party software drivers, can help resolve the issue, but remember to re-enable them after the installation.


Report an issue
What's wrong with this guide? We review every report and update or remove content.
Report received — thank you. We'll review and fix it.
You need a free account to submit a report.
Be the first to comment