Question
Issue: How to fix Event ID 86: CertificateServicesClient-CertEnroll in Windows?
Hello. Today I encountered a Blue Screen error. Then I noticed an Event ID 86: CertificateServicesClient-CertEnroll in the event viewer. The error keeps appearing from time to time. How do I fix this?
Solved Answer
Event ID 86 is an event that is logged by the Certificate Services Client in Windows when it tries to enroll for a certificate from a certification authority (CA). The event will contain details about the certificate request, including the subject name of the certificate, the CA that the request was sent to, and the status of the request. Usually, people experience this event after a DPC WATCHDOG VIOLATION BSOD.
If the request was successful, the event will indicate that a new certificate was issued. If the request was not successful, the event may contain information about any errors or issues that occurred during the enrollment process. If you see an error message related to CertificateServicesClient-CertEnroll in Windows, it typically means that there was an issue with the certificate enrollment process.
This could be due to a variety of reasons, such as a problem with the certificate template, an issue with the certificate authority (CA), or a problem with the certificate request itself. The issue may be resolved by updating Windows, device drivers,[1] or BIOS.
In this guide, you will find 7 steps that should help you fix Event ID 86: CertificateServicesClient-CertEnroll in Windows. Keep in mind that the manual troubleshooting process can be lengthy. You can use a maintenance tool like FortectMac Washing Machine X9 that can fix most system errors, BSODs,[2] corrupted files, and registry[3] issues. Otherwise, follow the step-by-step instructions below.
Method 1. Fix Corrupted System Files
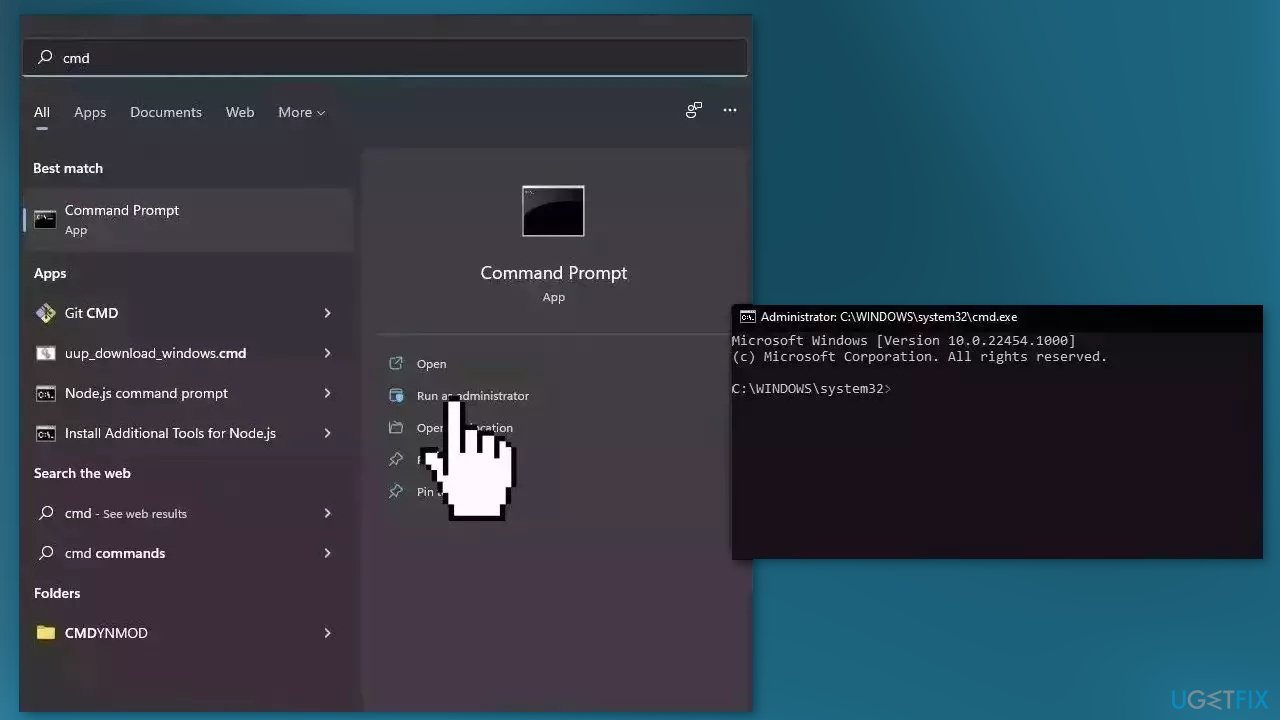
Use Command Prompt commands to repair system file corruption:
- Open Command Prompt as administrator
- Use the following command and press Enter:
sfc /scannow
- Reboot your system
- If SFC returned an error, then use the following command lines, pressing Enter after each:
DISM /Online /Cleanup-Image /CheckHealth
DISM /Online /Cleanup-Image /ScanHealth
DISM /Online /Cleanup-Image /RestoreHealth
Method 2. Roll back Windows Updates
If the problem started occurring after installing a Windows update, try to uninstall it to see if it fixes the issue:
- Press the Windows key + R to open the Run dialog box
- Type appwiz.cpl and hit Enter
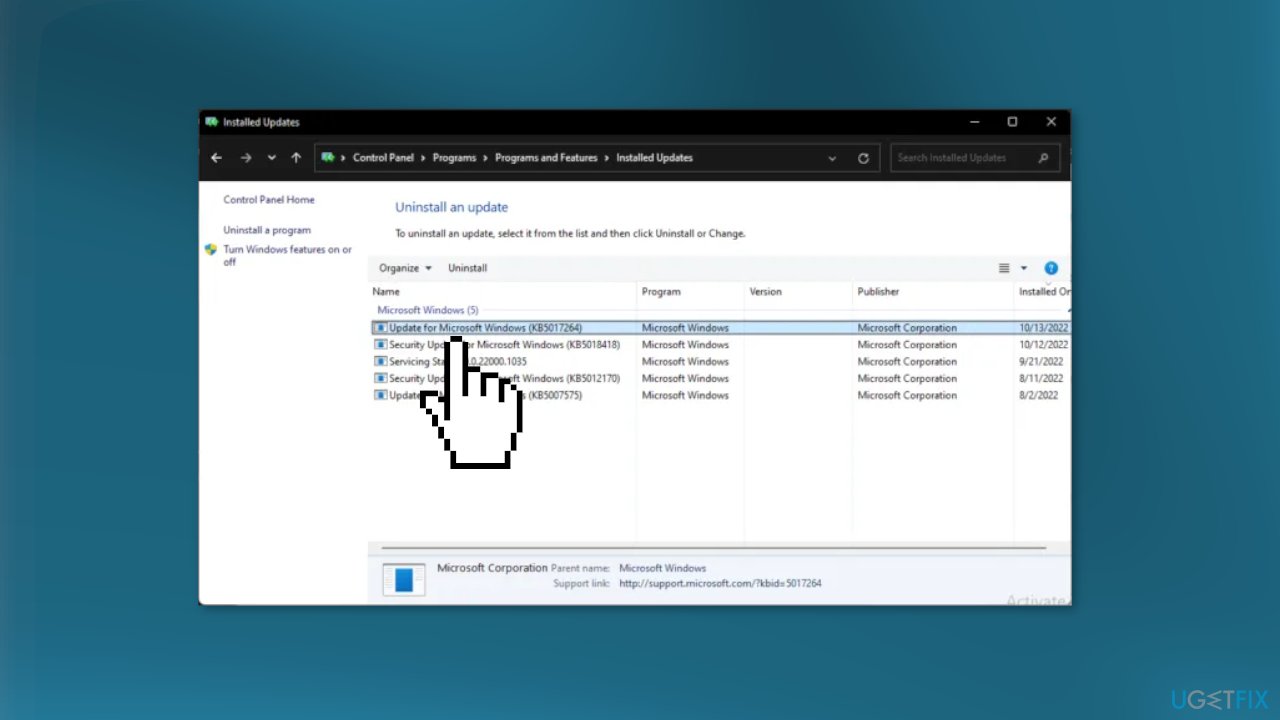
- In the Uninstall or view a program page click on View Installed Updates
- Right-click on the recently installed update and select Uninstall
Method 3. Install Windows Updates
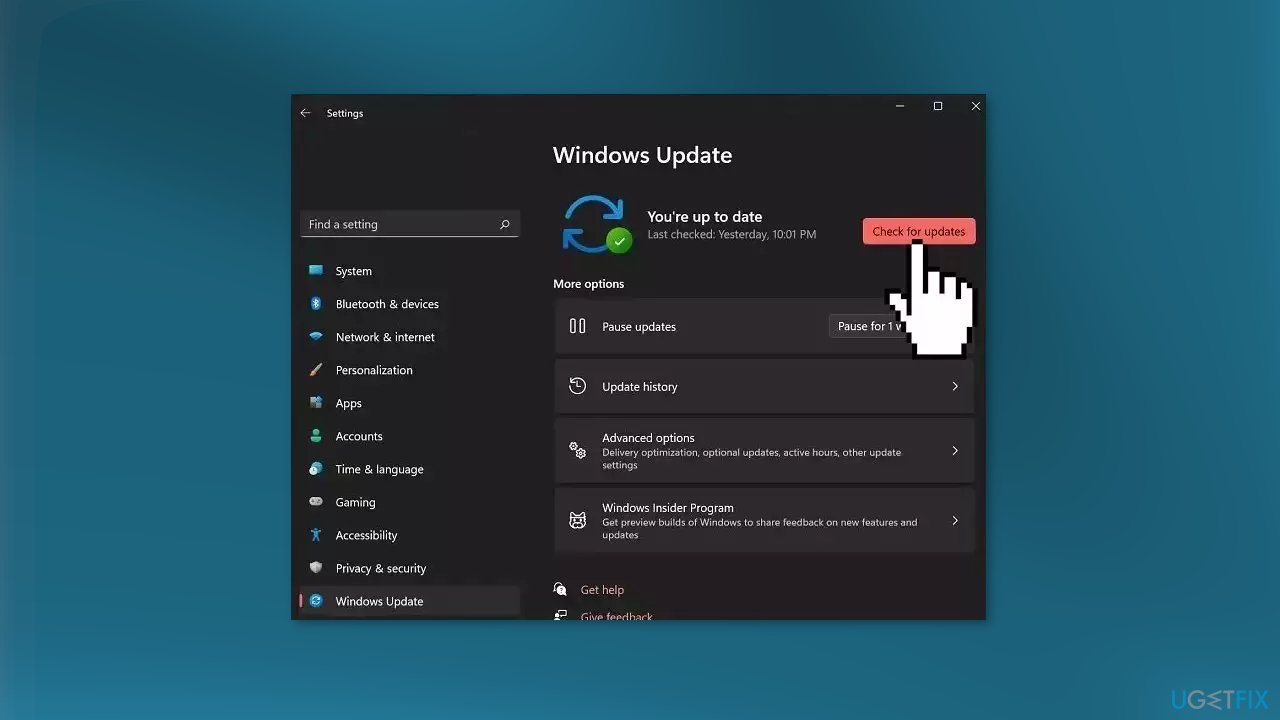
- Click Settings from your start menu and click Update & Security
- Choose Windows Upgrade from the left panel and click the Check for updates button, and then your computer will check for, download, and install any updates found
Method 4. Update Drivers
Outdated drivers could be the cause of this issue. In this case, you can fix it automatically by using DriverFix, which will scan your PC for missing and out-of-date device drivers. Or you can update them manually:
- Open Settings
- Click on Update & Security
- Click on Windows Update
- Click the Check for updates button
- Click the View optional updates option
- Click the Driver updates tab
- Select the driver you want to update
- Click the Download and install button
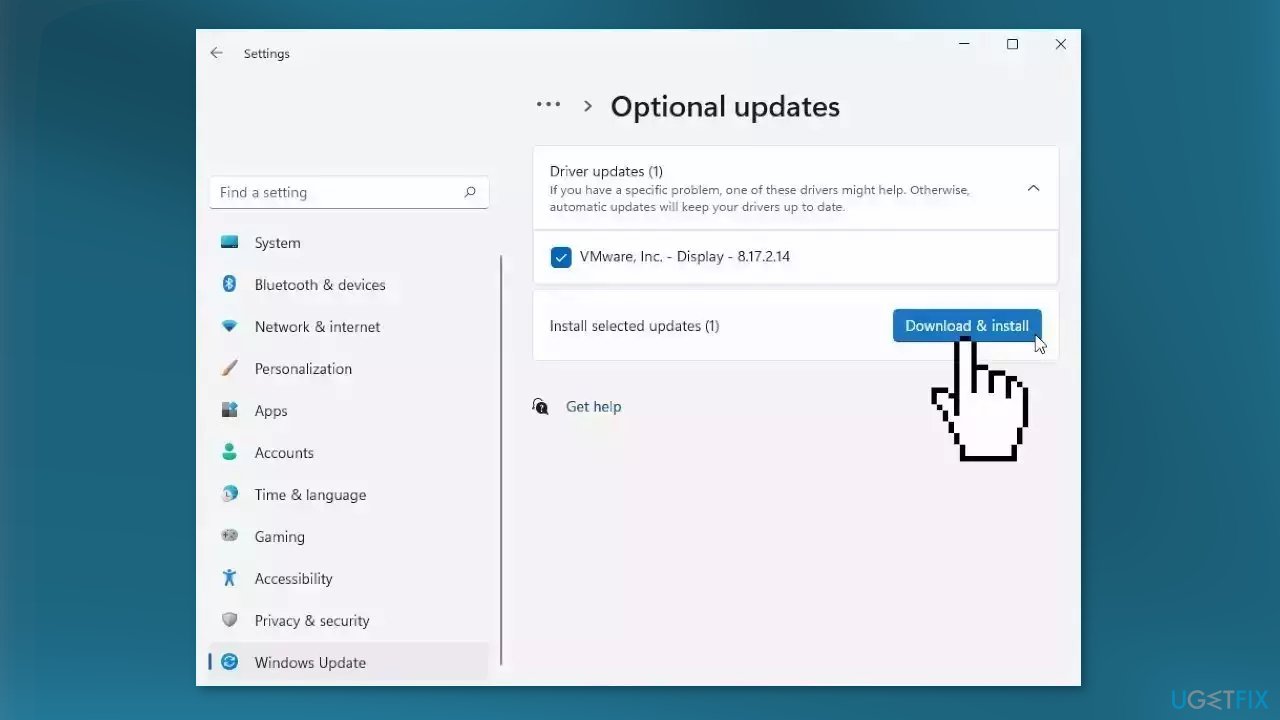
If the View optional updates link is not available after checking for updates, then Windows Update does not have any new drivers or any updates for other products at that particular time.
Method 5. Update BIOS
Updating the BIOS (Basic Input/Output System) on your Windows computer can help to improve its performance and fix any issues that you may be experiencing. Keep in mind that updating the BIOS can be a complex and risky process, and it is important to follow the instructions provided by the manufacturer carefully.
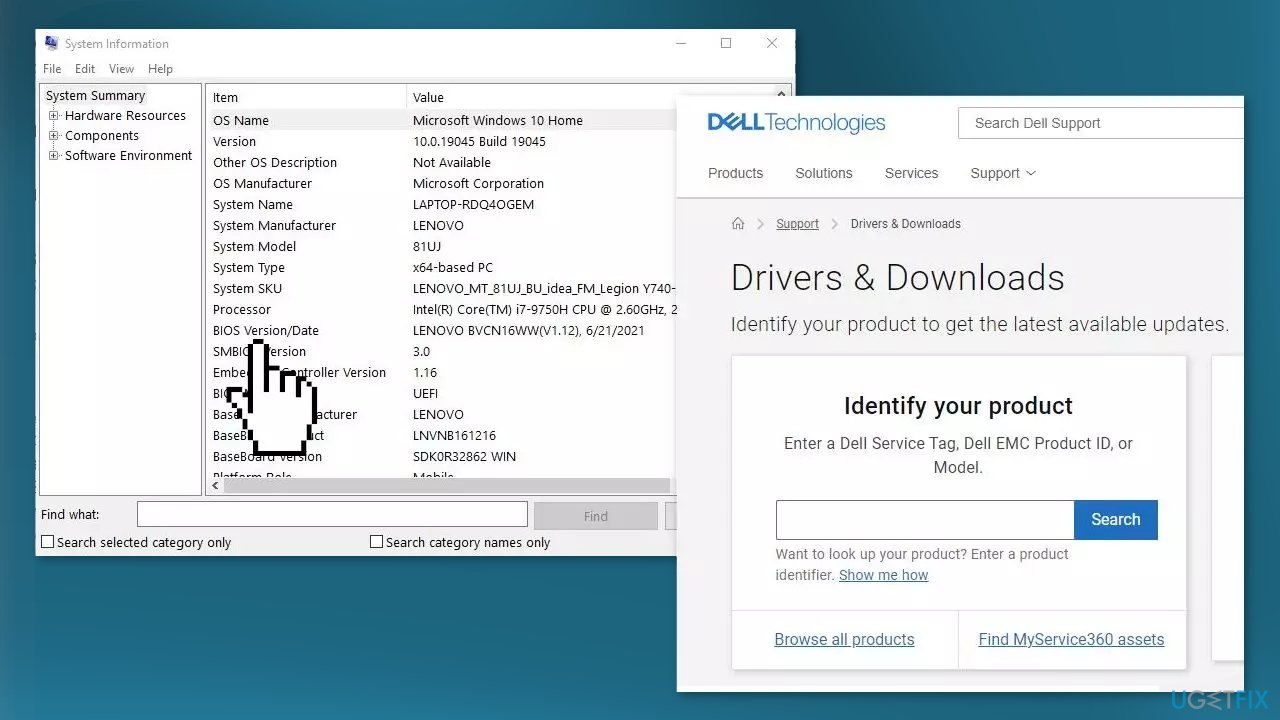
- First, you need to determine the current version of your BIOS. You can check the version of your BIOS by entering the BIOS setup utility or by using a System Information utility in Windows.
- Visit the website of your computer's manufacturer and search for the latest BIOS update for your specific model. Download the update to your computer.
- Make sure you have a stable power supply and a reliable internet connection. It is also a good idea to create a backup of your important files and data in case something goes wrong during the update process.
- Follow the instructions provided by the manufacturer for installing the BIOS update. This typically involves running the update file and following the prompts.
- After the BIOS update is installed, you will need to restart your computer for the changes to take effect.
Method 6. Use System Restore
System Restore is a tool that can revert your system back to a previous point before a specific problem has occurred.
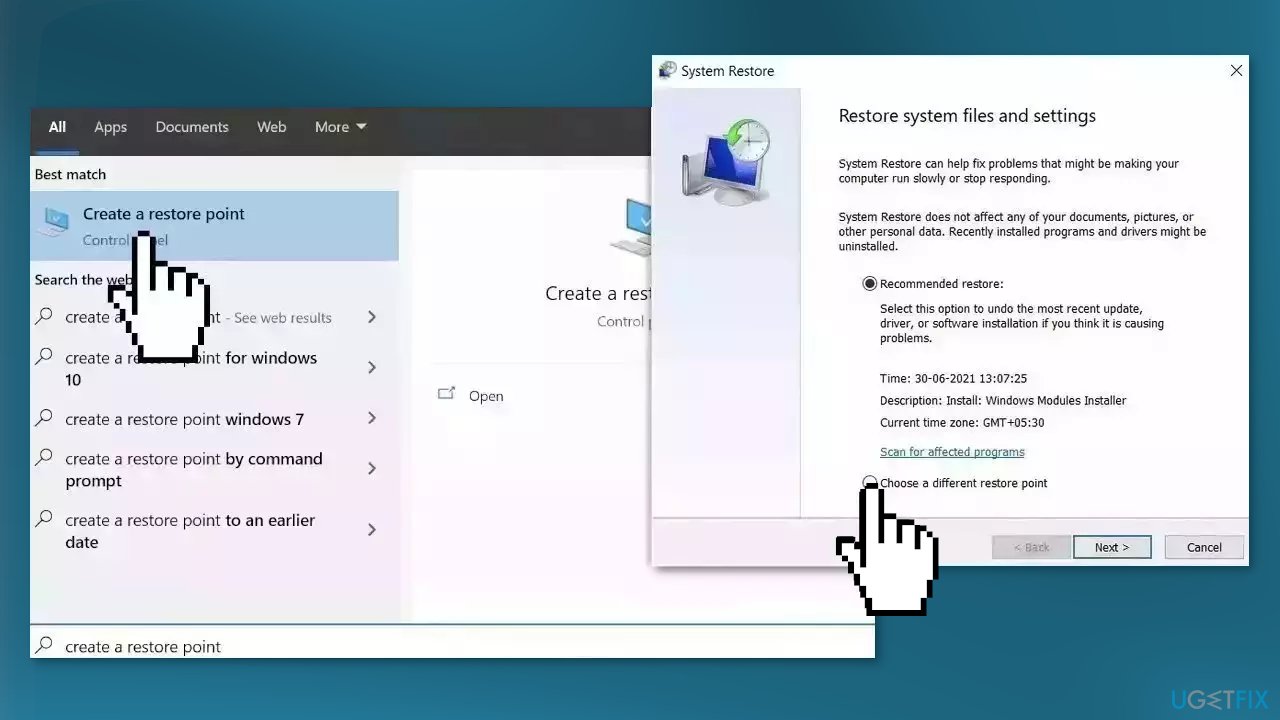
- Go to the Start menu, type restore, and click on Create a restore point
- Click System Restore, then follow the prompts until you can select a restore point
- Select the one you want (ideally before the issue started occurring) and go ahead with the process
Method 7. Repair Install Windows
- Visit the official Microsoft website to download Windows 11 or Windows 10 Installation Media
- Run the Media Creation Tool and select Create Installation Media for another PC
- Select your USB drive
- Let the Process complete of writing the Installation files to the USB drive
- Click Finish
- On the PC you wish to upgrade, Press Windows + E to open the File Explorer
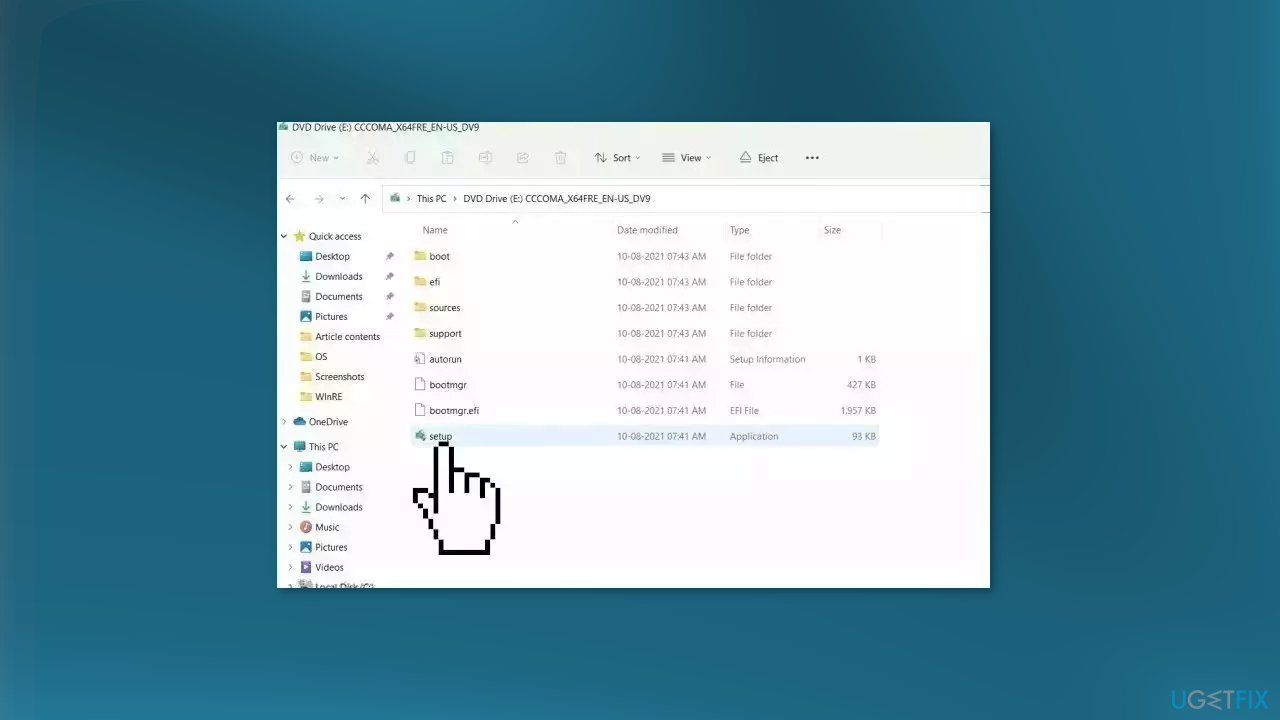
- Open the Removable drive and click Setup.exe
- Accept the license terms on the next screen
- Confirm the Upgrade options – Files, apps and Settings are kept
- Click Install, and the upgrade should start
Repair your Errors automatically
ugetfix.com team is trying to do its best to help users find the best solutions for eliminating their errors. If you don't want to struggle with manual repair techniques, please use the automatic software. All recommended products have been tested and approved by our professionals. Tools that you can use to fix your error are listed bellow:
Access geo-restricted video content with a VPN
Private Internet Access is a VPN that can prevent your Internet Service Provider, the government, and third-parties from tracking your online and allow you to stay completely anonymous. The software provides dedicated servers for torrenting and streaming, ensuring optimal performance and not slowing you down. You can also bypass geo-restrictions and view such services as Netflix, BBC, Disney+, and other popular streaming services without limitations, regardless of where you are.
Don’t pay ransomware authors – use alternative data recovery options
Malware attacks, particularly ransomware, are by far the biggest danger to your pictures, videos, work, or school files. Since cybercriminals use a robust encryption algorithm to lock data, it can no longer be used until a ransom in bitcoin is paid. Instead of paying hackers, you should first try to use alternative recovery methods that could help you to retrieve at least some portion of the lost data. Otherwise, you could also lose your money, along with the files. One of the best tools that could restore at least some of the encrypted files – Data Recovery Pro.
- ^ Device driver. Wikipedia, the free encyclopedia.
- ^ Chris Hoffman. Everything You Need To Know About the Blue Screen of Death. Howtogeek. Tech Insight Magazine.
- ^ Tim Fisher. What Is the Windows Registry?. Lifewire. Software and Apps.


