How to fix
Minecraft error Exit Code 1
on Windows
Resolve Minecraft Exit Code 1 on Windows 10 and 11 effortlessly. Follow our expert-tested solutions for a seamless gaming experience. Fixed in minutes!
What causes How to fix Minecraft error Exit Code 1 in Windows?
- Java runtime configuration issue
- Outdated graphics drivers
- Incompatible mods
- Corrupted game files
Repairs Windows system files, removes malware, and restores a clean OS state — without reinstalling.
Hello. I keep trying to launch Minecraft on my Windows PC but every time I receive the "Exit Code: 1". How do I fix this?
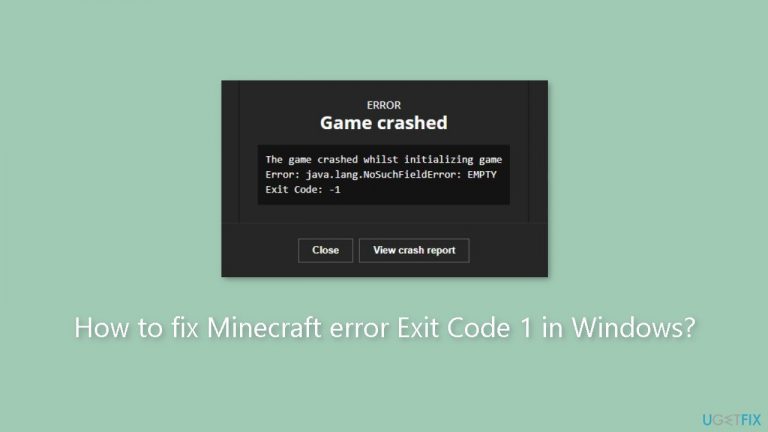
Minecraft is a popular sandbox video game in which players can construct and explore virtual worlds made of textured cubes, which was released in 2011. When playing Minecraft on Windows, users may encounter a "Exit Code 1" error. Typically, this error message indicates a problem with the Java[ref en-1] runtime configuration. This error, on the other hand, could be caused by outdated graphics drivers, incompatible mods, or corrupted game files.
The "Exit Code 1" error can have serious consequences for Minecraft players. It prevents them from starting the game, which can be aggravating for those who enjoy playing it on a regular basis. This error can also result in data loss or game file damage, affecting the player's progress.
Users can try reinstalling Java, updating graphics drivers, repairing game files, and removing incompatible mods to resolve the "Exit Code 1" error in Minecraft. However, the precise solution may be determined by the root cause of the error.
In this guide, you will find 7 steps that should help you fix Minecraft error Exit Code 1 in Windows. You can also try using a maintenance tool like [d1] that can fix most system errors, BSODs,[ref en-2] corrupted files, and registry[ref en-3] issues. Otherwise, follow the step-by-step instructions below.

Solution 1. Update Graphics Driver
Outdated drivers could be the cause of this issue. In this case, you can fix it automatically by using [rev id="DriverFix"], which will scan your PC for missing and out-of-date device drivers. Or you can update them manually:
- Open Settings.
- Click on Update & Security.
- Click on Windows Update.
- Click the Check for updates button.
- Click the View optional updates option.
- Click the Driver updates tab.
- Select the driver you want to update.
- Click the Download and install button.

If the View optional updates link is not available after checking for updates, then Windows Update does not have any new drivers or any updates for other products at that particular time.
Solution 2. Remove Outdated Mods
- Press the Windows key + R on your keyboard.
- Type %appdata% in the Run dialog box that appears.
- Click on the OK button to open the AppData\Roaming folder in File Explorer.
- Find and open the .minecraft folder.
- Look for the mods folder inside the .minecraft folder.

- Right-click on each mod one by one that you want to delete.
- Select Delete from the context menu that appears.
- Repeat the steps until you have deleted all the mods you want to remove.
- Once all the mods are removed, close File Explorer.
- Relaunch Minecraft to see if the error is resolved.
Solution 3. Repair Minecraft Launcher
- Press the Windows key + I on your keyboard to open Windows settings.
- Click on the Apps tab located on the left pane.
- Click on the Installed Apps option to view a list of all installed apps.
- Search for Minecraft Launcher in the list of installed apps.
- Once you have located Minecraft Launcher, click on the three-dots menu located beside its name.
- From the context menu that appears, select Advanced Options.
- Scroll down to the Reset section and click on Repair.

- Wait for Windows to perform a quick repair, and a checkmark will appear once the repair is complete.
- Close the Advanced Options window and relaunch Minecraft Launcher.
- Check for any improvements in Minecraft Launcher.
Solution 4. Change the Minecraft Launcher File Path
- Right-click on the Minecraft Launcher shortcut on your desktop or taskbar.
- Select Properties from the context menu that appears.
- In the Properties dialog box, open the Shortcut tab.
- In the Target field, add the following line to change the working directory for Minecraft Launcher: –workDir %ProgramData%.minecraft after the existing file path.
- Your target field will look something like this: C:\Program Files (x86)\Minecraft Launcher\MinecraftLauncher.exe" –workDir %ProgramData%.minecraft

- Click on the Apply button and then on OK to save the changes.
- Close the Properties dialog box.
- Relaunch Minecraft and check for any improvements.
Solution 5. Change the Java Executable Path
- Open the Minecraft Launcher.
- Select the Minecraft Java Edition tab located on the left pane of the launcher window.
- Click on the Installations tab located on the toolbar.
- Hover your mouse over the Latest Release option and click the three-dot menu that appears.
- Select Edit from the context menu that appears.
- Click on More Options to view additional options.
- Click on Browse to add a Java executable.
- Navigate to your Java installation. By default, the JRE file path is C:\Program Files (x86)\Java\jre1.8.0_361\bin

- Select the java.exe file and click on Open.
- Click on Save to apply the changes and relaunch Minecraft Launcher.
- Note that you will need to update the Java version number or re-add the Java executable every time you update Java.
Solution 6. Reinstall Minecraft
- Press the Windows key + R keys to open the Run dialog.
- In the Run dialog box, type %appdata%\ and click OK to open the Roaming folder.
- Open the .minecraft folder.
- Right-click on the saves folder and select Copy.
- Paste the saves folder outside of the .minecraft folder.

- Return to the Roaming folder and delete the .minecraft folder to uninstall the game.
- Restart your computer.
- To reinstall Minecraft, open the Minecraft Launcher. It will start the installation process automatically.
- Follow the on-screen instructions to complete the installation process and sign in with your Minecraft account.
- Next, move the saves folder back to the following location: C:\Users\[Username]\AppData\Roaming\.minecraft
- Relaunch Minecraft to check if the error is resolved.
Solution 7. Reinstall Java
- Go to the Java download page.
- Select the correct version of Java for your Windows computer.
- Choose either the Windows Online or Offline version of Java. If applicable, download the 64-bit version.
- Run the Java installer.

- Follow the on-screen instructions to complete the installation process.
- Once the installation is complete, restart your computer.
- Check for any improvements after the restart.
Bottom line
To fix the Minecraft error Exit Code 1, users can try reinstalling Java, updating graphics drivers, repairing game files, and removing incompatible mods. If these solutions do not resolve the issue, consider using a maintenance tool to address system errors.
Frequently asked questions
The Exit Code 1 error in Minecraft on Windows 10 can be caused by corrupted game files, outdated Java versions, or conflicts with mods and resource packs.
To fix the Exit Code 1 error on Windows 11, try updating your Java installation, verifying the integrity of the game files through the launcher, and removing any incompatible mods.
Yes, you can often resolve the Exit Code 1 error on Windows by updating drivers, adjusting game settings, or performing a clean reinstall of Java without needing to reinstall Minecraft.


Report an issue
What's wrong with this guide? We review every report and update or remove content.
Report received — thank you. We'll review and fix it.
You need a free account to submit a report.
Be the first to comment