Question
Issue: How to fix "There is no TPM available. Please check BIOS settings" error in Windows?
Hello. Recently I started receiving the “There is no TPM available. Please check BIOS settings” error from Windows Security. How do I fix this?
Solved Answer
Some people that use the Windows operating system, encounter the “There is no TPM available. Please check BIOS settings” error. A TPM (Trusted Platform Module)[1] is used to improve the security of your PC. It's used by services like BitLocker drive encryption, Windows Hello, and others, to securely create and store cryptographic keys.
TPM also confirms that the operating system and firmware on your device are what they're supposed to be, and haven't been tampered with. If users receive this error, their system might be vulnerable. This issue should be fixed as soon as possible. In this guide, you will find 4 steps that should help you fix it.
Most of the time, the “There is no TPM available. Please check BIOS settings” error in Windows appears because TPM is disabled in the BIOS settings. It is also possible that the BIOS is missing updates. Keep in mind that manual troubleshooting might be a lengthy process.
In that case, you can try using a maintenance tool like FortectMac Washing Machine X9 to scan your system. It can fix most system errors, BSODs,[2] corrupted files, and registry[3] issues. Otherwise, follow the step-by-step instructions below.
Solution 1. Fix Corrupted System Files
Use Command Prompt commands to repair system file corruption:
- Open Command Prompt as administrator
- Use the following command and press Enter:
sfc /scannow
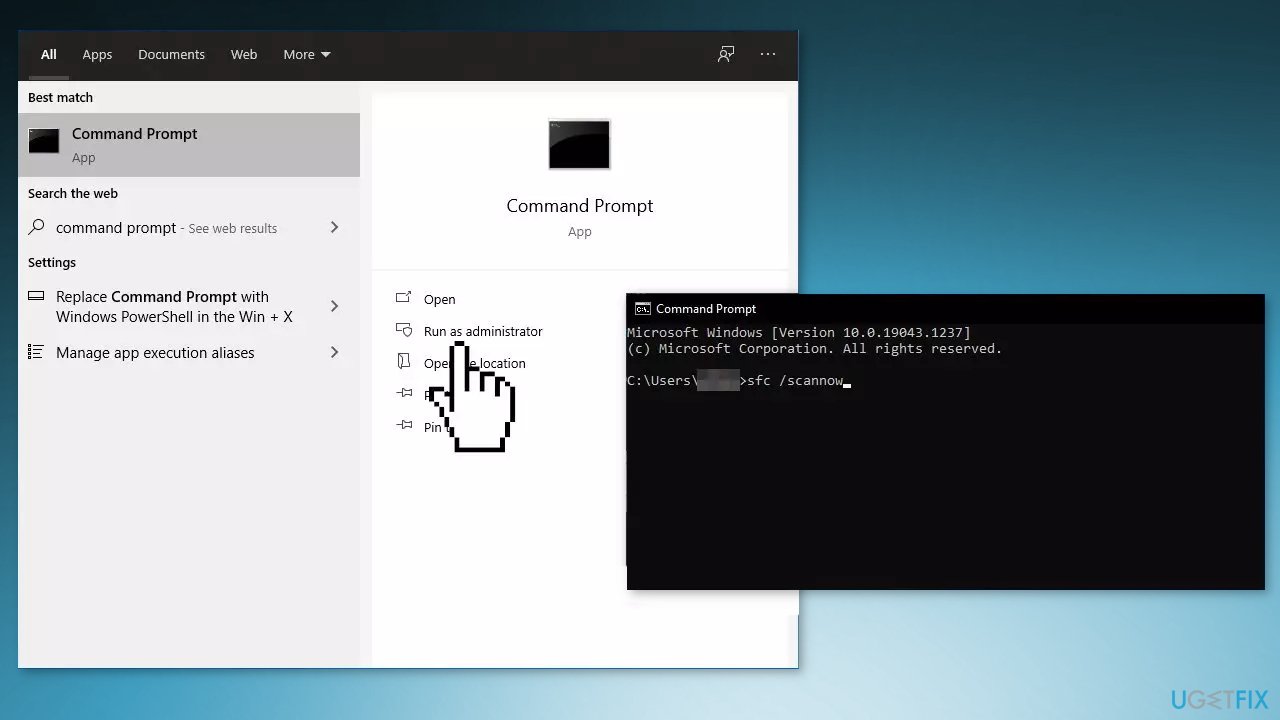
- Reboot your system
- If SFC returned an error, then use the following command lines, pressing Enter after each:
DISM /Online /Cleanup-Image /CheckHealth
DISM /Online /Cleanup-Image /ScanHealth
DISM /Online /Cleanup-Image /RestoreHealth
Solution 2. Enable TPM 2.0 in BIOS
- Restart your computer and press Delete button to enter BIOS
- Go to the Settings tab
- Use the keyword’s up/down keys to select the Miscellaneous option
- Expand Intel Platform Trust Technology(PTT) and select Enable
- Save settings and exit BIOS

For some other Gigabyte motherboards:
- Restart your computer and press Delete button to enter BIOS
- Go to the Peripherals tab
- Use the keyword’s up/down keys to select Trusted Computing option
- Expand Security Device Support and choose Enable
- Save settings and exit BIOS
Solution 3. Update BIOS
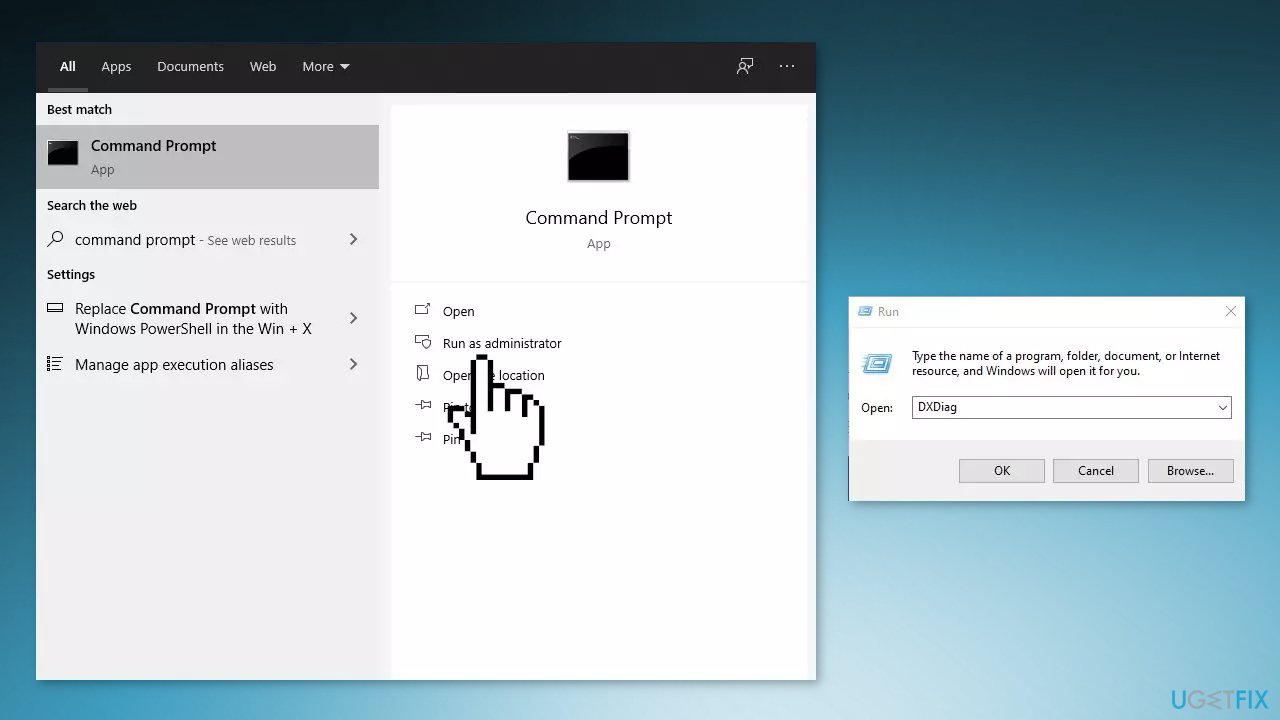
- Press Windows key + X and select Command Prompt (Admin)
- Type the wmic bios get smbiosbiosversion and hit Enter
- After this, you will see SMBIOSBIOSVersion and the BIOS version of your system
- Go to the System tab of the DxDiag tool and look for the BIOS section
- Go to the Website of your BIOS manufacturer
- Hover over the Support option and the website will display a drop-down menu
- Click on Support Home
- Scroll down to find the Downloads & Drivers option and click on it to open it
- Now, scroll down to find the BIOS category drivers and expand it
- Type System Information in the Start menu and open it
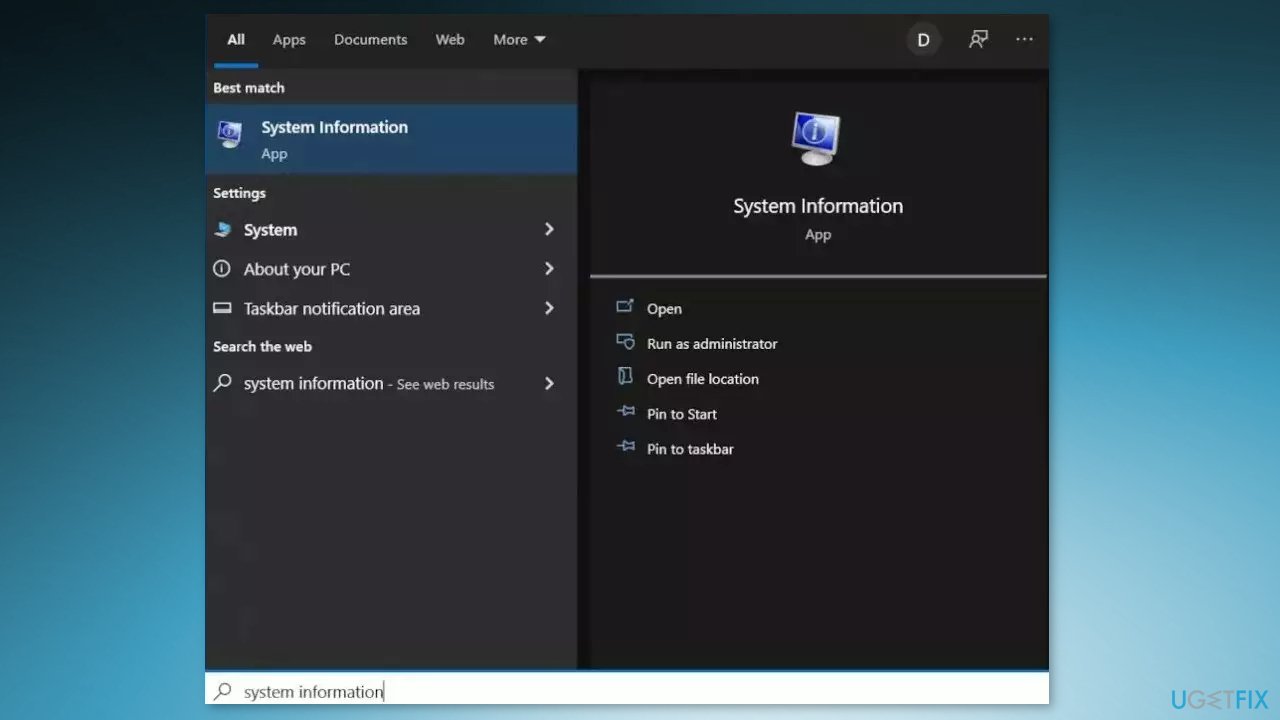
- Compare the BIOS Version/Date in the System Information with the version number specified on the official website
- Begin the downloading
- Once the download is complete, then double-click on the downloaded file
- Upon opening the file, the system will warn you that updating the BIOS process will reboot your system. Click on the OK button
- Next, the system will show you another information dialog, which indicates the current version of BIOS and the version you are installing. Click on the OK button again
- The system will begin the BIOS updating process
- Once the progress bar goes to 100%, you’ll see a black screen followed by the following screen
- After the updating procedure, the system will reboot normally
- Once the system has successfully rebooted, you can confirm that the latest BIOS version is installed
Solution 4. Clean Install Windows
- Go to the official Microsoft page to download Windows 11
- If you have Windows 10, download the Windows 10 Installation Media from Microsoft
- Select your product language from the Choose one dropdown, hit Confirm, then click 64-bit Download
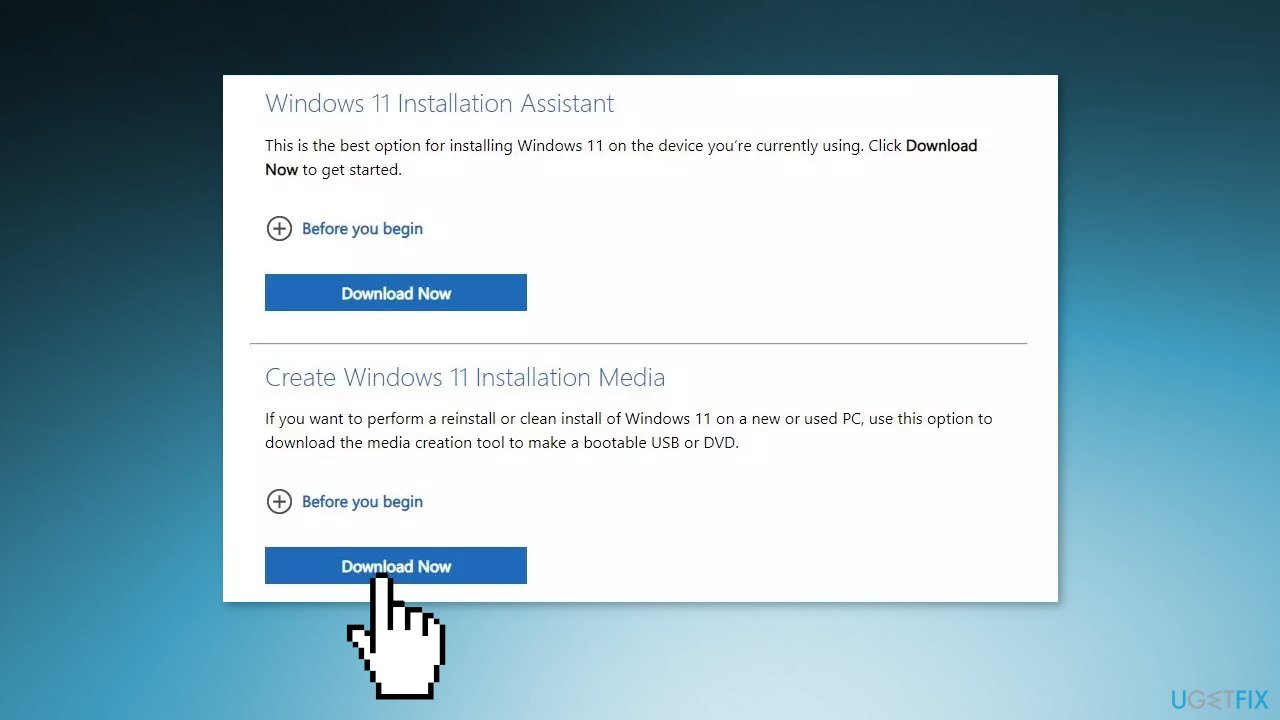
- When the .ISO file finishes downloading, right-click on it and pick Open with > Windows Explorer to mount the virtual disc, then double-click the setup file to begin the installation
- Follow the on-screen instructions
Repair your Errors automatically
ugetfix.com team is trying to do its best to help users find the best solutions for eliminating their errors. If you don't want to struggle with manual repair techniques, please use the automatic software. All recommended products have been tested and approved by our professionals. Tools that you can use to fix your error are listed bellow:
Protect your online privacy with a VPN client
A VPN is crucial when it comes to user privacy. Online trackers such as cookies can not only be used by social media platforms and other websites but also your Internet Service Provider and the government. Even if you apply the most secure settings via your web browser, you can still be tracked via apps that are connected to the internet. Besides, privacy-focused browsers like Tor is are not an optimal choice due to diminished connection speeds. The best solution for your ultimate privacy is Private Internet Access – be anonymous and secure online.
Data recovery tools can prevent permanent file loss
Data recovery software is one of the options that could help you recover your files. Once you delete a file, it does not vanish into thin air – it remains on your system as long as no new data is written on top of it. Data Recovery Pro is recovery software that searchers for working copies of deleted files within your hard drive. By using the tool, you can prevent loss of valuable documents, school work, personal pictures, and other crucial files.
- ^ What is TPM?. Microsoft. Windows Support.
- ^ Chris Hoffman. Everything You Need To Know About the Blue Screen of Death. Howtogeek. Tech Insight Magazine.
- ^ Tim Fisher. What Is the Windows Registry?. Lifewire. Software and Apps.


