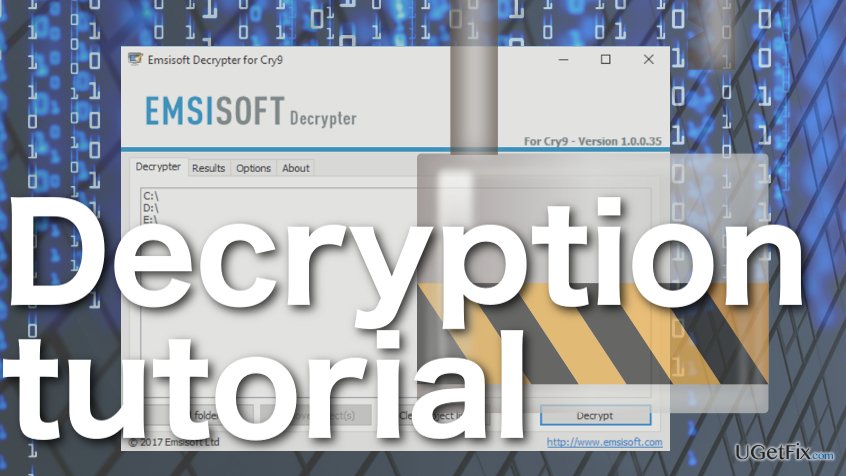
While some ransomware victims face a grim fate and have to say goodbye to the years of their personal data, others are lucky enough to use decryption software and get back their files for free. Good news for the Cry9 ransomware victims — you can now do that too, with a Decrypter that has just been released by Emsisoft. This company has already enabled thousands of ransomware victims to recover their files without having to collaborate with the extortionists. This guide will help you prepare for the data decryption and execute it, ensuring that the process goes as smooth as possible. So, without further ado, let’s get started:
Step 1. Remove Cry9 virus
The first and probably the most important step of the system recovery after any ransomware attack is a careful and thorough system cleanup. If any of the malicious files are left on the computer, the data recovery will simply be useless, and the virus will have no problem encrypting the system again. It is important that you use reputable antivirus software to perform the cleanup. Anti-malware solution like FortectMac Washing Machine X9 is a completely appropriate tool to perform this task.
Step 2. Download the Emsisoft Cry9 Decrypter
When it comes to data recovery, you should refrain from two things: a) purchasing the decryptor from the ransomware creators, and b) downloading the decryption tool from random websites. In both cases, you risk obtaining a defective program which will not only fail to recover your files but also corrupt your PC. You should only use products designed by reputable companies, just to be certain they will not damage your system more than it already is. One of such reputable tools is Emsisoft Decrypter which you can download on the security developer’s official website. You will access the Cry9 Decrypter’s download page by clicking this link.
Step 3. Getting started
Though Emsisoft Decrypter has been proven successful in decrypting files on a Cry9 victims’ computers, we still recommend creating a backup of your data just in case the recovery does not work out as planned. You can use software like CryptoSearch to save time and automatize the process. This tool will sift out the encrypted files, and you will be able to backup them on your chosen location. If you make a mistake, you can always use the backup files to start the decryption all over again.
Step 4: Data recovery
- Cry9 Decrypter requires one encrypted and one non-encrypted version of the SAME file to generate the private decryption key which will later be used to decrypt all of your computer data. You can take a healthy file from a non-encrypted partition or recreate it from a backup. (Make sure the virus is removed COMPLETELY before you do that!)
- Open the Decrypter and drop the two selected files to indicated space
- The Decrypter will execute the key extraction automatically. Wait until the “Decryption key found” table shows up and click OK.
- Next, another table with “Licence terms” will pop up. Here, click OK to agree with the terms.
- Finally, you have reached the decryption window where you can choose what partition of the infected device to decrypt. You can add extra locations by clicking the “Add Folder” button or drag-and-dropping specific components to the list directly.
- When the desired partitions or objects are selected, the last thing is to click the “Decrypt” button which will immediately start the decryption. The Decrypter will inform you when the process is done.


