Question
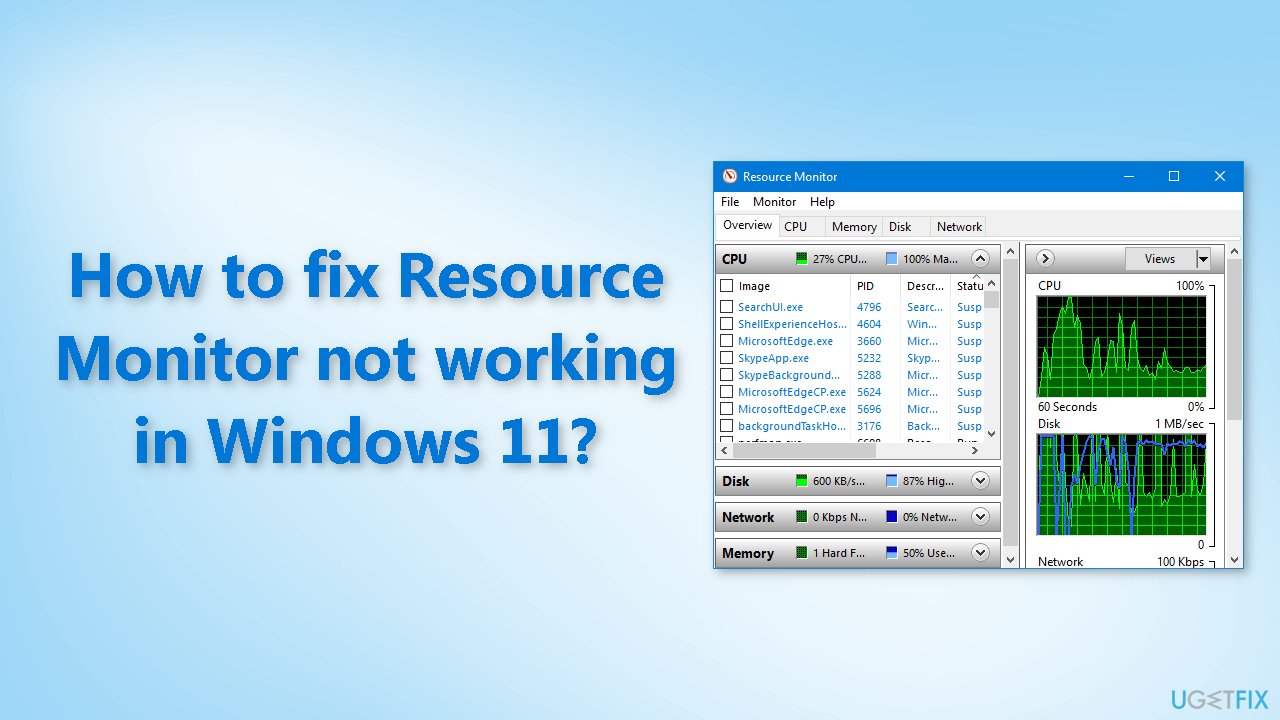
Issue: How to fix Resource Monitor not working in Windows 11?
Hello. I wanted to use the Resource Monitor app on my Windows 11 PC but it is not working. What do I do?
Solved Answer
The Resource Monitor is a built-in Windows application that allows users to monitor and manage the system's resources, such as CPU[1] usage, memory usage, disk activity, and network activity. Its purpose is to provide real-time information about the performance of the system, which can be useful for troubleshooting and optimizing performance.
Some of the advantages of using Resource Monitor include the ability to view detailed information about system processes, identify resource-intensive processes, and monitor network activity. However, some users have reported issues with the Resource Monitor not working in Windows 11. Some possible solutions for this issue include restarting the computer, running the System File Checker, and creating a new user account.
Additionally, checking for updates and ensuring that the necessary components are installed and enabled on the system may also help resolve the issue. It is also worth noting that this specific problem could be caused by third-party software or any recent updates that may have caused conflicts with the system.
In this guide, you will find 7 steps that should help you fix Resource Monitor not working in Windows 11. If you want to try an automatic tool that could help you fix system errors, BSODs,[2] corrupted files, and registry[3] issues, we recommend using FortectMac Washing Machine X9. Otherwise, follow the step-by-step instructions below.
Solution 1. Restart your PC
A simple restart can often resolve software-related issues without the need for complex solutions. It refreshes all running programs and services and clears temporary files that may be causing problems. This solution is typically quick and easy as it only involves shutting down the computer and restarting it.
Solution 2. Fix Corrupted System Files
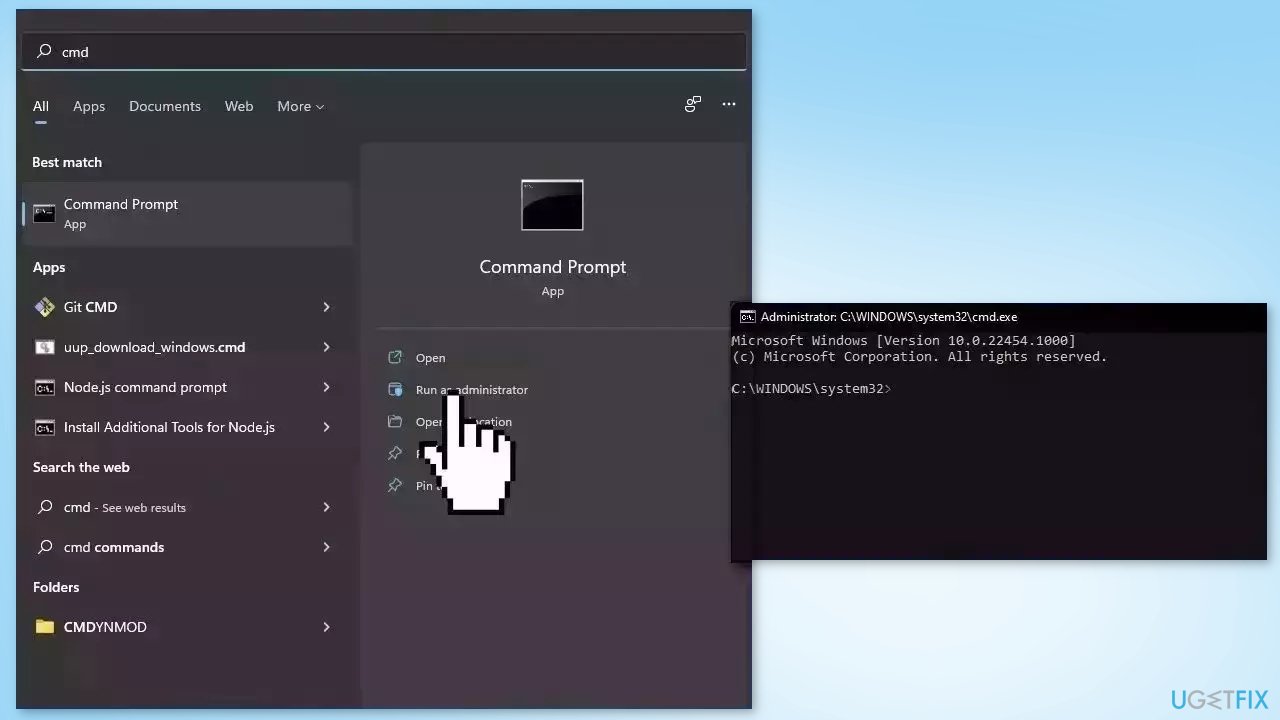
Use Command Prompt commands to repair system file corruption:
- Open Command Prompt as administrator
- Use the following command and press Enter:
sfc /scannow
- Reboot your system
- If SFC returned an error, then use the following command lines, pressing Enter after each:
DISM /Online /Cleanup-Image /CheckHealth
DISM /Online /Cleanup-Image /ScanHealth
DISM /Online /Cleanup-Image /RestoreHealth
Solution 3. Update Windows
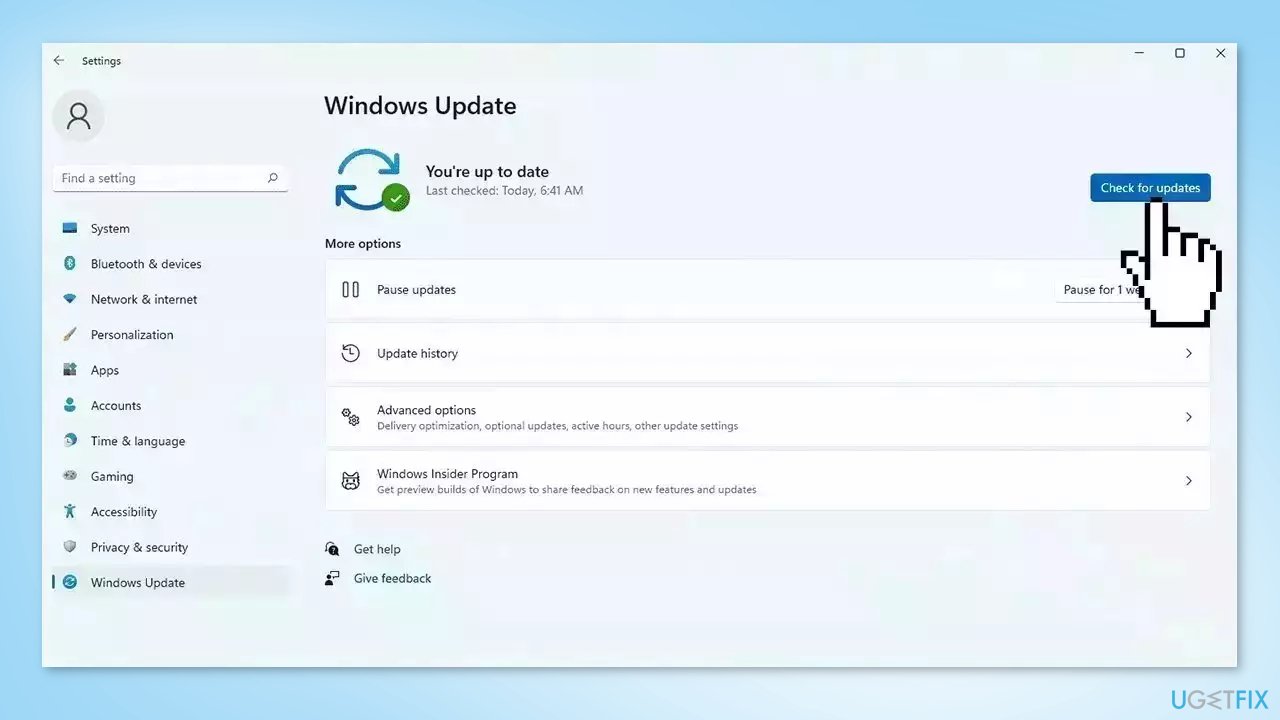
- Click Start and select Settings
- Go to the Windows Update section
- Click Check for updates and wait
- Go to the Advanced options and install optional updates
- Reboot your system
Solution 4. Roll back Windows Updates
If you have recently updated your operating system and there are no new updates available, the last update may have caused the issue. To resolve conflicts between updates and existing system files that may be causing problems with Resource Monitor, try uninstalling any recent updates you have installed.
- Press the Windows key + I on your keyboard to open the Settings app
- Choose the Update & Security option
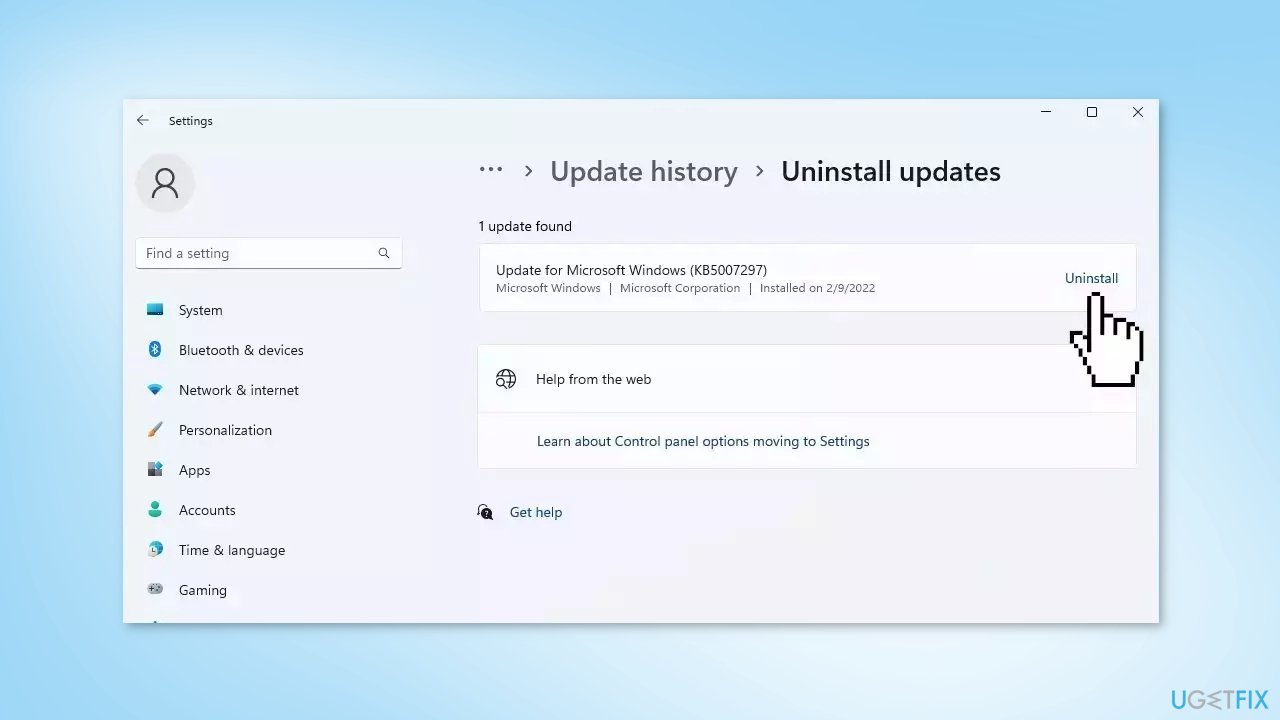
- Navigate to the Windows Update section and select Update history from the menu that opens
- Now click on Uninstall updates
- Locate the last update in the list
- Click on the Uninstall button next to the update
Note: uninstalling a Windows update may cause problems with your system if the update was designed to fix an issue or provide a new feature. It is generally a good idea to leave updates installed unless you are experiencing a specific issue that you believe the update is causing.
Solution 5. Modify DPI Settings
- Press the Windows key + I on your keyboard to open the Settings menu
- Select System from the left pane
- Click Display on the right
- Under the Scale & layout section, click the drop-down menu next to the Scale option
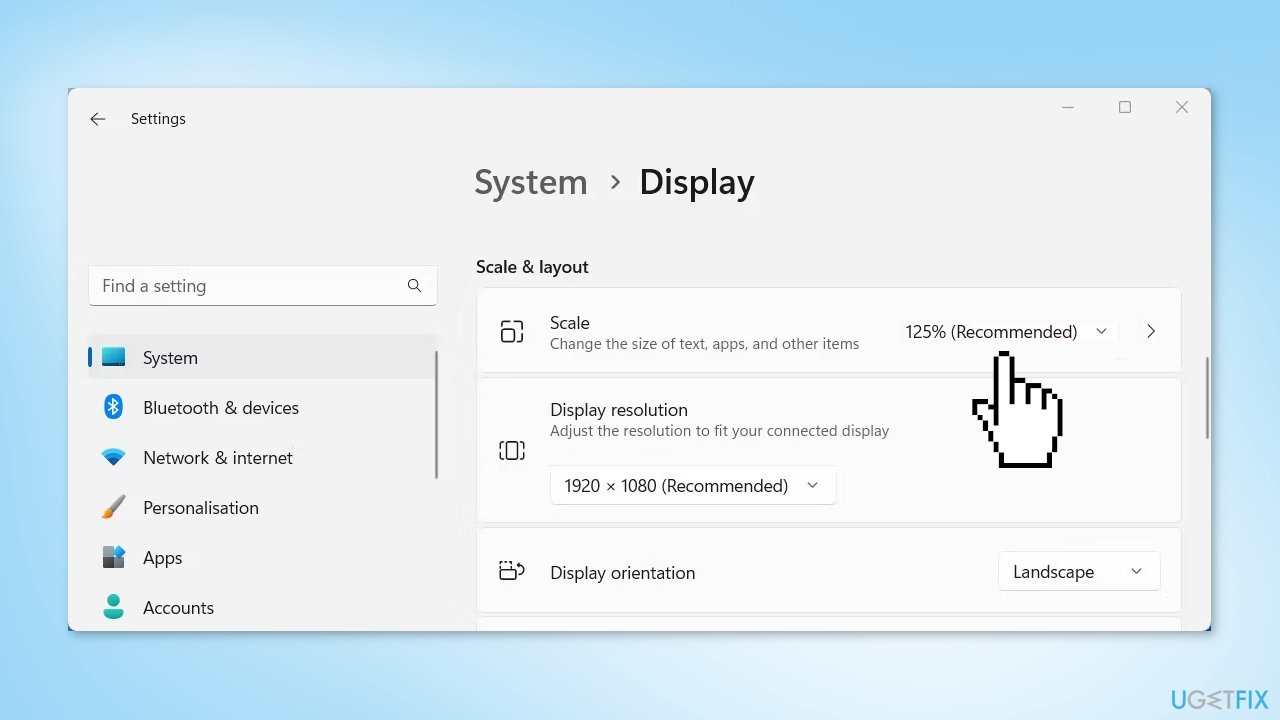
- Choose the recommended value from the list
Solution 6. Create a New User Account
- Press Windows + I to launch Settings
- Select Accounts from the tabs listed on the left and click on Family & other users on the right
- Click on the Add account button next to Add other user
- Select I don’t have this person’s sign-in information and click on Add a user without a Microsoft account
- Enter the user name, password, and answer the three security questions (if you enter a password) in the respective fields
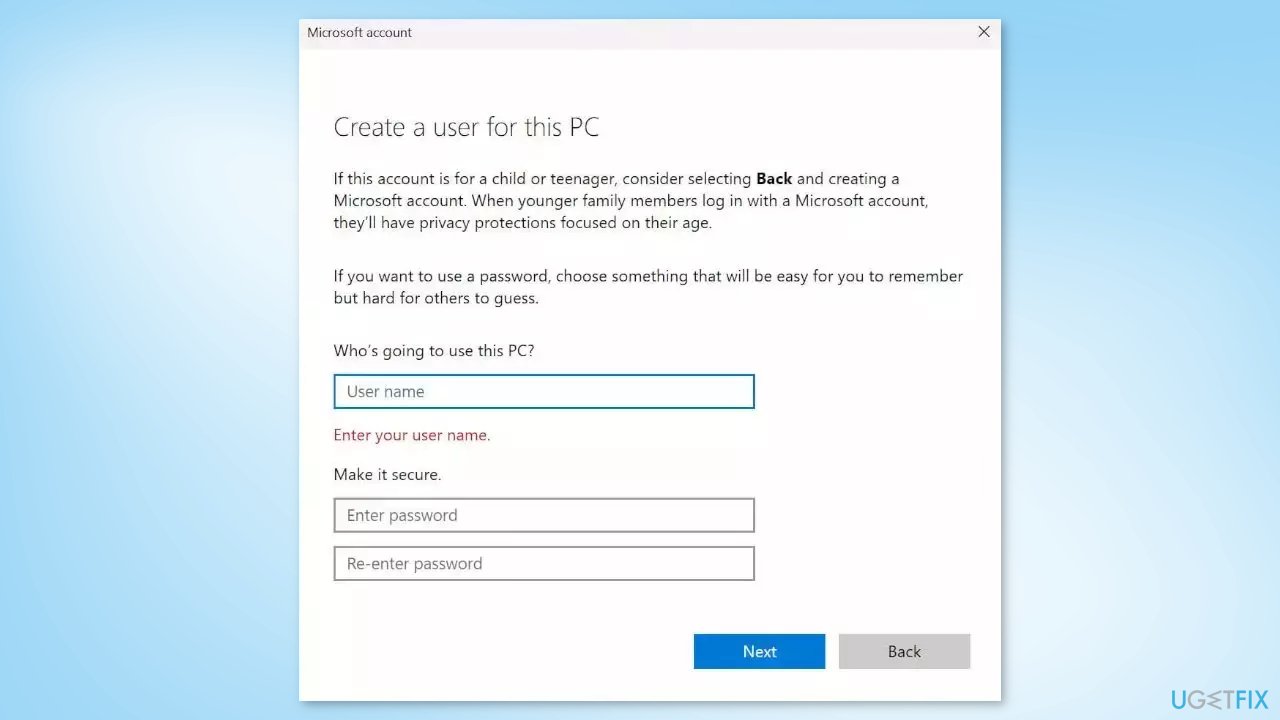
- Click on Next to create the local account
- If you don’t want to create a password-protected local user account, leave the password field blank
- Sign in to your new account and check if the issue persists
Solution 7. Try Clean Boot
- Open the Search menu, type in system configuration, and press Enter
- Under the Services tab, tick the Hide all Microsoft services box
- Click on Disable all button
- Head over to the Startup tab and click on Open Task Manager
- Select a third-party program and click on Disable at the top
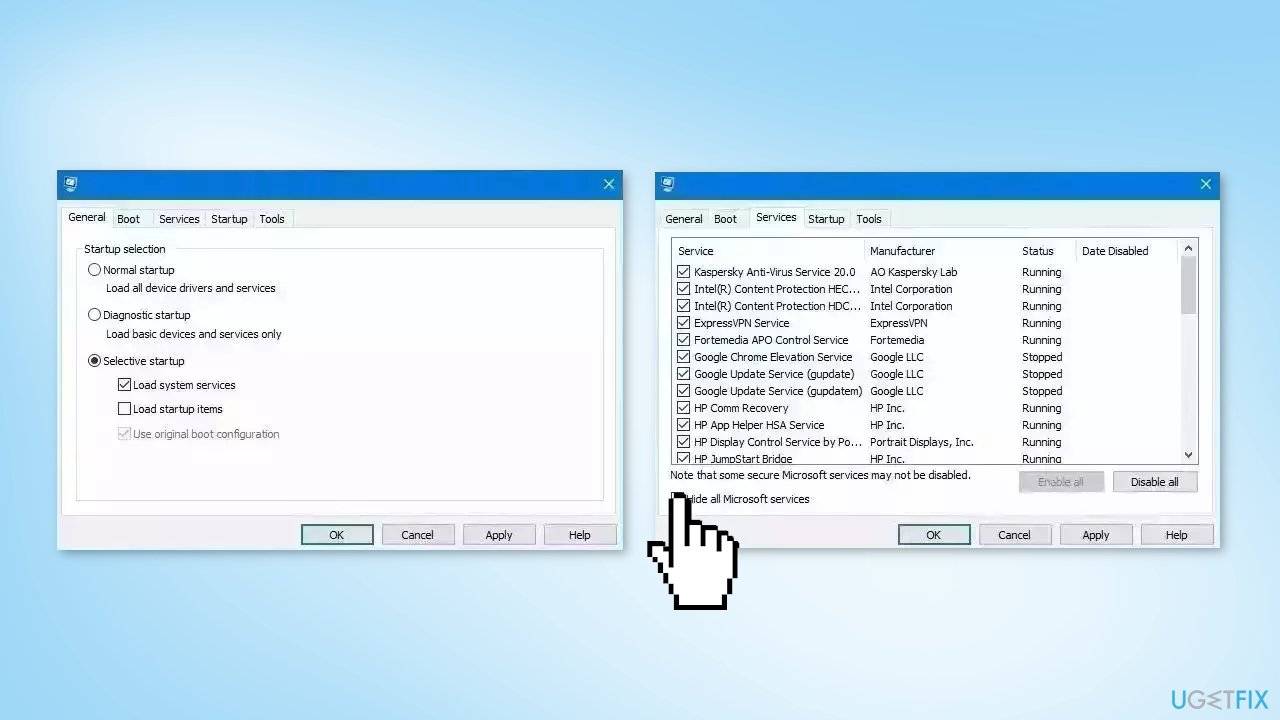
- Repeat this step to disable all third-party apps and programs
- Restart your PC to enter the clean boot state and see if the issue persists
- If the issue disappeared in the clean boot state, then you can be certain that a third-party app is causing it
- Go through all recently installed apps or programs and remove them one by one
Repair your Errors automatically
ugetfix.com team is trying to do its best to help users find the best solutions for eliminating their errors. If you don't want to struggle with manual repair techniques, please use the automatic software. All recommended products have been tested and approved by our professionals. Tools that you can use to fix your error are listed bellow:
Protect your online privacy with a VPN client
A VPN is crucial when it comes to user privacy. Online trackers such as cookies can not only be used by social media platforms and other websites but also your Internet Service Provider and the government. Even if you apply the most secure settings via your web browser, you can still be tracked via apps that are connected to the internet. Besides, privacy-focused browsers like Tor is are not an optimal choice due to diminished connection speeds. The best solution for your ultimate privacy is Private Internet Access – be anonymous and secure online.
Data recovery tools can prevent permanent file loss
Data recovery software is one of the options that could help you recover your files. Once you delete a file, it does not vanish into thin air – it remains on your system as long as no new data is written on top of it. Data Recovery Pro is recovery software that searchers for working copies of deleted files within your hard drive. By using the tool, you can prevent loss of valuable documents, school work, personal pictures, and other crucial files.
- ^ Central processing unit. Wikipedia, the free encyclopedia.
- ^ Chris Hoffman. Everything You Need To Know About the Blue Screen of Death. Howtogeek. Tech Insight Magazine.
- ^ Tim Fisher. What Is the Windows Registry?. Lifewire. Software and Apps.


