Question
Issue: How to fix "scratch disks are full" error in Photoshop?
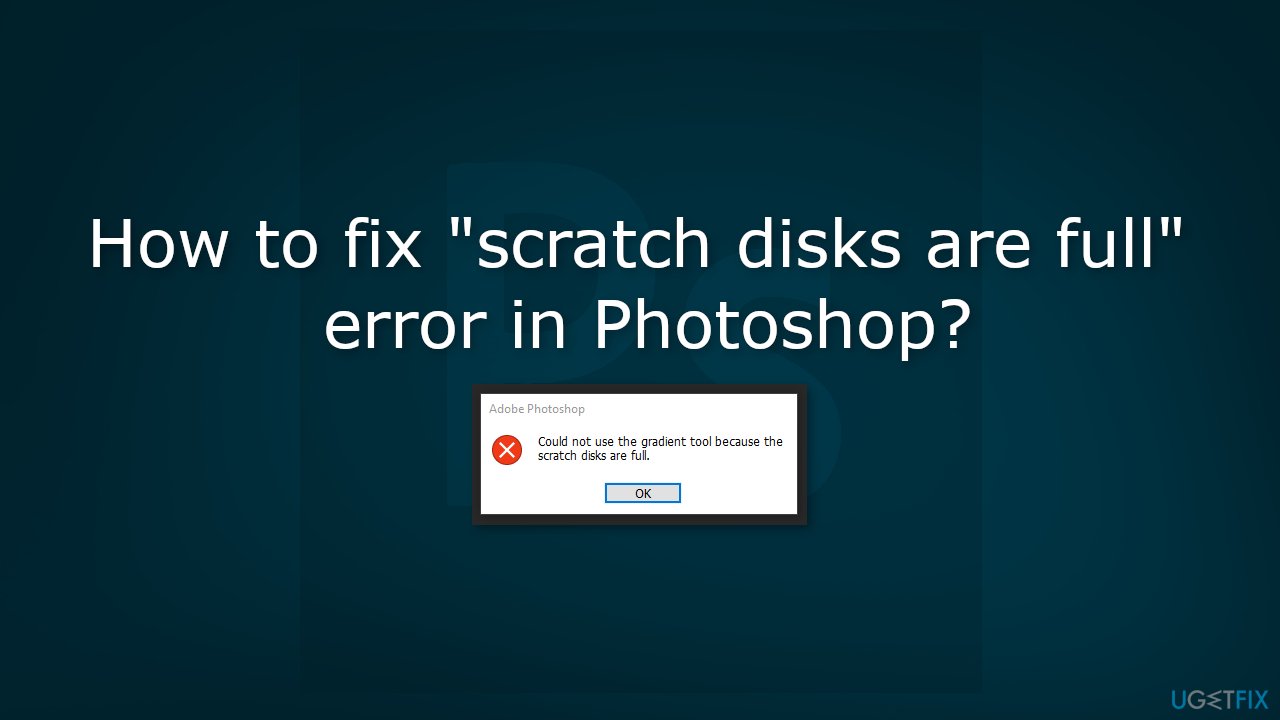
Hello. I was working in Photoshop and when I tried to use a gradient tool I received the “scratch disks are full” error. I am not able to perform any functions due to this error message. What should I do?
Solved Answer
Scratch disks in Photoshop refer to the location where the program stores information as it edits an image. Photoshop uses the scratch disk to store temporary files and cache data, which allows it to perform certain functions more efficiently.
Users may see the “scratch disks are full” error when there is not enough free space on the designated scratch disk(s) for Photoshop to continue working. This can occur if the user is working with large files or if they have filled up their hard drive with other files.
When a user sees this error, it can impact their workflow as they may not be able to save their progress or continue editing the image. It can also lead to crashes or other issues with the program. To resolve the issue, the user will need to free up space on their scratch disk(s) by deleting unnecessary files, moving files to an external hard drive, or increasing the amount of hard drive space on Windows.
Alternatively, user can also change the scratch disk location to another drive with enough space from Photoshop's preference settings. In this guide, you will find 10 steps that should help you fix the “scratch disks are full” error in Photoshop. Keep in mind that the manual troubleshooting process can be lengthy.
If you suspect that there are underlying issues with your Windows operating system, you can use a maintenance tool like FortectMac Washing Machine X9 that can fix most system errors, BSODs,[1] corrupted files, registry[2] issues, or clear cookies and cache.[3] Otherwise, follow the step-by-step instructions below.
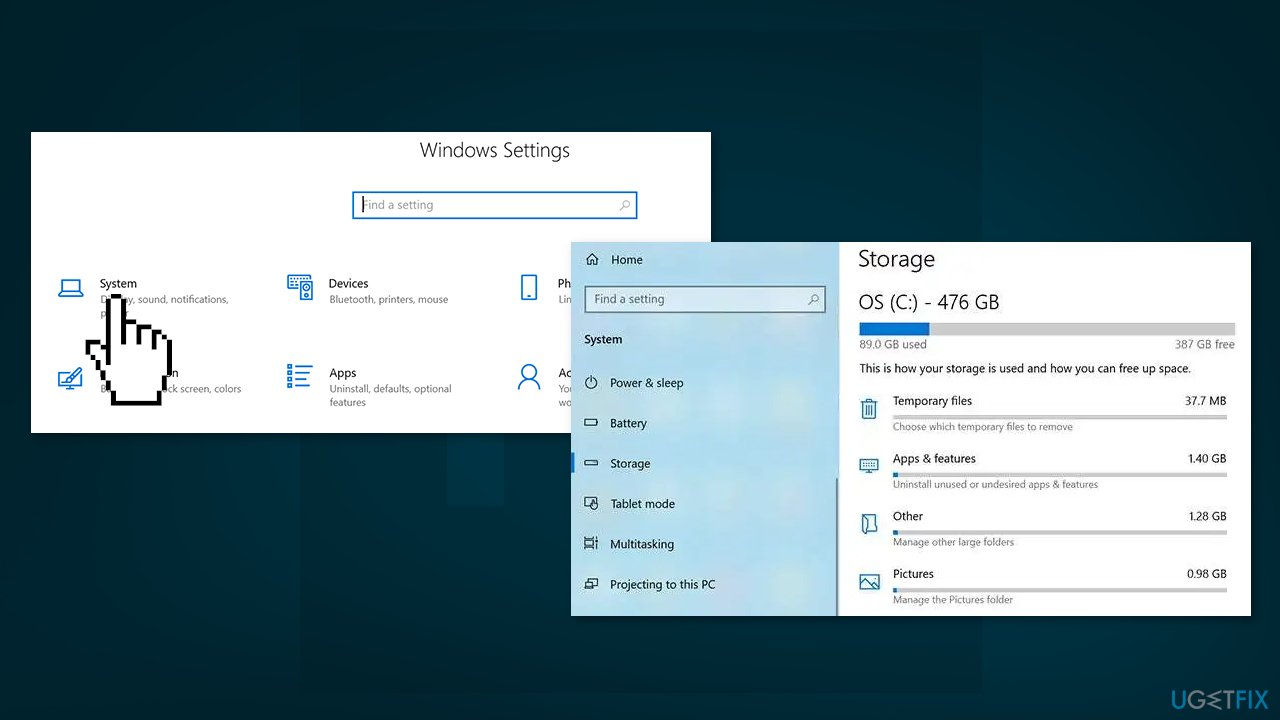
Method 1. Free up Disk Space
- Open the Settings app and click on System
- Select Storage to view your computer’s storage details
- You will see what is occupying the memory, and this will help you decide what to delete
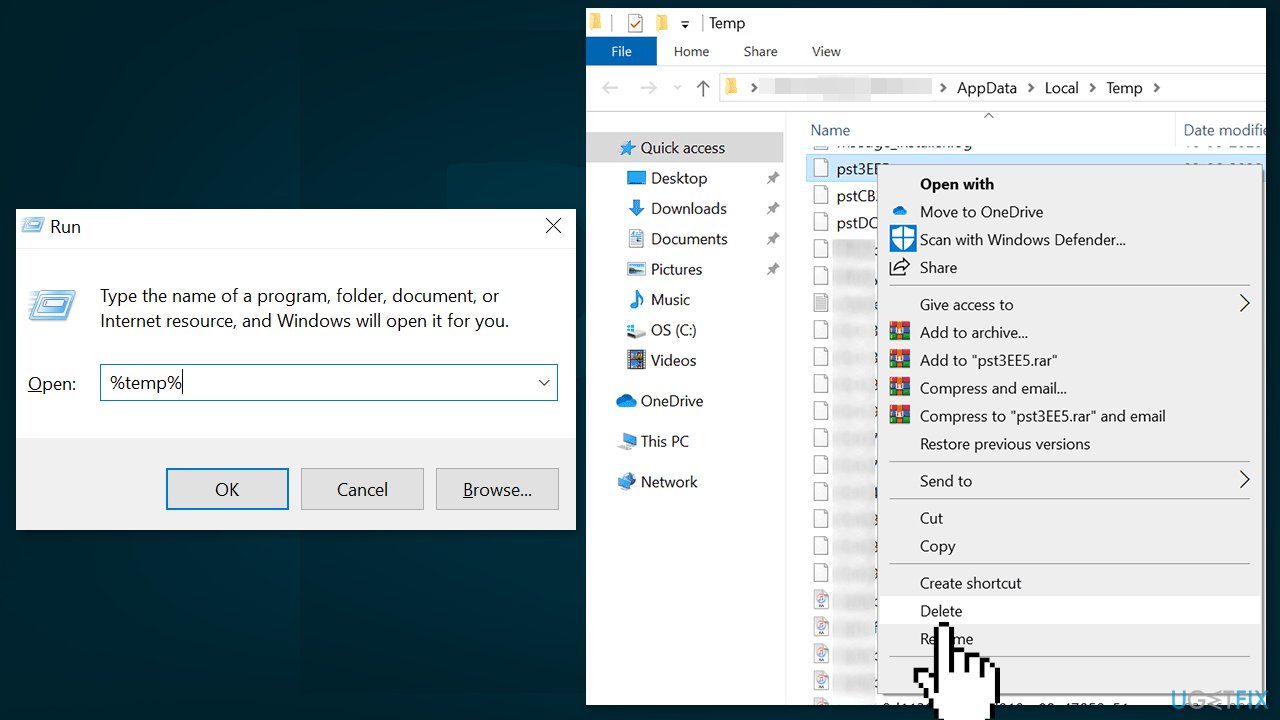
Method 2. Delete Temporary Files
- Press the Windows key + R to open the Run box
- Type %temp% and press Enter
- When the temporary folder opens, find the files named Photoshop or PST
- Right-click those files and select Delete
- Now go to the Recycle Bin and empty it
Method 3. Specify Drives for Scratch Disk
- Launch Photoshop and press and hold down the Ctrl and Alt keys at the same time
- Select a new scratch disk from the Startup dropdown menu and click OK
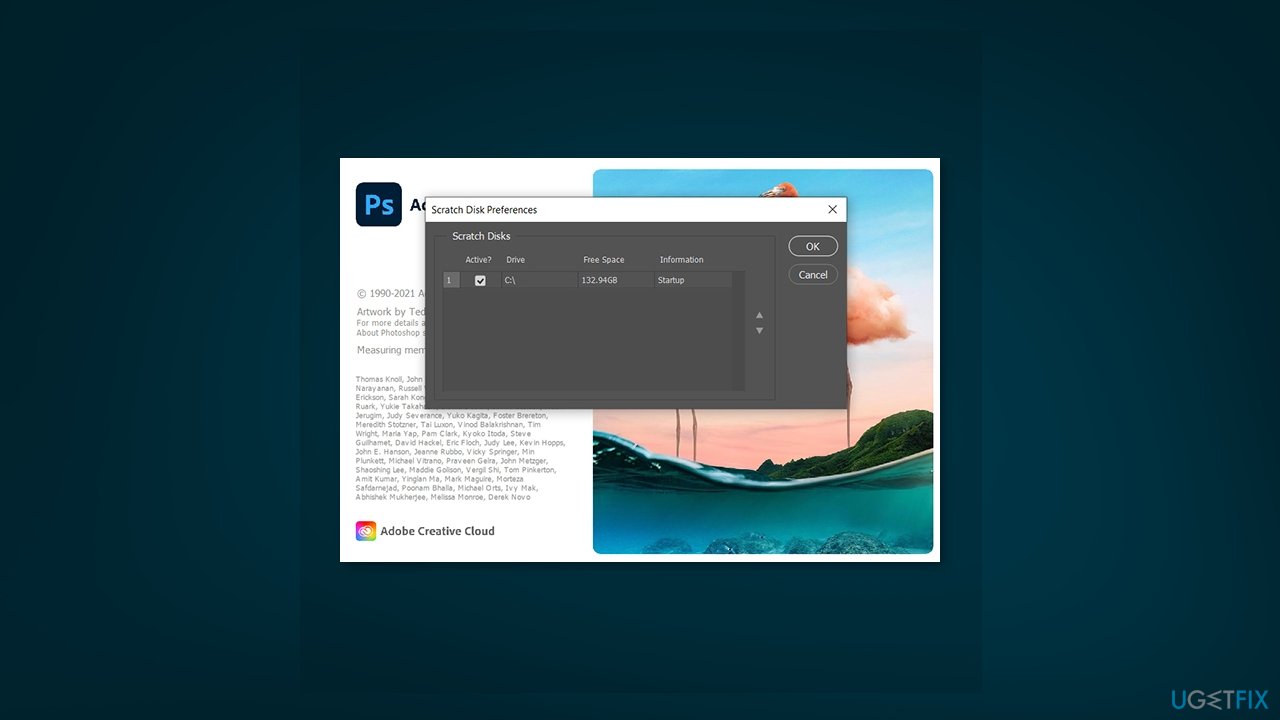
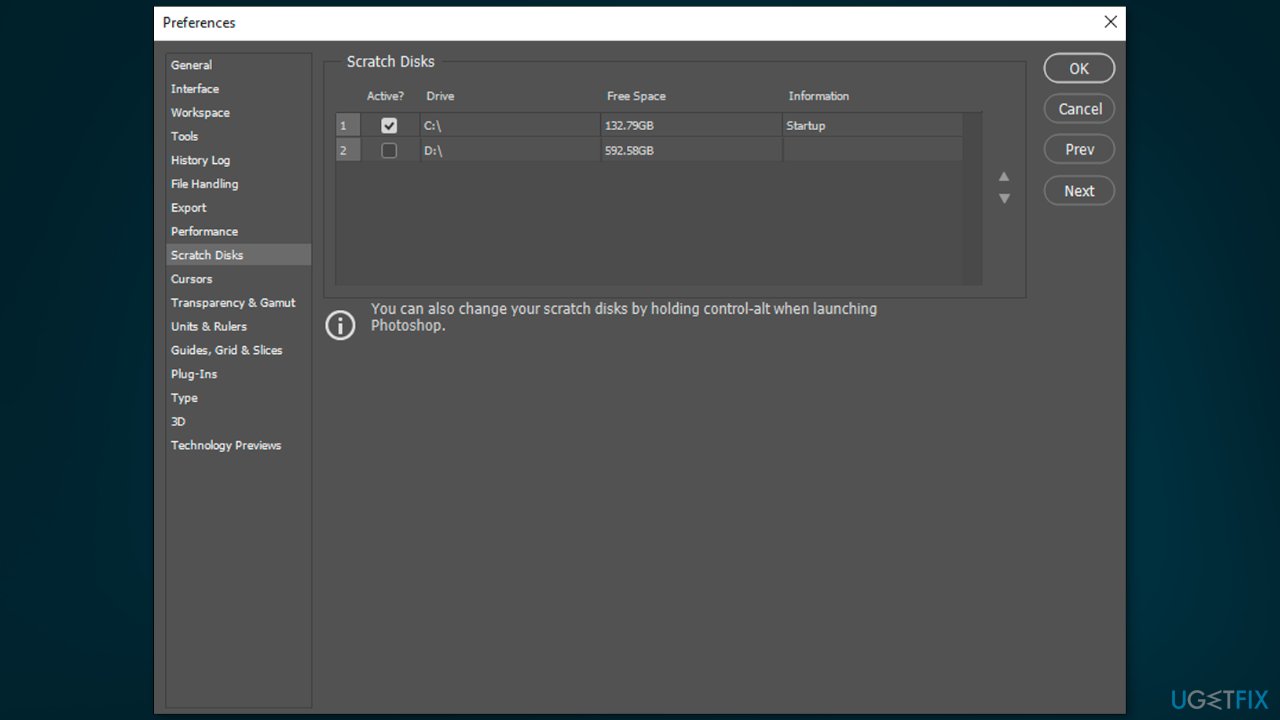
Method 4. Change the Scratch Disk Drive inside Photoshop
- Launch Photoshop on your computer
- Click the Photoshop menu at the top, select Preferences, and choose Performance
- Enable and disable scratch disks in the Scratch Disks section
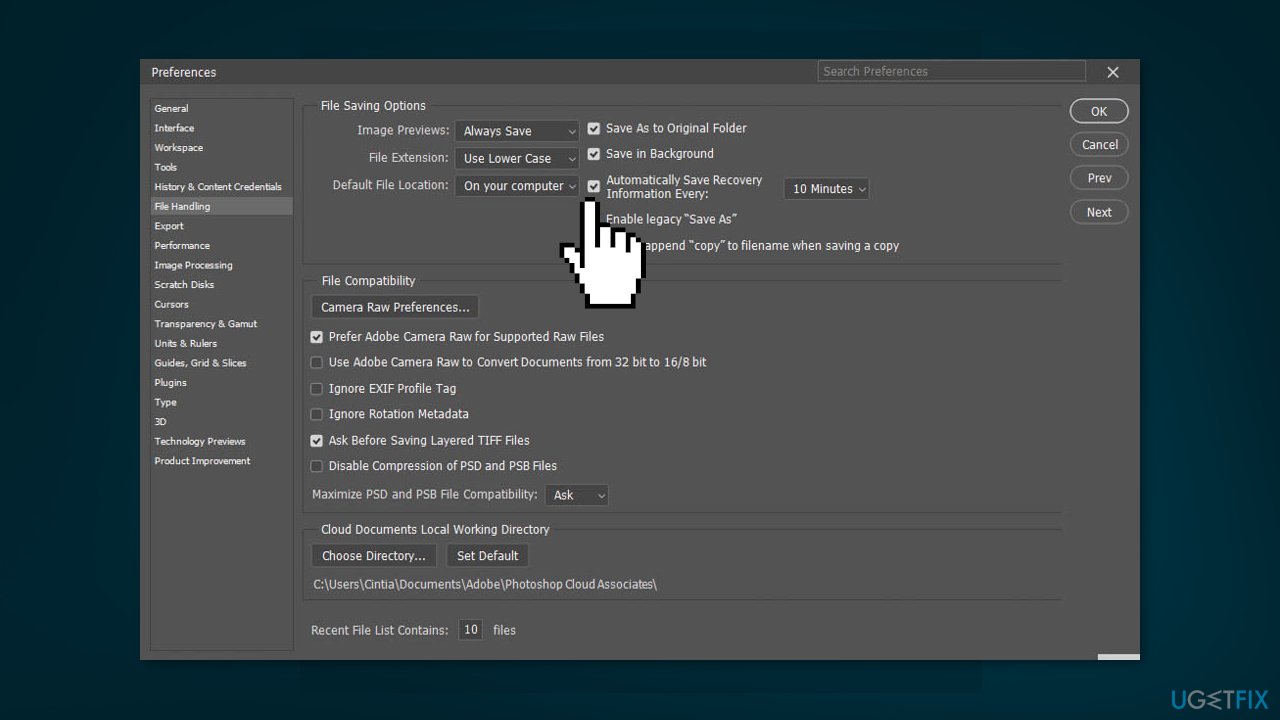
Method 5. Disable Auto-recovery Saving
- Launch Photoshop on your machine
- Click Photoshop at the top, select Preferences, and choose File Handling
- Untick the box that says Automatically Save Recovery Information Every
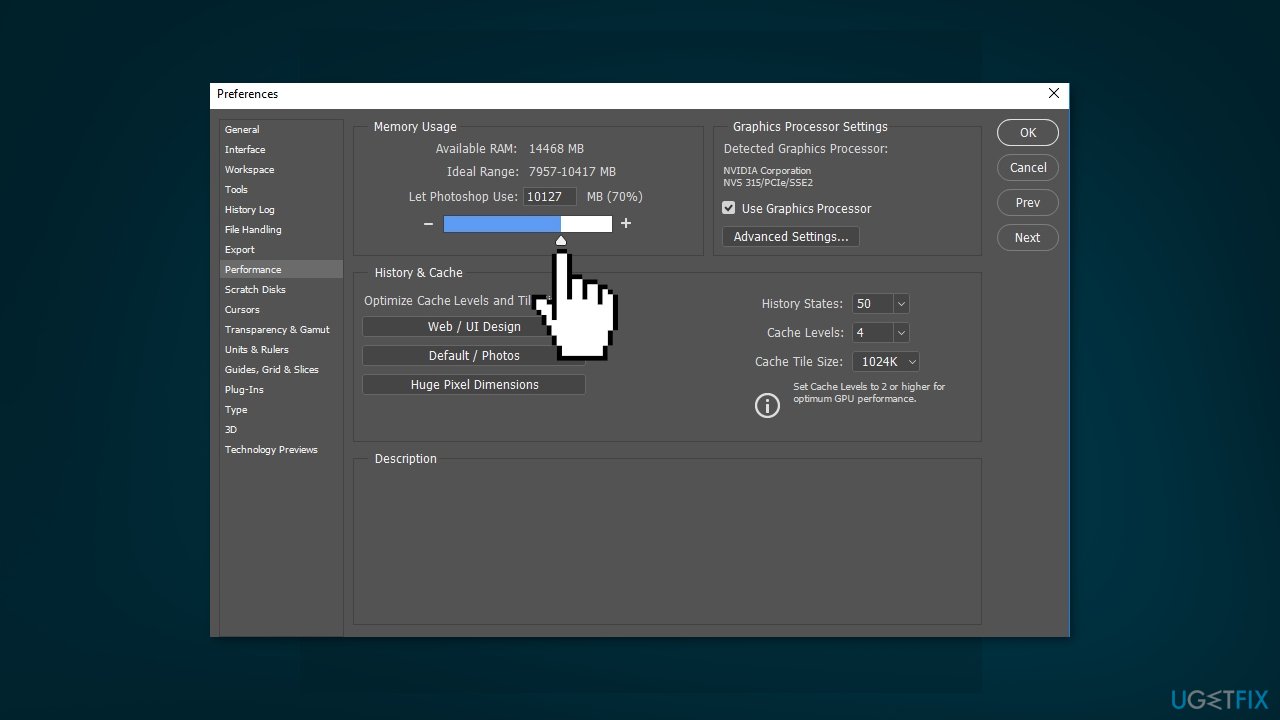
Method 6. Let Photoshop Use More RAM
- Open Photoshop on your computer
- Click the Photoshop option at the top, select Preferences, and choose Performance
- In the box next to the Let Photoshop Use option, enter the amount of RAM that you want Photoshop to use
- Click OK to save the changes
Method 7. Delete Photoshop Cache
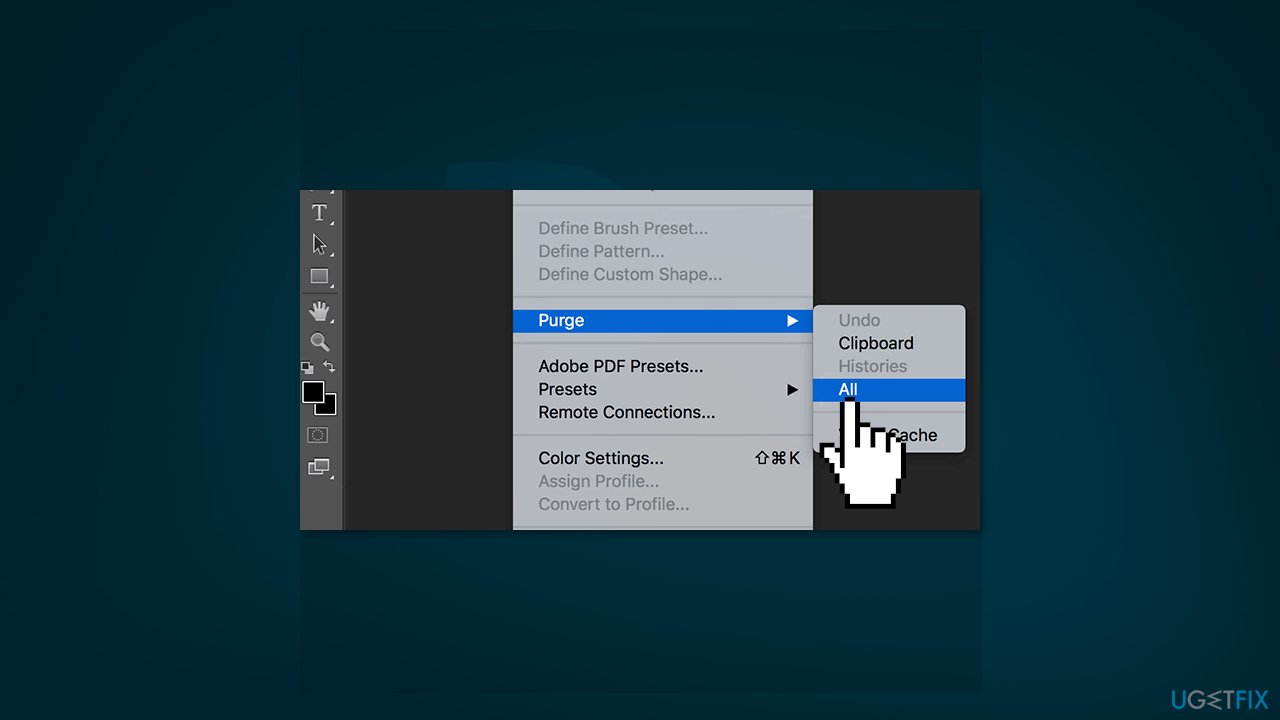
- Access Photoshop on your machine and click on the Edit menu at the top
- Select Purge, and choose All
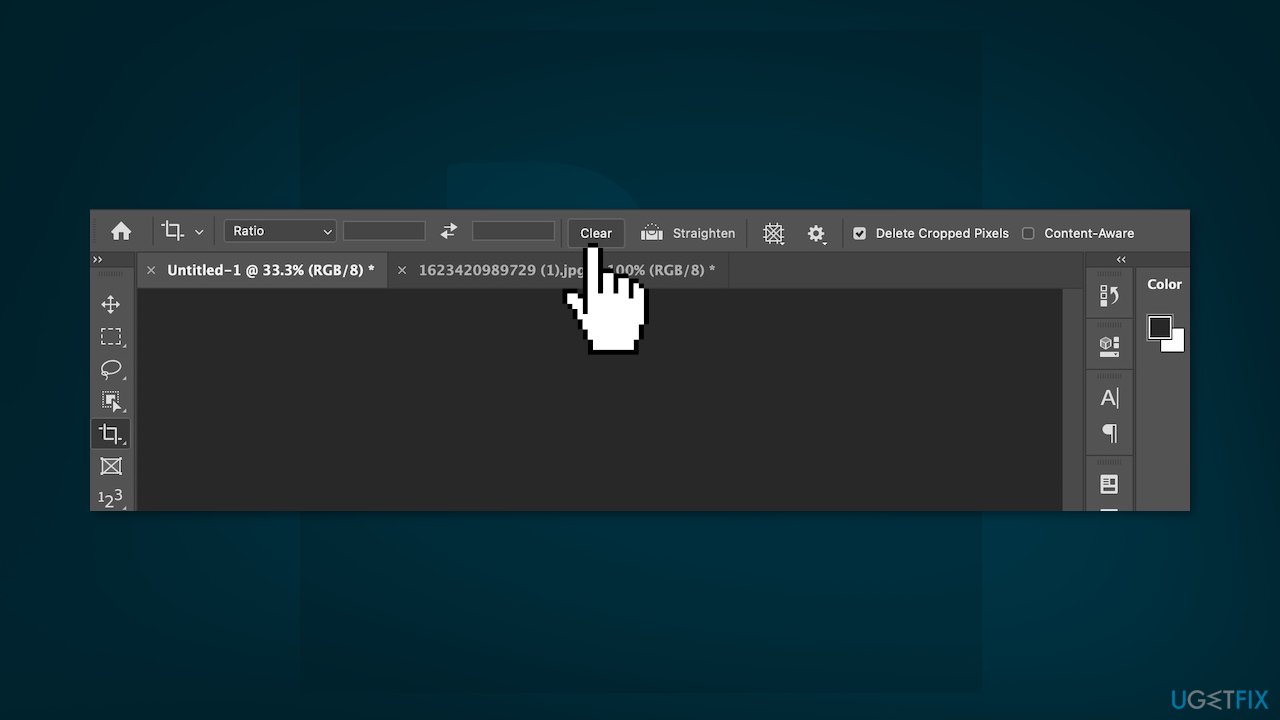
Method 8. Reset Crop Tool Values
- Access the crop tool in Photoshop and remove any values from the given boxes
- When you enter any values, use pixels as the unit whenever possible
Method 9. Defragment Hard Drive
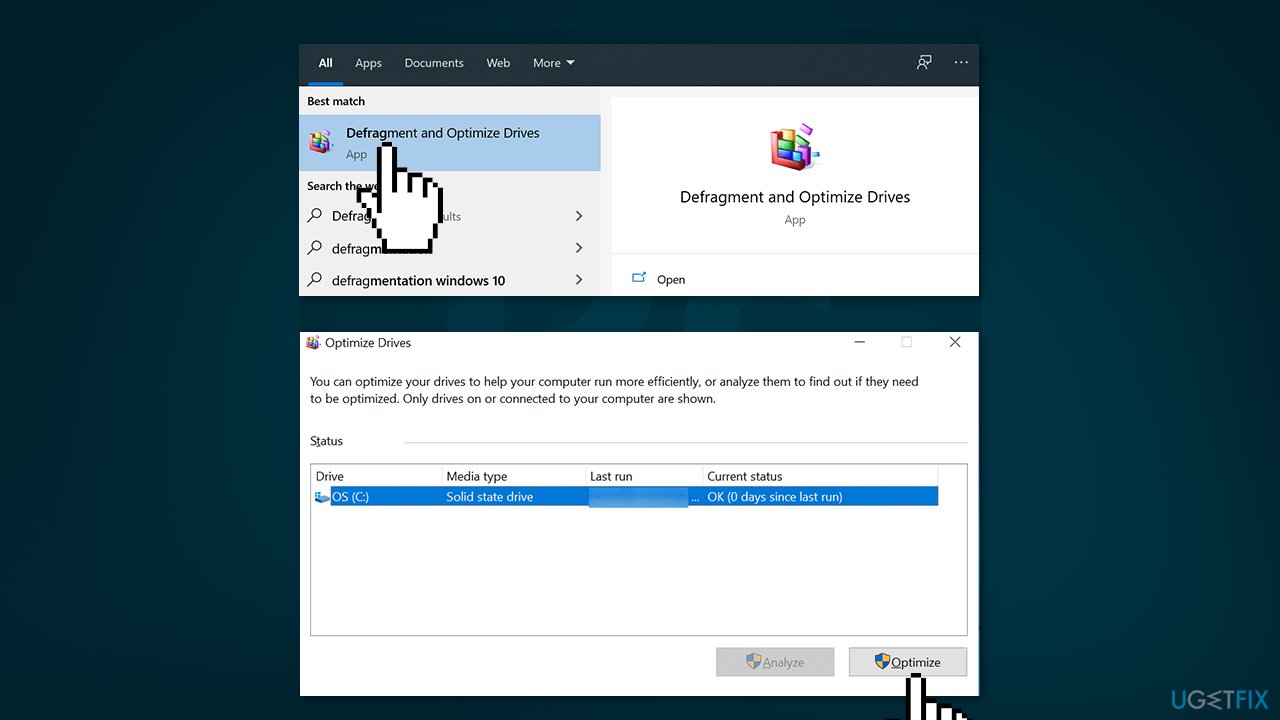
- Search for Defrag in the Start Menu search and click Defragment and Optimize Drives
- You’ll see your hard drive partitions listed on the following screen
- Select the one that you use as your scratch disk and click on the Optimize button
Method 10. Reset Photoshop Preferences
- Close Photoshop on your computer
- Press and hold down the Shift + Ctrl + Alt keys and launch Photoshop
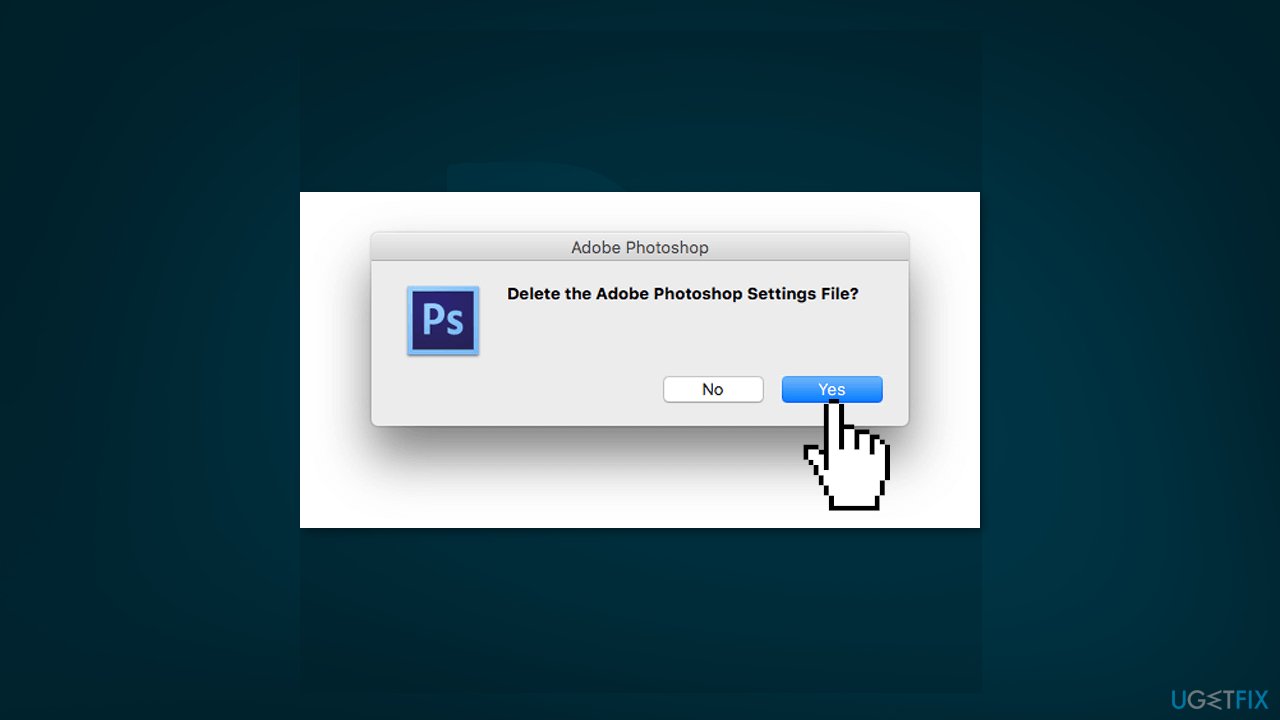
- You’ll get a prompt asking if you want to delete the Photoshop settings file
- Click Yes to delete the file
Repair your Errors automatically
ugetfix.com team is trying to do its best to help users find the best solutions for eliminating their errors. If you don't want to struggle with manual repair techniques, please use the automatic software. All recommended products have been tested and approved by our professionals. Tools that you can use to fix your error are listed bellow:
Protect your online privacy with a VPN client
A VPN is crucial when it comes to user privacy. Online trackers such as cookies can not only be used by social media platforms and other websites but also your Internet Service Provider and the government. Even if you apply the most secure settings via your web browser, you can still be tracked via apps that are connected to the internet. Besides, privacy-focused browsers like Tor is are not an optimal choice due to diminished connection speeds. The best solution for your ultimate privacy is Private Internet Access – be anonymous and secure online.
Data recovery tools can prevent permanent file loss
Data recovery software is one of the options that could help you recover your files. Once you delete a file, it does not vanish into thin air – it remains on your system as long as no new data is written on top of it. Data Recovery Pro is recovery software that searchers for working copies of deleted files within your hard drive. By using the tool, you can prevent loss of valuable documents, school work, personal pictures, and other crucial files.
- ^ Chris Hoffman. Everything You Need To Know About the Blue Screen of Death. Howtogeek. Technology Magazine.
- ^ Windows Registry. Wikipedia, the free encyclopedia.
- ^ Difference between Cache and Cookies. Geeksforgeeks. IT Education.


