Question
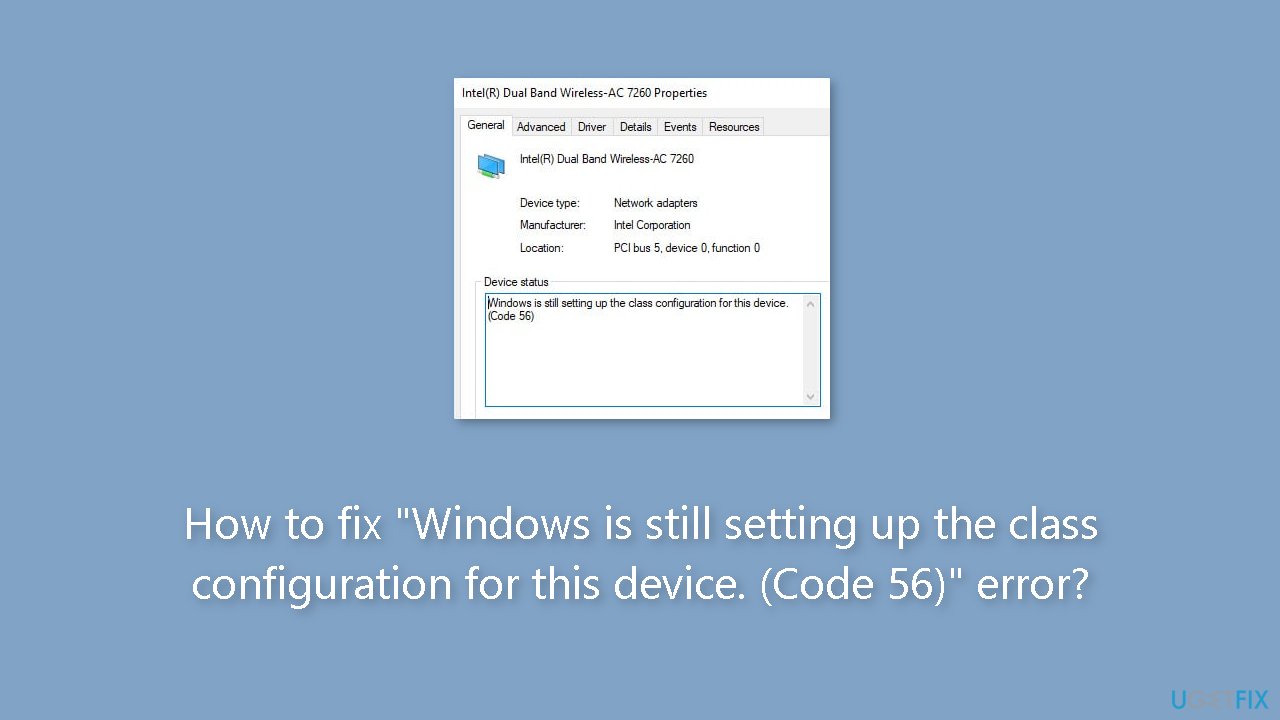
Issue: How to fix "Windows is still setting up the class configuration for this device. (Code 56)" error?
Hello. My Windows PC has no Internet and I see the “Windows is still setting up the class configuration for this device. (Code 56)” error in Device Manager. What do I do?
Solved Answer
Windows is still configuring the class settings for this device, says the message. (Code 56)” error is a relatively common issue that Windows users might encounter. This error message frequently appears when a network adapter installed on the system and a third-party VPN (Virtual Private Network) software conflict. The interaction between the VPN program and Windows' network setting procedure is the primary contributor to this problem.
This error is frequently seen when third-party VPN software obstructs the network adapter's normal setup and configuration. It may interfere with the class configuration procedure, preventing Windows from completing the device setup. Simply put, contradictory activities done by the VPN software cause the network adapter settings to become stuck.
Users have a number of alternative solutions at their disposal to address the “Windows is still setting up the class configuration for this device. (Code 56)” error and return their Windows system to regular operation. The removal of the third-party VPN software that is creating the issue is one viable line of action. Users may be able to solve the problem's core cause by removing the troublesome VPN.
The network adapter drivers[1] may need to be updated or reinstalled in order to fix the setup problems. Another method in overcoming compatibility issues is to keep Windows' operating system updated. Issues resulting from the interaction between the network adapter and the VPN software may be resolved by routinely updating the system with the most recent patches and updates.
In this guide, you will find 6 steps that should help you fix “Windows is still setting up the class configuration for this device. (Code 56)” error. You can also run a maintenance tool like FortectMac Washing Machine X9 that can fix most system errors, BSODs,[2] corrupted files, and registry[3] issues. Otherwise, follow the step-by-step instructions below.
Solution 1. Run the Network Troubleshooter
- Press the Windows key + I to open the Settings menu.
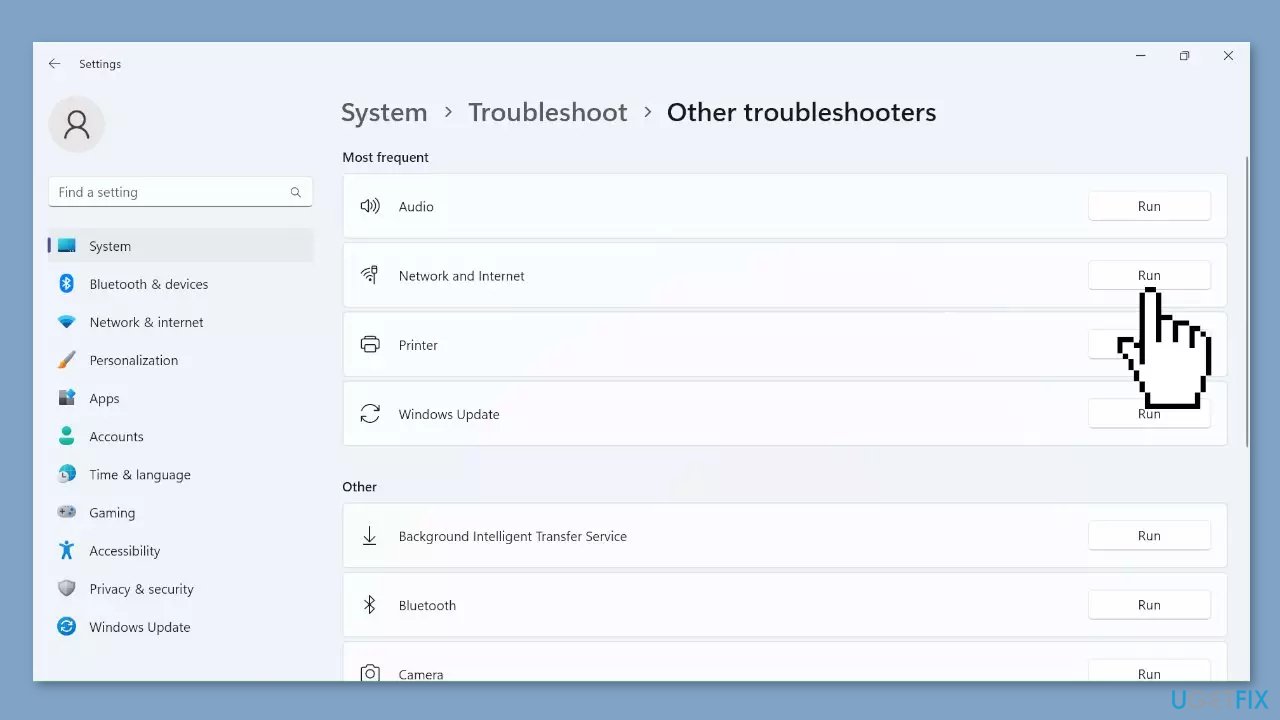
- In the Settings menu, locate and click on the Troubleshoot option on the right side under the System tab.
- Within the Troubleshoot menu, find and click on Other troubleshooters.
- Look for the Network & Internet troubleshooter and click on it.
- Click Run.
- Follow the on-screen instructions provided by the troubleshooter.
- Complete the process as instructed, and consider making the recommended changes to resolve any network and internet-related issues.
Solution 2. Reset Network
- Open the Run dialog by pressing the Windows key + R.
- Type cmd in the Run dialog.
- Press Ctrl + Shift + Enter to launch Command Prompt with administrative privileges.
- Confirm the UAC prompt by clicking Yes.
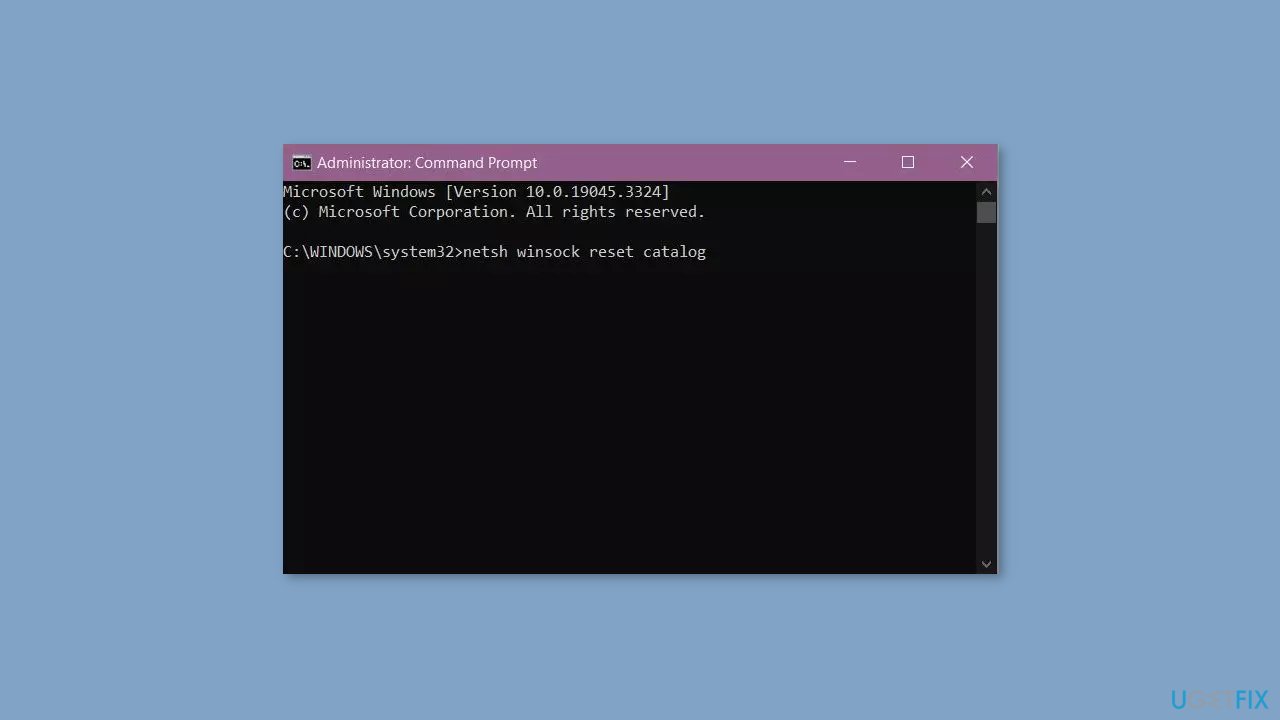
- In the Command Prompt window, execute the following commands one by one, pressing Enter after each:
netsh winsock reset catalog
netsh int ip reset resetlog.txt
ipconfig /release
ipconfig /renew
- After executing the commands, restart your computer.
Solution 3. Uninstall VPN Software
- Click on the Start button (Windows logo) on your taskbar.
- Type Control Panel in the search bar and press Enter.
- Click on the Control Panel application that appears in the search results.
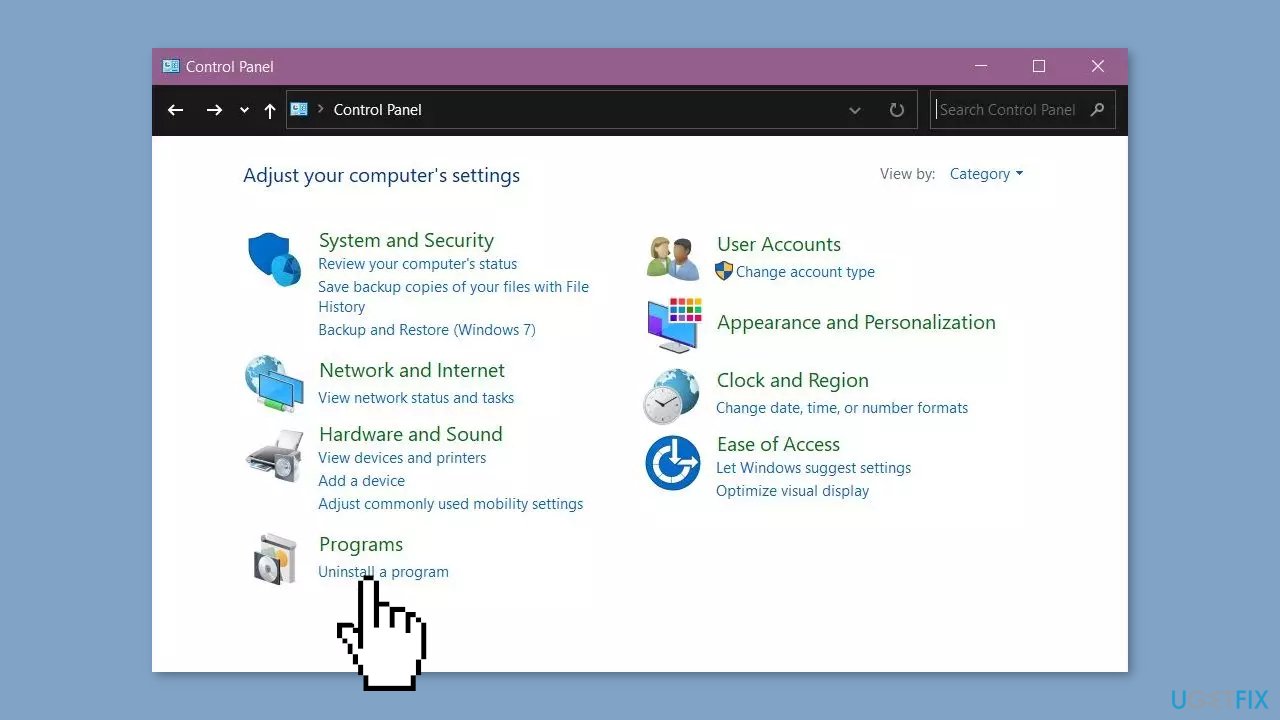
- In the Control Panel, change the view to Category if it's not already.
- Under the Programs section, click on Uninstall a program.
- A list of installed programs will appear. Scroll through the list to find your VPN software.
- Click on the VPN software to select it.
- At the top of the list, you will see a button labeled Uninstall or Change. Click on this button.
- A confirmation prompt will appear, asking if you're sure you want to uninstall the software. Click Yes to proceed.
Solution 4. Use System Restore
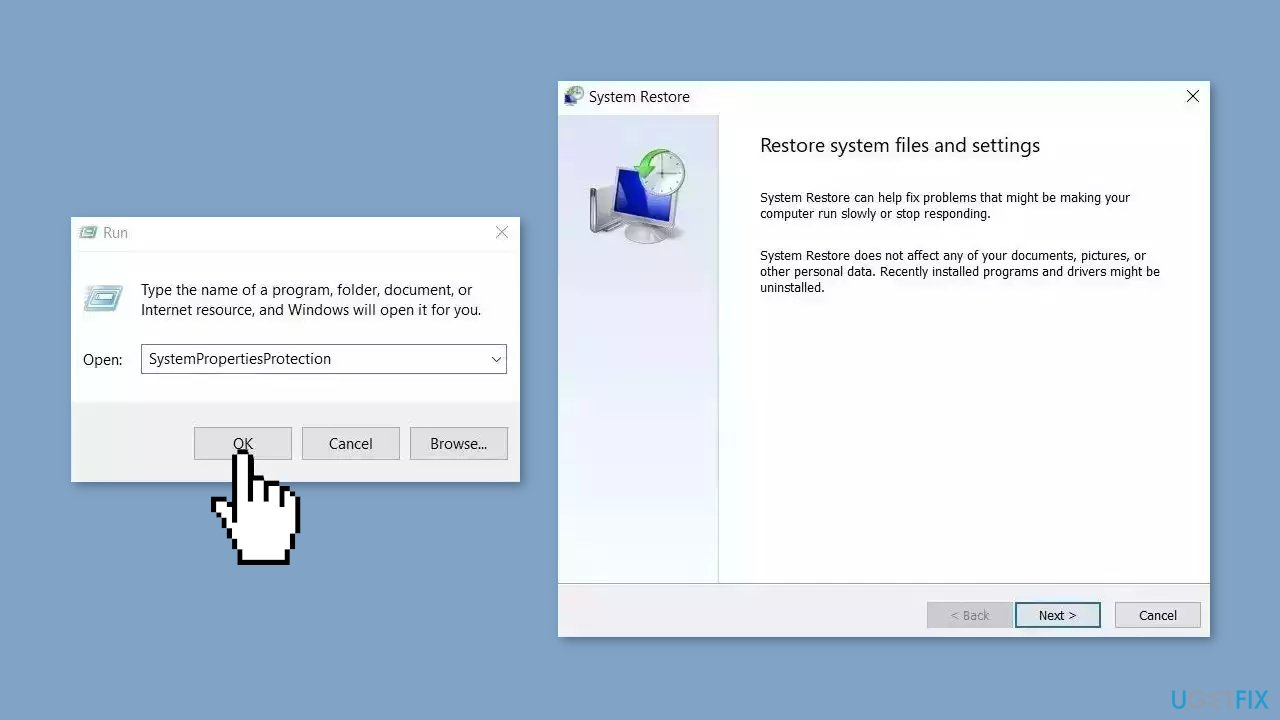
System Restore is a feature in Microsoft Windows that allows users to revert their computer's state to a previous point in time. This can be helpful if you have made changes to your system that are causing problems.
- Go to the Start menu, type restore, and click on Create a restore point.
- Click System Restore, then follow the prompts until you can select a restore point.
- Select the one you want (ideally before the issue started occurring) and go ahead with the process.
Solution 5. Clean Install Windows
If none of the previous steps helped you resolve the issue, your current installation of Windows may be corrupt. Perform a repair installation and see if it fixes the issue of updates not installing.
- Visit the official Microsoft website to download Windows 11 Installation Media
- Run the Media Creation Tool and select Create Installation Media for another PC
- Select your USB drive
- Let the Process complete of writing the Installation files to the USB drive
- Click Finish

- On the PC you wish to upgrade, Press Windows + E to open the File Explorer
- Open the Removable drive and click Setup.exe
- Accept the license terms on the next screen
- Confirm the Upgrade options – Files, apps and Settings are kept
- Click Install, and the upgrade should start
Solution 6. Reset BIOS
- Start your computer and immediately press the designated key:
- For most laptops, including Dell: Press F10.
- On an HP laptop: Press F2 (or refer to your hardware's instructions).
- While booting, look for the displayed keys on the bottom left or right corner of the screen.
- These keys indicate Boot Options or Setup access based on your hardware.
- Press the appropriate key to enter the BIOS setup when prompted.
- Once in the BIOS setup, locate the option to load setup defaults (often F9).
- Select the option to initiate the default settings restoration.
- A blue screen will appear with a prompt: Load Setup defaults?
- Click Yes to proceed with restoring the default BIOS settings.
- If required, navigate to the exit options or save changes menu within the BIOS setup.
- Reboot your computer and ensure it functions as expected with the default BIOS settings.
Repair your Errors automatically
ugetfix.com team is trying to do its best to help users find the best solutions for eliminating their errors. If you don't want to struggle with manual repair techniques, please use the automatic software. All recommended products have been tested and approved by our professionals. Tools that you can use to fix your error are listed bellow:
Prevent websites, ISP, and other parties from tracking you
To stay completely anonymous and prevent the ISP and the government from spying on you, you should employ Private Internet Access VPN. It will allow you to connect to the internet while being completely anonymous by encrypting all information, prevent trackers, ads, as well as malicious content. Most importantly, you will stop the illegal surveillance activities that NSA and other governmental institutions are performing behind your back.
Recover your lost files quickly
Unforeseen circumstances can happen at any time while using the computer: it can turn off due to a power cut, a Blue Screen of Death (BSoD) can occur, or random Windows updates can the machine when you went away for a few minutes. As a result, your schoolwork, important documents, and other data might be lost. To recover lost files, you can use Data Recovery Pro – it searches through copies of files that are still available on your hard drive and retrieves them quickly.
- ^ Device driver. Wikipedia, the free encyclopedia.
- ^ Chris Hoffman. Everything You Need To Know About the Blue Screen of Death. Howtogeek. Tech Insight Magazine.
- ^ Tim Fisher. What Is the Windows Registry?. Lifewire. Software and Apps.


