Question
Issue: How to Uninstall OneNote on Mac OS?
I want to remove OneNote 2016 from my Mac, but I can’t due to missing leftovers on Library directory. Do you have any ideas where can I find the full pack of OneNote?
Solved Answer
OneNote is a pre-installed Windows application developed by Microsoft. It’s like a virtual notebook that allows organizing events, creating “To Do” lists, and taking notes. The latest OneNote version that is applicable with Windows 10, Mac OS, and latest mobile devices has been supplemented with writing and drawing features. Millions of people worldwide are using OneNote every day and praise it for simplicity and multiplicity of features. Yet, through the last year, many Mac users uninstalled the latest OneNote (2016) version due to frequent crashes, freezes, and unresponsiveness.

From the first glimpse, OneNote removal does not differ from the removal of other apps on Mac OS. However, few people reported that they can’t uninstall it due to hidden remnants or constantly crashing uninstalling process. Thus, we’ll try to explain how to Uninstall OneNote from Mac correctly.
Uninstall OneNote Automatically
Thanks to software developers for making our computer experiences easier by creating software removal tools like CleanMyMac or MacKeeper. These two programs has a software removal feature, so all you have to do is to download the program, install it, and then set it to delete OneNote completely.
Eliminate OneNote Manually
Step 1. Deactivate running processes
1. Right-click on OneNote icon located on the Dock and select Quit.
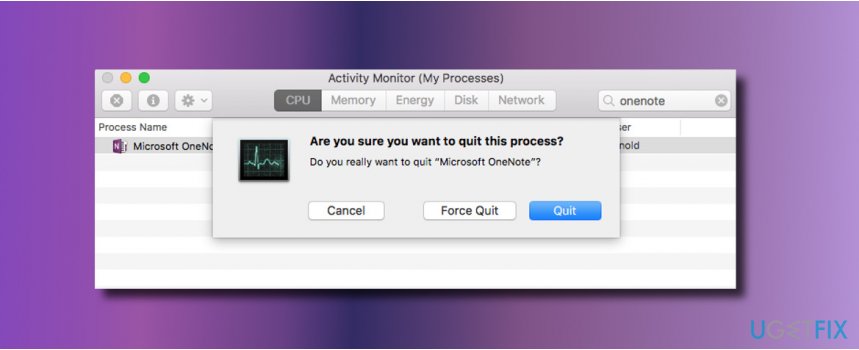
2. Then open Activity Monitor and type Microsoft OneNote 2016.
3. Select it under Process Name and click X button (top-left corner).
4. On the pop-up dialog, select Quit.

Step 2. Uninstall Microsoft OneNote 2016 fully
One of the options would be to drag and drop the OneNote icon to Trash bin, but we would recommend removing it from Launchpad because you won’t need to empty the Trash afterwards:
1. Open Launchpad and type Microsoft OneNote 2016 in the search box.
2. Click and hold its icon and click X (top-left corner).
3. On the confirmation window, press Delete button to start the uninstalling.
Important: if you installed Microsoft OneNote via a .pkg/.dmg file, execute the removal by following these steps:
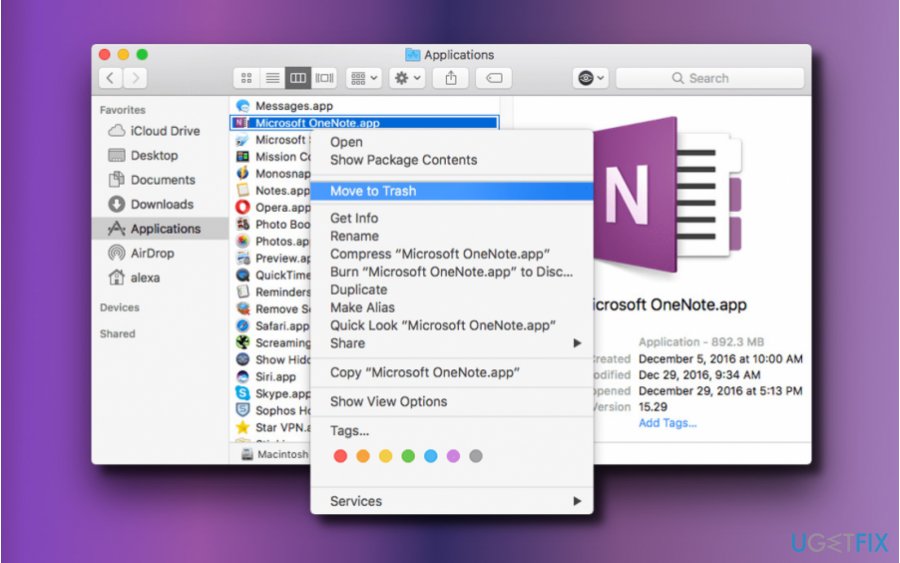
1. Open Finder and select Applications.
2. Find Microsoft OneNote, click its icon, and drag it to the Trash in the Dock.
3. Then right-click on the Trash icon and select Empty Trash.

NOTE: before emptying the Trash, check its content and make sure that you no longer need any of the files. If you found a file that is still useful for you, right-click on it and select Put Back.
Step 3. Remove Microsoft OneNote Leftovers
Once Microsoft OneNote 2016 is removed from the Applications and Launchpad, you’ll have to eradicate its leftovers. Be extremely cautious when removing the remnants to prevent damage and system’s mis-operations.
1. Open Finder and click Go.
2. Press Options key and select Library.
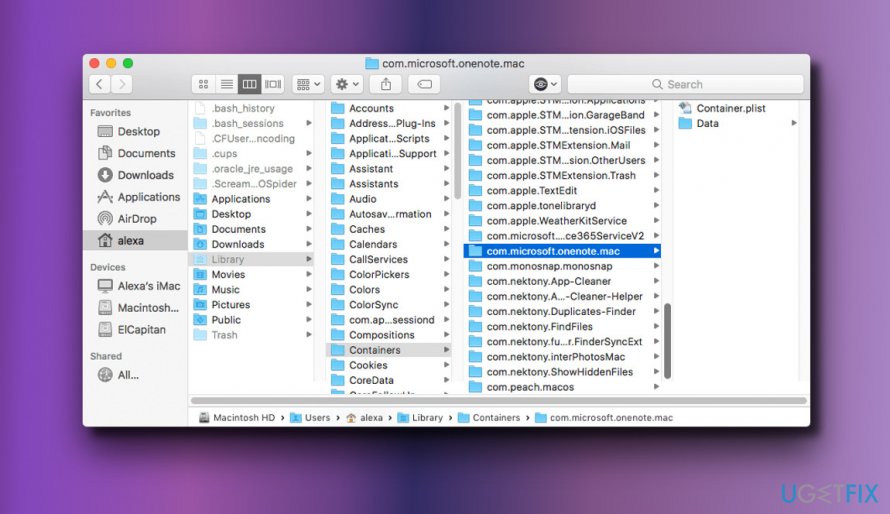
3. Double-click on the Containers folder to open it.
4. On the Containers folder, locate the files that begin with com.microsoft.onenote.

5. Drag and drop each file to the Trash.
6. Then look for the OneNote (com.microsoft.onenote) files on the following directories:
/Library
/Library/Caches
/Library/Preferences
/Library/ApplicationSupport
/Library/LaunchAgents
/Library/LaunchDaemons
/Library/PreferencePanes
/Library/StartupItems
7. Type the path of the current user’s Library Folder: ~/Library and press Enter.
8. Type OneNote in the Search Bar and click on Library.
9. Find the corresponding files and folders. Drag and drop them to the Trash one-by-one.
10. Finally, empty the Trash.
Get rid of programs with only one click
You can uninstall this program with the help of the step-by-step guide presented to you by ugetfix.com experts. To save your time, we have also selected tools that will help you carry out this task automatically. If you are in a hurry or if you feel that you are not experienced enough to uninstall the program by your own, feel free to use these solutions:
Happiness
Guarantee
Access geo-restricted video content with a VPN
Private Internet Access is a VPN that can prevent your Internet Service Provider, the government, and third-parties from tracking your online and allow you to stay completely anonymous. The software provides dedicated servers for torrenting and streaming, ensuring optimal performance and not slowing you down. You can also bypass geo-restrictions and view such services as Netflix, BBC, Disney+, and other popular streaming services without limitations, regardless of where you are.
Don’t pay ransomware authors – use alternative data recovery options
Malware attacks, particularly ransomware, are by far the biggest danger to your pictures, videos, work, or school files. Since cybercriminals use a robust encryption algorithm to lock data, it can no longer be used until a ransom in bitcoin is paid. Instead of paying hackers, you should first try to use alternative recovery methods that could help you to retrieve at least some portion of the lost data. Otherwise, you could also lose your money, along with the files. One of the best tools that could restore at least some of the encrypted files – Data Recovery Pro.


