How to remove
Uninstall Swift Publisher
from Windows
Discover effortless ways to uninstall unwanted programs on Windows 10 or 11. Remove Swift Publisher with zero traces left for a cleaner system. Expert-t…
How does How to Uninstall Swift Publisher on Mac OS X end up on your PC?
- Dragging the icon to Trash does not remove all associated files
- Some applications leave behind registries and background processes
- Incomplete removal can lead to system slowdowns
- Users may not be aware of the need for complete uninstallation
- Not all software on Mac can be removed easily
Repairs Windows system files, removes malware, and restores a clean OS state — without reinstalling.
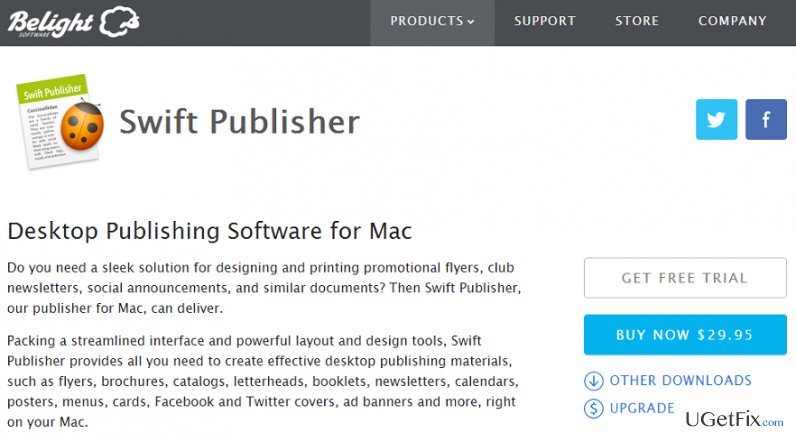
Simple question: How to uninstall Swift Publisher on Mac? It seems that it's not enough to drag-and-drop the icon of this app to the Trash. Please help.To start with, Swift Publisher is a free and legitimate application that supports Mac OS and Mac OS X. As it is promoted on the official website, it is “a sleek solution for designing and printing promotional flyers, club newsletters, social announcements, and similar documents.” Therefore, thousands of Internet users find it very useful. However, as any other app, it does not satisfy the needs of all users, so obviously there are people who decide to uninstall Swift Publisher on Mac OS X. This issue is a quite heated issue these days because lots of people are looking for an answer how to uninstall programs on Macs once and for all.
Unlike the software that supports Windows OS only, the majority of the tools for Mac OS X can be removed quite easily. Usually, in order to uninstall a software on Mac, it's enough to:
- Go to the Applications folder;
- Click and hold the Swift Publisher icon;
- Drag this icon to Trash;
- Select Empty Trash.
However, this method is called 'removal' and does not work with some of the software on Macs. Some of them drop various registries, related files, background processes and other additional components that are not removed by dragging the icon to trash. In fact, Swift Publisher uninstalling will require you to do more that just simply drag and drop its icon to the Trash. Of course, you may do that and do not ransack your bran. However, by leaving useless files and other components of programs that are long gone from the system, your Mac's system may slow down significantly, initiate crashes, freezes, errors, and similar issues. That's why our recommendation is to uninstall Swift Publisher on Mac OS X completely. In order to do that, you are strongly advised to use [rev id=”MacKeeper”] or [rev id="CleanMyMac"].
How to Uninstall Swift Publisher on Mac OS X?
Although it's possible to uninstall Swift Publisher on Mac OS X manually, the best option would be to use a specific software like, for instance [rev id=”MacKeeper”] or [rev id="CleanMyMac"]. These programs are dedicated for optimizing Macs, so they are not only going to remove unwanted programs, but also detect various system errors, clean registries, and initiate other tasks in order to increase Mac's performance to the maximum.
Those who are not willing to remove Swift Publisher or any other software on Mac using third-party software should find all app's leftovers. However, this process may appear a bit tiresome and time-consuming because tens of files may be located in different folders. We recommend you to start checking from these two folders:
~/Library/Preferences/
~/Library/Application Support/
However, checking those folders manually does not grant that all files will be removed because you may accidentally skip some of them unnoticed. Besides, you may inadvertently remove the wrong files and accidentally damage other important system programs, so be very careful.
Bottom line
To uninstall Swift Publisher completely, it is recommended to use tools like MacKeeper or CleanMyMac, as they can help remove all associated files and components. If you prefer manual uninstallation, ensure you check for and delete any leftover files. If none of these methods work, consider seeking further assistance or using alternative uninstallation software.
Frequently asked questions
Swift Publisher is not available for Windows, so you cannot uninstall it on those operating systems. If you have a similar program on Windows, you can uninstall it via the Control Panel or Settings.
To remove unwanted software, go to Settings > Apps, find the application, and click 'Uninstall.' This ensures proper removal of the program from your system.
Yes, you can use third-party uninstaller tools like Revo Uninstaller or IObit Uninstaller, which help remove leftover files and registry entries after uninstalling a program.


Report an issue
What's wrong with this guide? We review every report and update or remove content.
Report received — thank you. We'll review and fix it.
You need a free account to submit a report.
Be the first to comment