How to fix
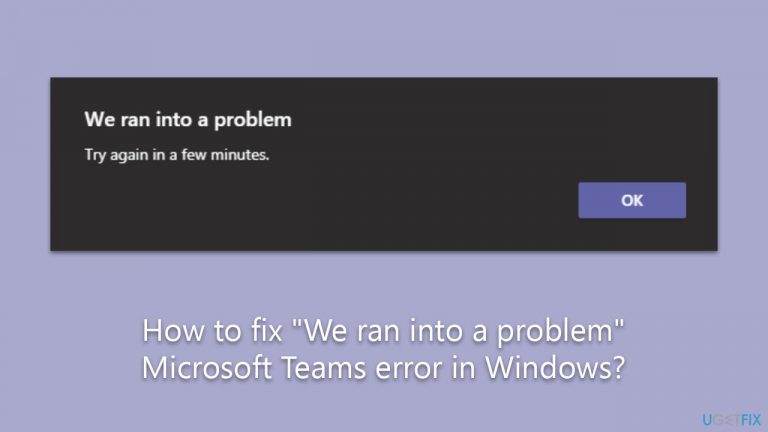
“We ran into a problem” Microsoft Teams error
on Windows
Resolve the "We ran into a problem" error in Microsoft Teams on Windows 10 or 11 effortlessly. Follow our expert-tested guide for quick fixes!
What causes How to fix “We ran into a problem” Microsoft Teams error in Windows?
- Network issues
- Outdated software versions
- Incorrect settings
- Corrupted files
- Synchronization issues
Repairs Windows system files, removes malware, and restores a clean OS state — without reinstalling.
Hi, I usually attend my classes online using Microsoft Teams. I now can't join them because I get the "We ran into a problem" error. Since it doesn't explain what is wrong, I am unsure where to start. Any tips on this, please?
Microsoft Teams is a widely used digital platform that brings together chat, video meetings, and collaboration in Office 365. With seamless integration among numerous applications, Teams not only allows people to conduct video calls or send instant messages but also enables them to collaborate in real time on documents and presentations. It has become an invaluable tool for businesses, educational institutions, and individual users, enabling them to remain productive regardless of physical distance.
However, despite its myriad benefits and generally smooth operation, there are times when users face issues with Microsoft Teams on their Windows machines. A common hiccup encountered is the "We ran into a problem" error. This is a blanket error message, indicating something has gone wrong but not specifically pointing to the root cause.
The error can be attributed to several reasons, including, but not limited to, network issues, outdated software versions, incorrect settings, or sometimes even corrupted files.
To rectify this error, users can try out a few potential solutions: checking their network connection, updating Teams to the latest version, clearing the Teams cache, or reinstalling the app entirely. Additionally, checking the computer's system time and date settings is important, as incorrect settings can cause synchronization issues with the Teams server, leading to this error.

Detailed step-by-step instructions for these potential fixes can be found below this article. Don't forget that troubleshooting software issues can be complex and time-consuming. To save your precious time and ensure that your Windows runs smoothly, you might consider using [d1]. This tool is designed to detect and fix common Windows issues automatically, alleviating the headache of manual troubleshooting.
Fix 1. Try using the web version
Exploring the web version of Microsoft Teams can serve as a beneficial troubleshooting step. This approach sidesteps potential issues with local installations, such as outdated software, corrupted files, or faulty installation. As the web version operates directly from Microsoft's servers and is always updated to the latest version, you won't face issues due to software incompatibility.
If the web version runs without any problems, it suggests that the issue likely resides within your locally installed Teams application, not with your account or internet connection. Hence, trying out the web version might not only solve the problem but also helps pinpoint the possible root cause.
Fix 2. Run the troubleshooter
- Type in Troubleshoot in Windows search and hit Enter.
- Pick Additional Troubleshooters/Other troubleshooters option.
- Scroll down to find Windows Store Apps section.
- Click Run the troubleshooter/Run and wait for the troubleshooter to finish scanning the system.
- Follow the on-screen instructions to fix any issues that the troubleshooter has found.

Fix 3. Update the app
Updating the app might resolve any bugs and other issues:
- Open Microsoft Teams (ignore the error).
- At the top-right corner, next to your icon, click on three horizontal dots (⋅⋅⋅).
- Select Check for updates.
- Wait till updates are applied and restart your system.

Fix 4. Clear cache files
- Ensure Teams is not running (close from the system tray or Task Manager).
- Press Win + R on your keyboard to open the Run dialog.
- Type AppData and press Enter or click OK.
- Go to the following location:
C:\Users\User\AppData\Local\Microsoft - Delete all the files and folders located in the Teams folder.

Fix 5. Reinstall Teams
If none of the solutions above helped, you could reinstall Teams. Make sure you follow the steps below to do so:
- Type Control Panel in Windows search and press Enter.
- Go to Programs > Uninstall a program.
- Find Microsoft Teams, right-click, and select Uninstall.
- Follow the prompts to remove the app.
- Once done, press Win + E to open File Explorer.
- In the View tab at the top of the window, enable Hidden Files.
- Go to C:\Program Files\WindowsApps location.
- Scroll down to find the Microsoft Teams folder and delete it (alternatively, you can rename it).
- Now type %AppData% in Windows search and press Enter.
- Delete the Teams folder.
- Finally, restart your device and reinstall the app.

Other related issues:
Bottom line
To fix the 'We ran into a problem' error in Microsoft Teams, users can check their network connection, update Teams to the latest version, clear the Teams cache, or reinstall the app. Additionally, verifying the computer's system time and date settings is crucial. If none of these solutions work, consider using a dedicated tool to automatically detect and fix common Windows issues.
Frequently asked questions
Try clearing the Teams cache by closing the app, navigating to %appdata%/Microsoft/Teams, and deleting the contents of the Cache folder. Restart Teams to see if the issue is resolved.
Ensure that your Windows 11 is up to date and check for any pending Teams updates in the Microsoft Store, as updates often fix bugs. If the problem persists, consider reinstalling Microsoft Teams.
Yes, unstable internet connections can lead to this error, so check your network status and try switching to a wired connection or a different Wi-Fi network.


Report an issue
What's wrong with this guide? We review every report and update or remove content.
Report received — thank you. We'll review and fix it.
You need a free account to submit a report.
Be the first to comment